How to Reuse Potting Soil in Containers (and When Not To)
How to reuse potting soil in containers: what to toss, how to sift and refresh it with fresh mix and fertilizer, and how to store it on a balcony until spring.

Every October I pull out the tomatoes, and I’m left with six pots of soil that look like they’ve had a long year. They’re packed down. They’re threaded with roots. The surface has gone a bit crusty from a summer of watering. The first year I did this, I carried every pot down the stairs and threw the soil away, because I assumed used potting mix was “dead.”
That was a lot of stairs for nothing. Most of that soil was fine. It needed a few small fixes, and it was cheaper and easier to give it those than to start over.
You have a balcony. You have limited room, and probably no compost pile. Here’s how to reuse what you’ve got, how to tell when you shouldn’t, and how to store it without taking over your patio.
First, decide what to keep and what to toss

Reusing soil is fine in most cases. The exceptions are the ones that matter.
Toss it if the plants had a disease. Late blight on tomatoes, wilt, mold on the surface of the mix, or a root rot that killed a plant outright can all hang around in the soil. Same for a bad fungus gnat infestation that you couldn’t get rid of. Don’t compost diseased soil unless you have a hot pile, which most of us don’t. Bag it and send it out with the trash.
Keep it if the plants simply grew, did their thing, and finished. That’s most of your pots.
If you’re not sure, trust your nose. Healthy used mix smells earthy and a little sweet. Sour, swampy, or sulfur-like soil is telling you something, and I’d listen.
Step one: sift out the roots

Spread an old bedsheet or a tarp on the floor, or use a big plastic storage tub if the balcony floor is a mess. Dump the pot out and break up the root ball with your hands. You’ll find more roots than you think, plus a few pale grubs or a stray perlite pebble. Pull out the thick roots and old stems and set them aside.
Then sift. I use a plain kitchen colander for the first pass, which takes out the chunky roots, and squeeze the clumps through my fingers for the rest. You don’t need to get every thread. A bit of fine root left behind breaks down over winter and feeds the soil. Leave anything that looks like a big woody mat out of the mix.
The first time I did this, Otto supervised from the doorway, convinced the whole project was a salad bar for him. He was disappointed.
Step two: refresh it

Used mix has lost two things: structure and nutrients. The roots have compacted it, and the plants drank down the fertility. You fix both by blending in something new.
My ratio is about one part fresh mix to two parts old. If a plant did badly or the mix feels really heavy, I go half and half. Pour both into a tub, mix with your hands, and add water a little at a time until the blend holds together when you squeeze it but doesn’t drip.
Then stir in a slow-release fertilizer. I use Garden-Tone, mixed in at the container rate on the label, since it’s an organic mix that breaks down over weeks rather than flashing on all at once. More isn’t better, so measure rather than guess. If you want the longer feeding story, I walk through it in how to fertilize container vegetables.
Fresh mix helps too. Start with a small bag of potting mix and see how far it stretches. A little goes a long way when two-thirds of what you’re filling with is already yours.
Honest downside: this is more work than opening a new bag. It also makes a mess, and refreshed soil is heavy to carry. If you only have one or two pots, buying new mix may genuinely be easier. But once you have six or eight, the savings and the less stuff going to the dump add up.
Step three: check it before you bag it
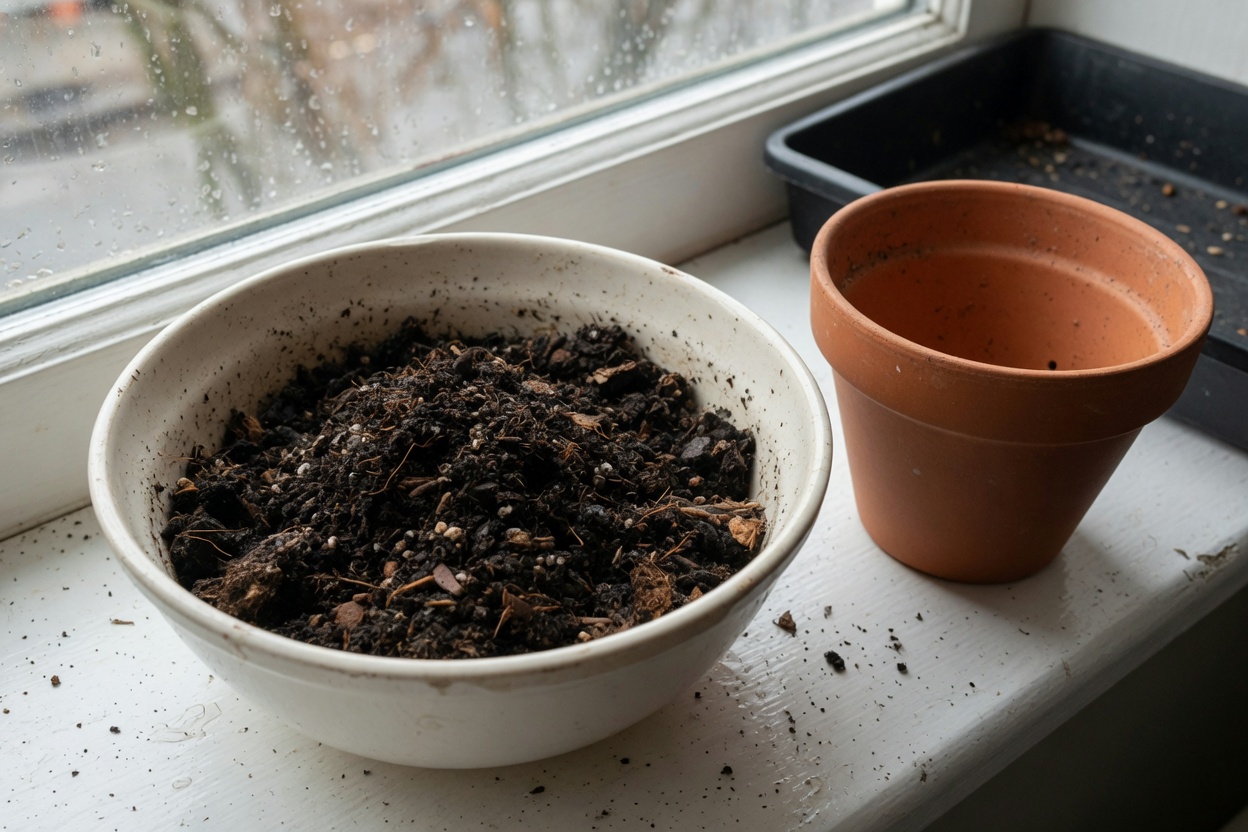
Squeeze a handful. It should clump and then break apart when you poke it. If it stays in a wet ball, it’s too wet and needs air, so spread it out for an hour. If it falls apart like dust, add a little water. A moisture meter is handy here if you want a number instead of a squeeze test, and my post on whether you need a soil moisture meter covers when it earns its place.
Store it or plant it
If you’re planting right away, go ahead. Fall is when I start garlic. Fabric grow bags are my favorite container for it, since they’re light and drain well, and I wrote up fabric bags versus plastic pots if you’re deciding which to buy.
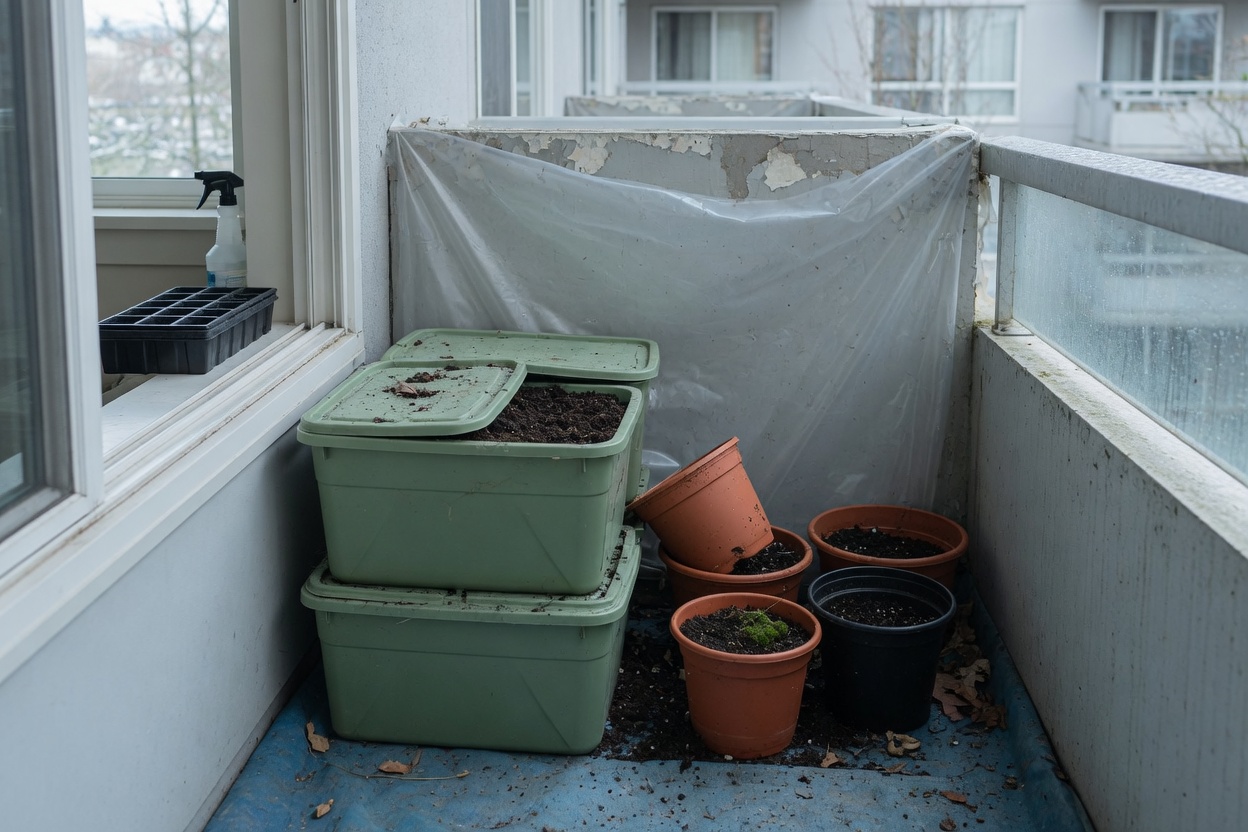
If you’re storing it for spring, put the refreshed mix in a lidded tub or a heavy-duty contractor bag, slightly damp but not wet, and tuck it somewhere out of the rain. A closed tub under a bench works fine. Don’t let it freeze solid and thaw repeatedly if you can help it, because that wrecks the structure. In spring, give it a quick stir and a sprinkle of fresh mix before you plant.
One more thing: if you grew tomatoes, peppers or eggplant (the nightshade family) in a pot this year, plant something from a different family in that soil next. Beans, lettuce and herbs are all good choices. Rotating families in containers isn’t as strict as in a field, but extension offices still suggest it, and it costs you nothing.
Small pots, small effort

The thing I like about this routine is that it scales to however many pots you have. It costs you an afternoon, a tarp, and a couple of buckets, and in return you start the spring with soil that’s already broken in. If you want to plan the next stretch of the season, my guide to overwintering container plants covers what to do with the plants still alive in those pots.
And if you’d like the full small-space year laid out, from soil to harvest, that’s what I put in my book, Small-Space Big Harvest. It’s written for balconies and patios, not acreage, and it’s the one I’d hand a friend who just bought her first pot.
