How to Grow Turnips in Containers (Roots and Greens)
Learn how to grow turnips in containers on a balcony: the best varieties for pots, when to sow, thinning, watering, and harvesting sweet roots plus the greens.
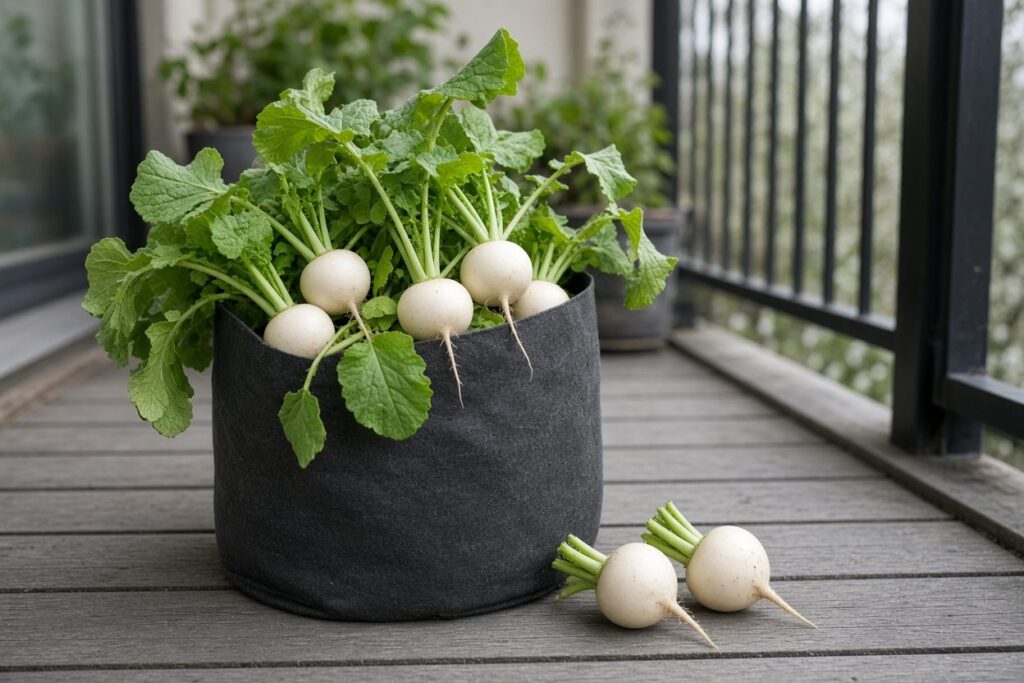
The first turnips I grew on the balcony were an accident: a packet of Hakurei seed I bought for the greens, sown in a grow bag in early March, that handed me a dozen white roots the size of golf balls by the middle of April. I pulled one, rinsed it under the outdoor tap, and ate it standing up. It tasted like a sweet, crisp radish that had decided to stop shouting.
That was four springs ago, and turnips have had a bag of their own every March since. They’re fast, they like the cool weather we actually get, and they don’t need much depth. If you’ve been looking at an empty pot in February and wondering what could possibly go in it yet, this is your answer.
You’ll also want a packet of turnip seed and, if flea beetles find your balcony the way they find mine, a scrap of lightweight row cover.
Pick a turnip that fits a pot
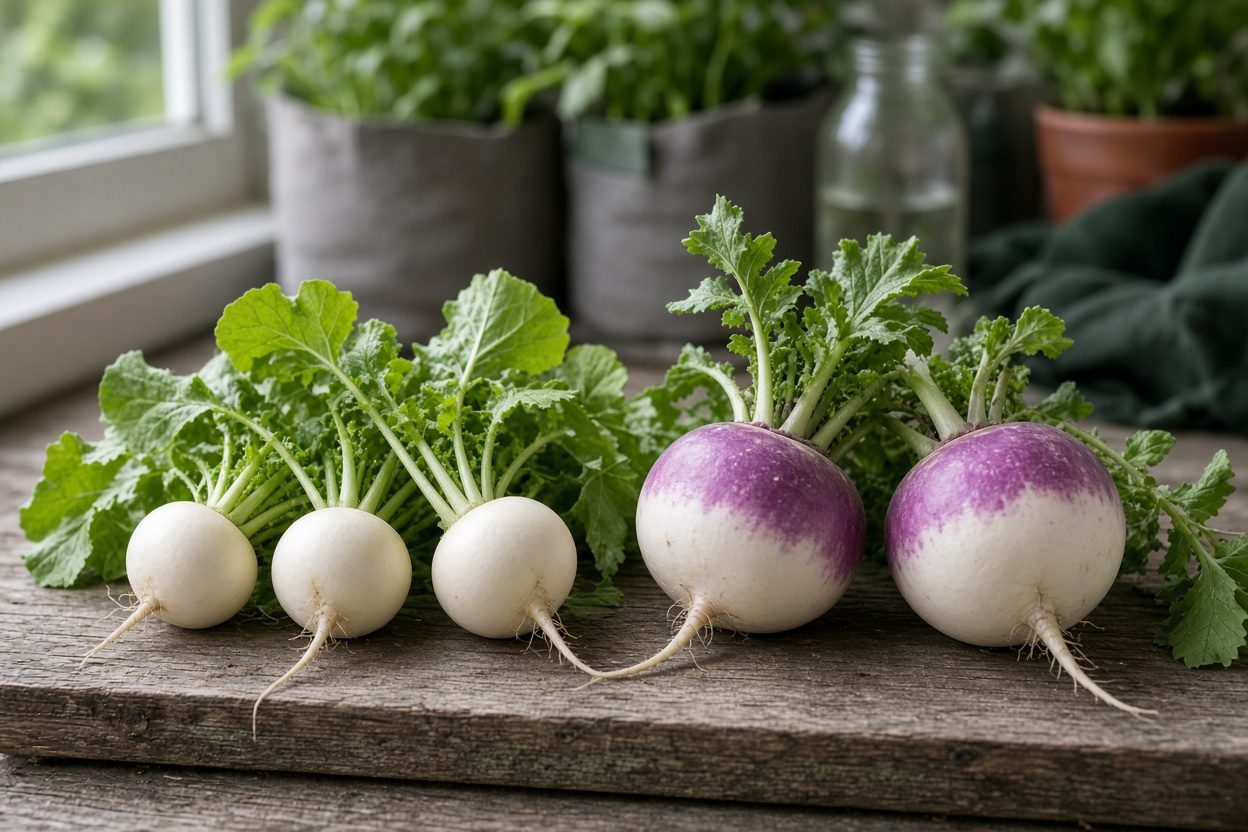
Not every turnip is a container turnip. The big storage types are bred to sit in a field for two months and come out the size of a softball. In a pot, you want the small, quick ones.
Hakurei. My favorite by a mile. A Japanese salad turnip, pure white, ready in about 38 days, and sweet enough to eat raw. The greens are tender and hairless.
Tokyo Cross. Another small white salad type, about 35 days, very uniform. A good choice if Hakurei is sold out.
Purple Top White Globe. The classic, with a purple shoulder and a white bottom. It takes closer to 55 days and gets bigger. It works in a deeper bag if you harvest it young, at two or three inches across.
If this is your first time, start with Hakurei. It forgives a lot.
Container size and soil

Turnips are shallow. The small salad types need about 8 to 10 inches of soil, which is why a 5-gallon fabric grow bag works so well. A long rectangular railing planter at least 8 inches deep works too. Make sure whatever you use has drainage.
Fill it with potting mix, not garden soil. Garden soil packs down in a pot, and a turnip in compacted soil comes out lopsided and woody. Mix in a small handful of Garden-Tone per bag before you sow, following the label for containers. That’s all the feeding a quick spring turnip needs. Too much nitrogen gives you a beautiful pot of leaves and roots the size of marbles. Trust me on that one. I explain why in how to fertilize container vegetables.
If you’re on the fence about bags versus plastic, I compared the two in fabric grow bags vs. plastic pots.
When and how to sow
Turnips are a cool-season crop. In the Portland area I sow the first bag in late February or early March, about four to six weeks before our last frost, and a second round in late August for fall. They germinate in soil as cool as 45°F, and a light frost doesn’t bother them.
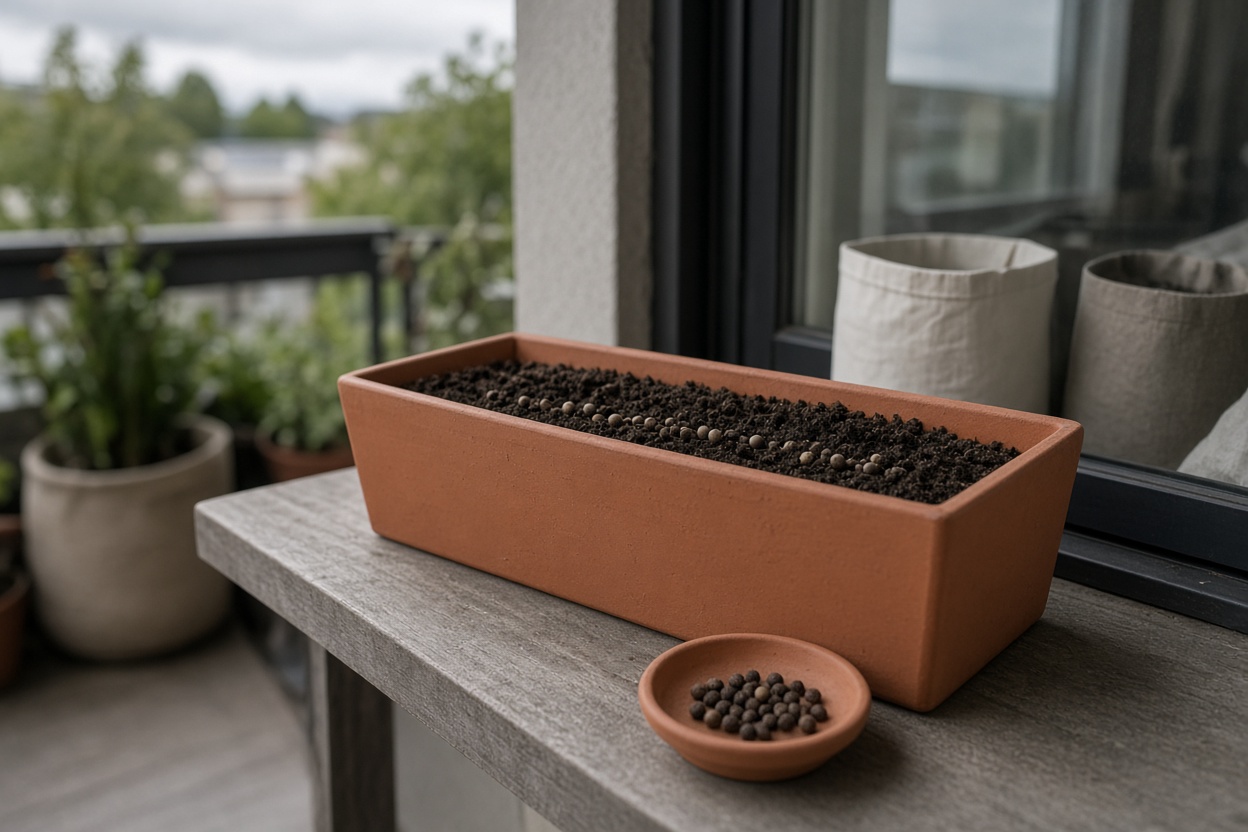
Sow the seed directly in the bag. Turnips don’t transplant well, and they’re too fast to bother with starting indoors.
1. Water the mix well before you sow so it’s evenly damp.
2. Scatter seeds about an inch apart and press them in about a quarter to half an inch deep.
3. Cover lightly and water gently.
Seedlings usually show up in four to ten days, depending on how cold it is. Keep the surface damp until they do.
Thinning (the step everyone skips)
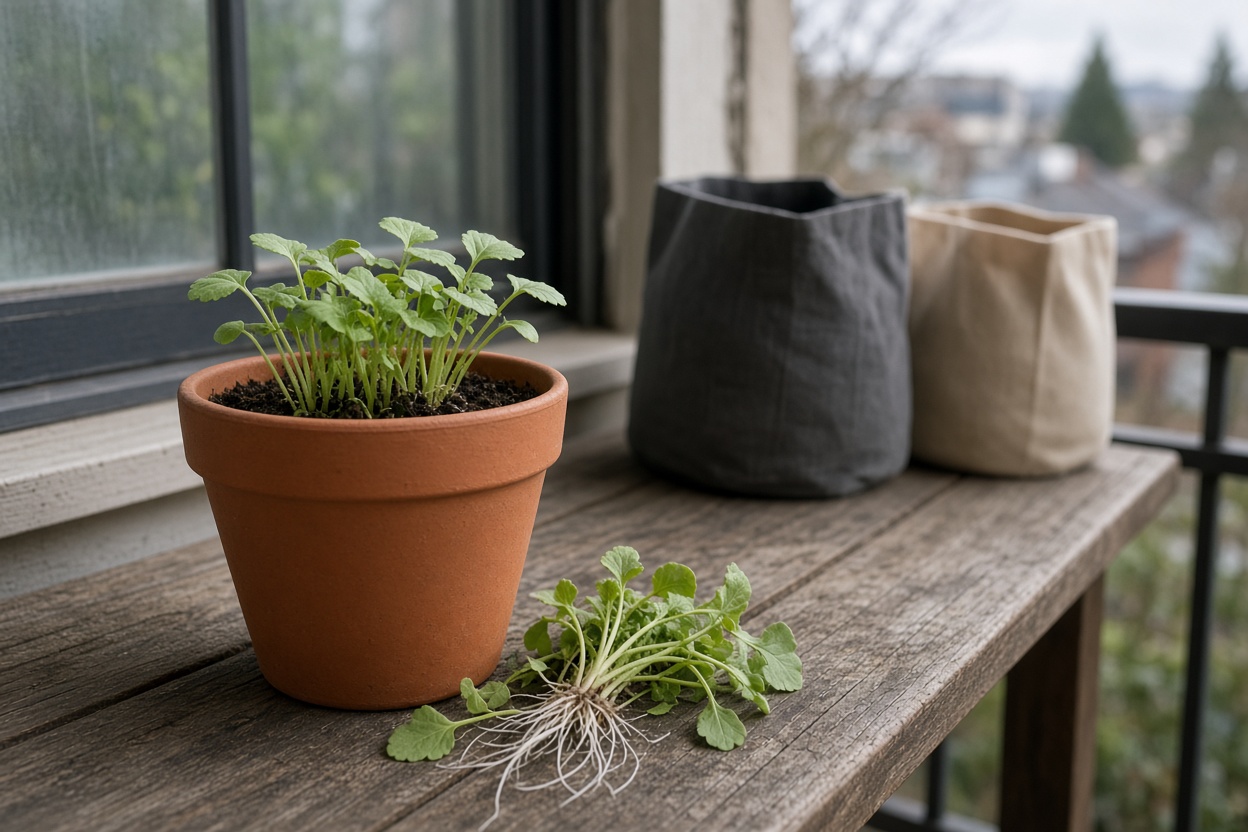
Turnip seedlings come up crowded, and crowded turnips don’t bulb. When the seedlings have their first true leaves, thin them to about three to four inches apart for salad turnips. That works out to roughly ten to twelve plants in a 5-gallon bag.
Snip the extras at soil level with scissors instead of pulling them, so you don’t disturb the ones you’re keeping. Then eat them. Turnip thinnings are a tiny, peppery salad green, and they’re one of my favorite small pleasures of early spring.
Watering and the usual problems
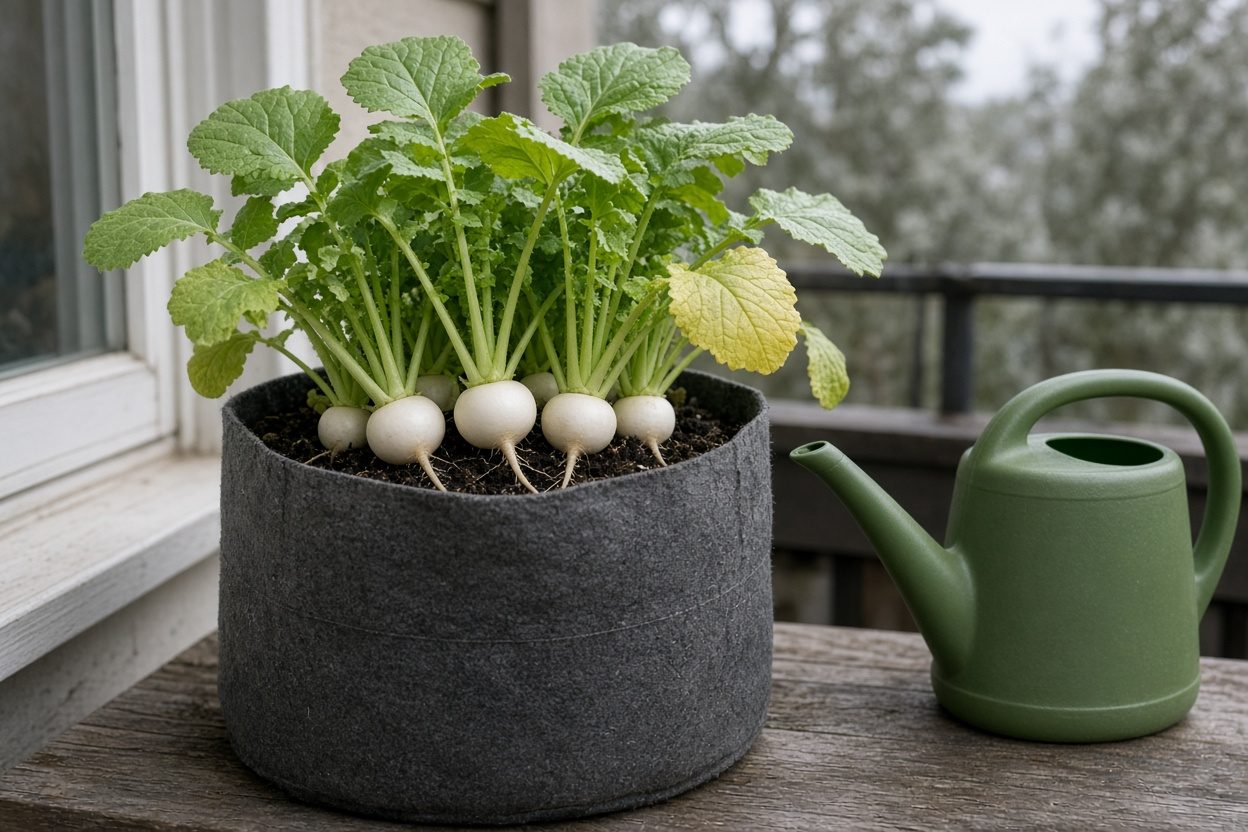
Containers dry out faster than the ground, even in a cool spring. Check the bag with a finger every day or two and water when the top inch is dry. Uneven watering is what makes turnips crack or turn pithy, so steady beats generous. The long-spout can lets me water at the soil line without soaking the leaves.
Flea beetles. Tiny black beetles that pepper the leaves with little holes. They’re cosmetic on the roots but can wreck the greens. A piece of lightweight row cover over the bag from sowing on keeps them off.
Bolting. When the weather turns warm and the days get long, turnips send up a flower stalk and the root turns woody. That’s why spring turnips go in early. If you see a stalk starting, harvest that plant now.
Small roots. Usually crowding, too much nitrogen, or not enough sun. Turnips want at least five or six hours. A shady balcony gets you lovely greens and not much else, which is still a perfectly good harvest.
Harvesting roots and greens
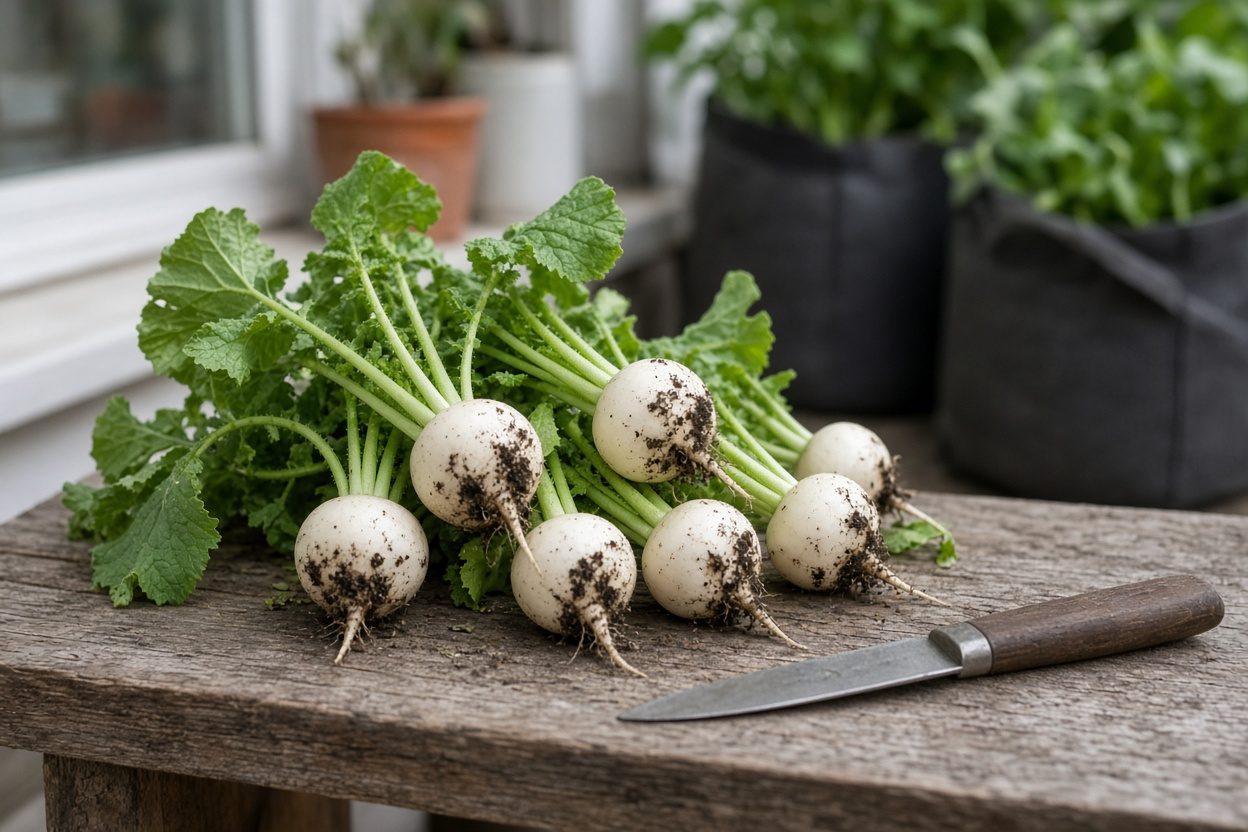
Start checking at about five weeks for Hakurei. Brush the soil away from the top of a root. When it’s one to two inches across, it’s ready. Pull it by grasping the base of the leaves and twisting gently.
Pick them small. A salad turnip left too long goes from crisp and sweet to spongy within a week or two of warm weather. A 5-gallon bag gives me a dozen roots, a big bowl of greens, and room to sow a few radishes in the gaps once it’s cleared.
In the kitchen, I slice the roots thin and eat them raw with flaky salt, or halve them and roast them with a little butter until they caramel at the edges. The greens wilt into anything, the way beet greens do. My grandmother cooked turnips the long way, boiled with a ham bone, and those are good too. They’re just not the same vegetable.
What I got wrong

My first spring, I didn’t thin. I couldn’t bring myself to snip healthy seedlings. I got forty crowded plants and three turnips worth eating. Now I thin hard and eat the extras, and the bag does what it’s supposed to.
Planning the rest of the season
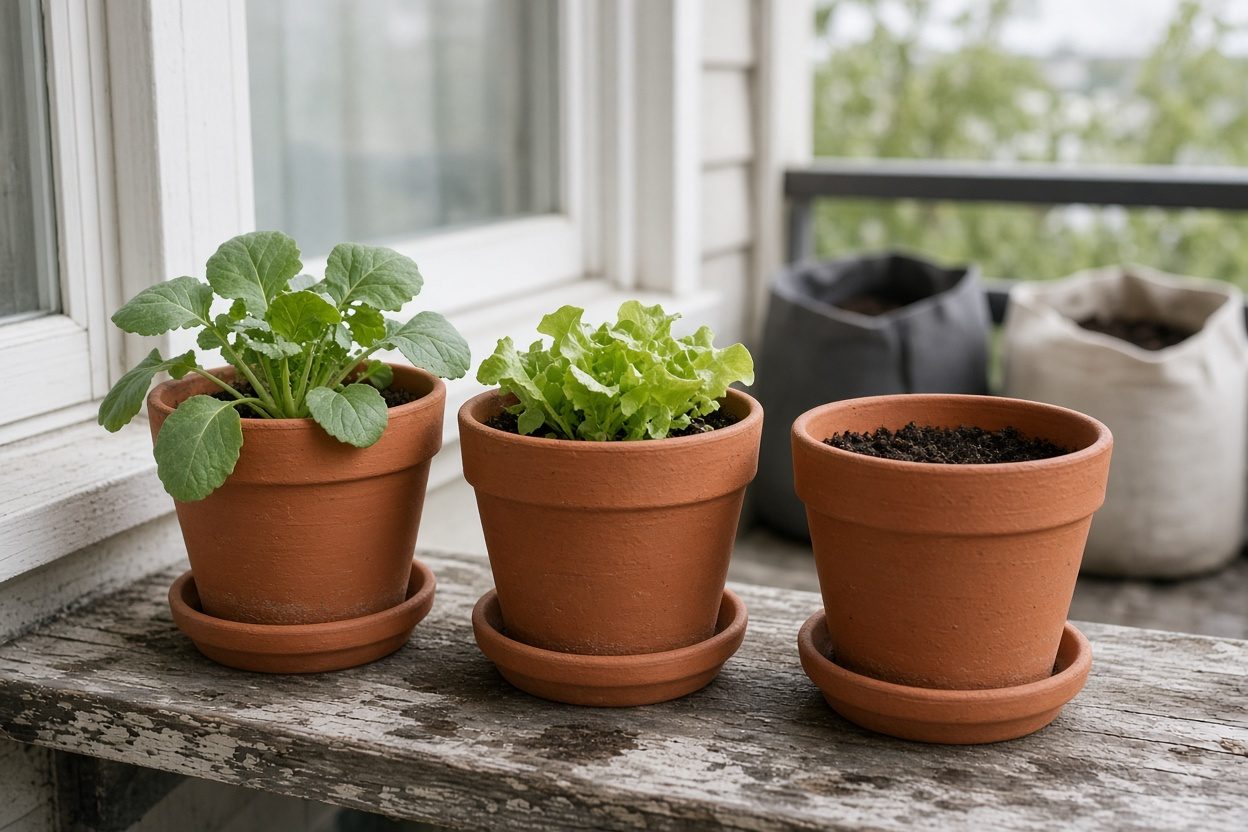
Turnips are a lovely first crop because they’re done before your tomatoes need the space. Clear the bag in late April and it’s ready for something warm-loving.
If you’d like a full season of small-space plans like this, from early spring roots to fall greens, I put it all together in my book, Small-Space Big Harvest. There’s a planting calendar in there built for pots and balconies, not backyards.
You have a bag and a packet of seed. That’s enough to start.
