How to Grow Microgreens on a Windowsill (No Yard Needed)
How to grow microgreens on a windowsill in under two weeks — the no-buy setup, the easiest seeds to start with, and how to keep them from going moldy.
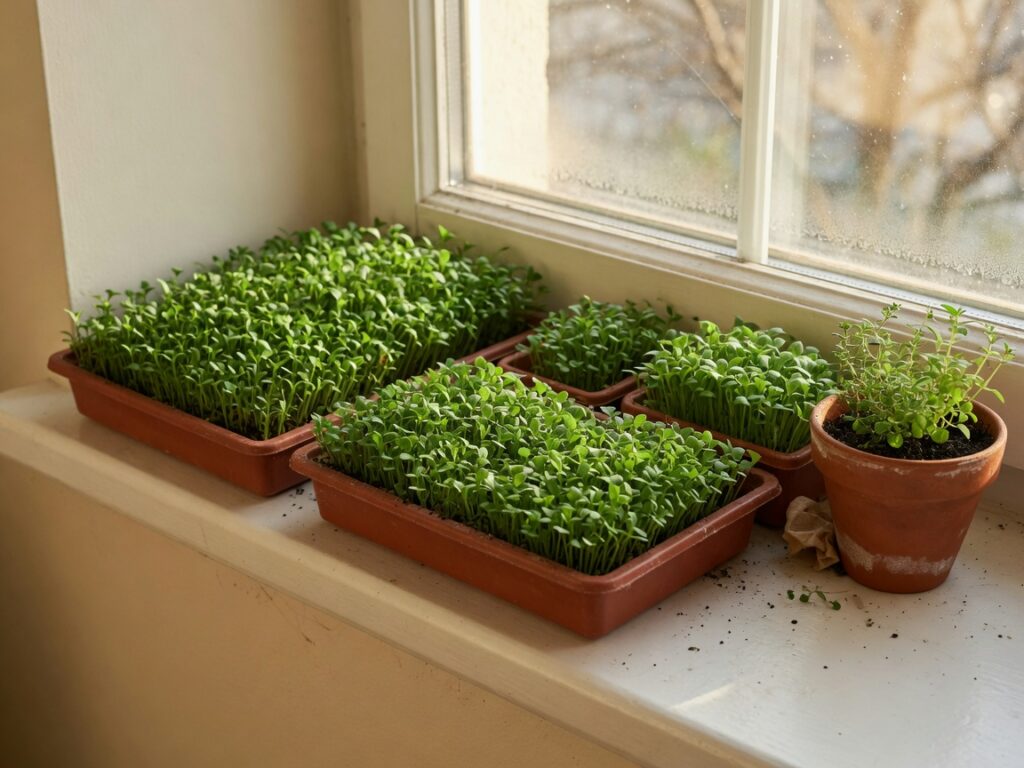
If you want something green growing in the dead of winter, and you want to eat it in under two weeks, microgreens are the answer. No garden, no balcony, not even much sun required. A bright windowsill and a shallow container are the whole setup, and you go from seed to harvest in seven to fourteen days. For a renter in a small apartment, or anyone climbing the walls by February, that’s about the most cheerful, low-stakes growing there is.
Microgreens are just vegetable and herb seedlings, harvested young — snipped when they’re an inch or two tall, at the first set of true leaves, when they’re at their most tender and flavorful. They aren’t sprouts, which you grow in a jar and eat roots and all. Microgreens grow in a little soil and you cut them off at the surface, like a tiny lawn you eat. Here’s how to grow a tray of them on your kitchen sill.
You don’t need to buy a special kit
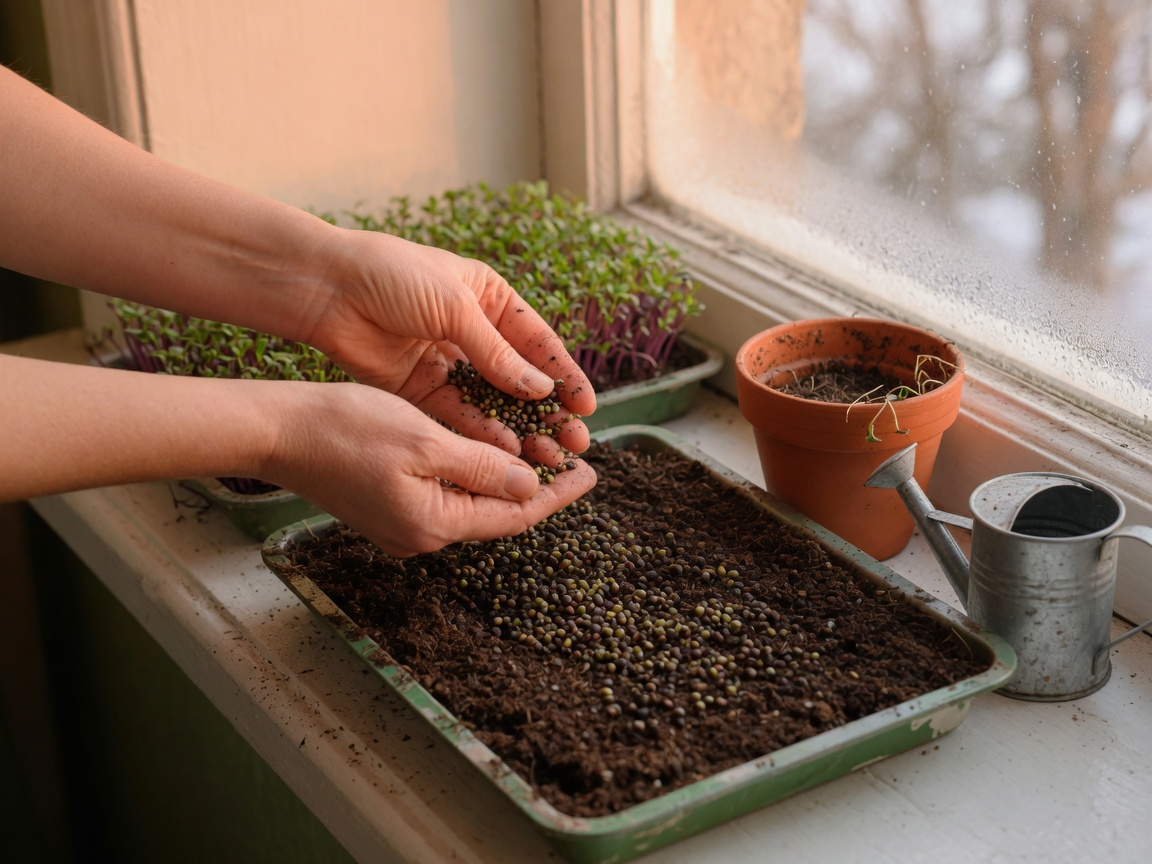
Let me save you some money right at the start. The garden shops will sell you a purpose-made microgreens tray and a grow light and a fancy seed assortment, and you don’t need any of it to begin. A shallow, food-safe container you already have works beautifully — a takeout salad clamshell, the plastic tray a supermarket mushroom came in, a shallow food container. Poke a few small drainage holes in the bottom, and you’ve got a microgreens tray for free.
Fill it about an inch deep with plain potting mix, and that’s your setup. If you catch the bug and want to grow trays every week all winter, that’s the point to look at a proper tray or a small clip-on grow light for a dark apartment — but start with what’s in your recycling. The whole appeal of microgreens is how little they ask of you, and buying a shelf of gear before you’ve grown a single tray misses the point.
The easiest seeds to start with
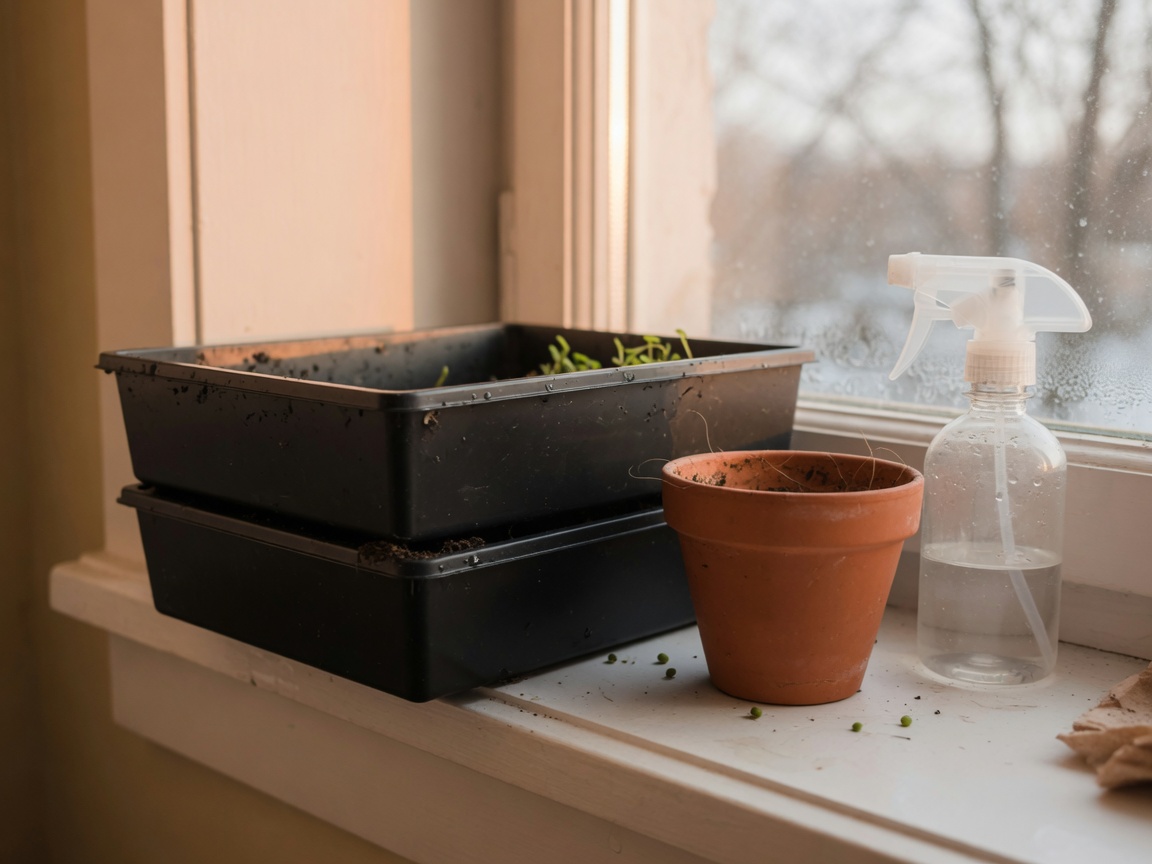
Some seeds are far more forgiving than others, so start with the reliable ones. Pea shoots, radish, sunflower, and broccoli are the four I always point a beginner to — they germinate fast, grow vigorously, and taste wonderful. Pea shoots are sweet and crunchy; radish has a bright peppery bite; sunflower is nutty and substantial; broccoli is mild and grows into a beautiful dense little stand. Any of them will give you a harvest in about ten days.
You use a lot of seed for microgreens — far more than you’d ever sow in a pot — because you’re growing them shoulder to shoulder and harvesting before they need room to size up. Larger seeds like peas and sunflowers do better with a soak in water for a few hours before sowing. You can buy seeds labeled for microgreens, but ordinary garden seeds of these same plants work just fine and cost less by the packet.
Sowing and the little blackout trick
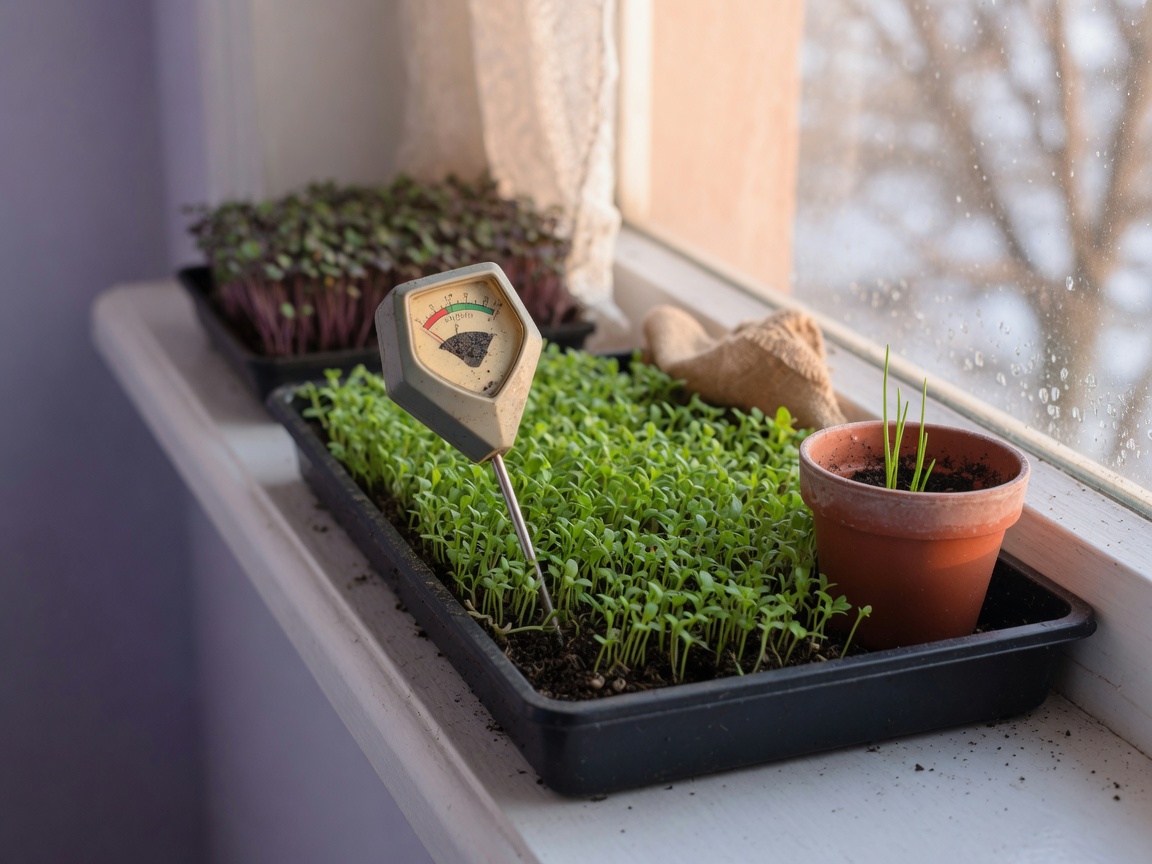
Scatter the seed thickly and evenly across the surface of the mix — the seeds should nearly touch, almost covering the soil. Press them down gently so they make good contact, then mist them well with water. Most microgreens don’t need to be buried; a light press is enough.
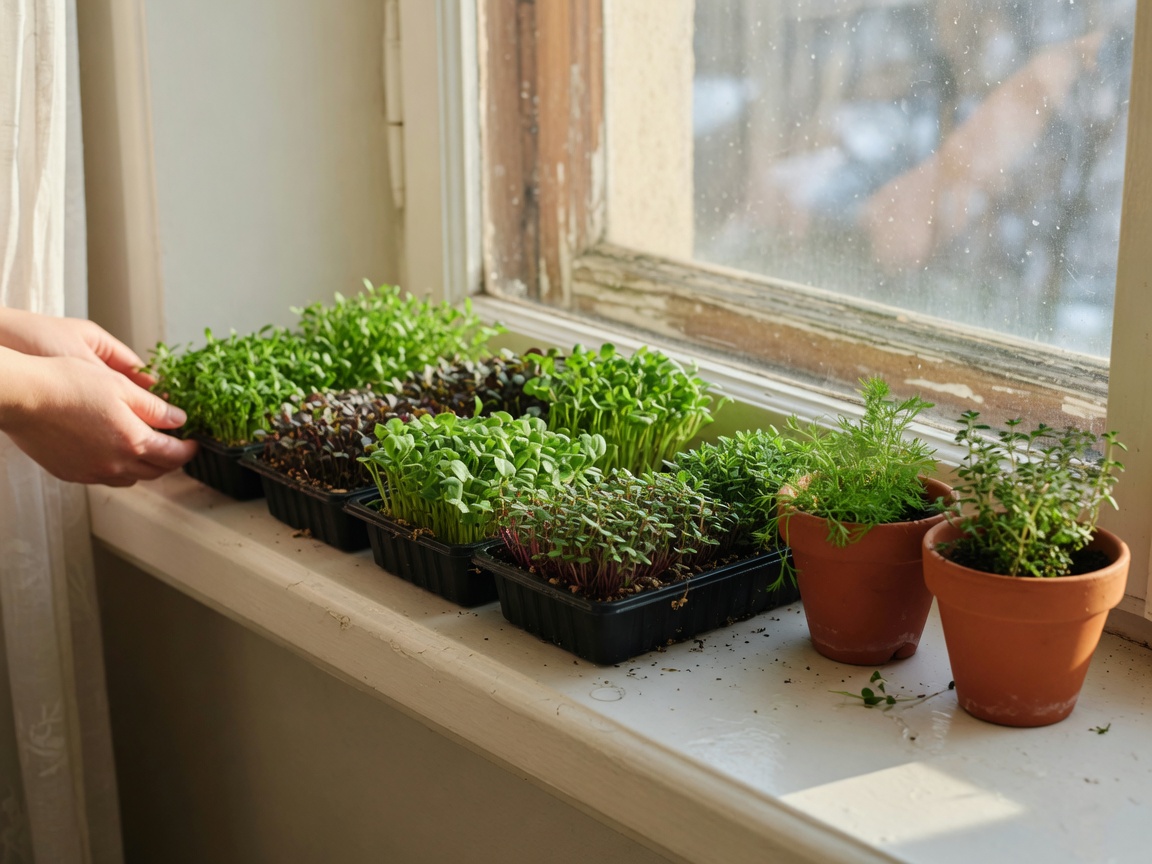
Here’s the one trick that makes them grow tall and even: give them a two-or-three-day blackout to start. Cover the tray with another tray, or a plate, or just set it somewhere dark, and keep the surface misted. In the dark, the seedlings stretch upward reaching for light, which is exactly what you want — long, tender stems. Once they’ve sprouted and lifted a bit, uncover them and move the tray to your brightest windowsill. A south-facing sill is ideal, but because you’re harvesting them so young, they’ll do fine with less light than a mature plant would ever tolerate.
Watering without growing mold
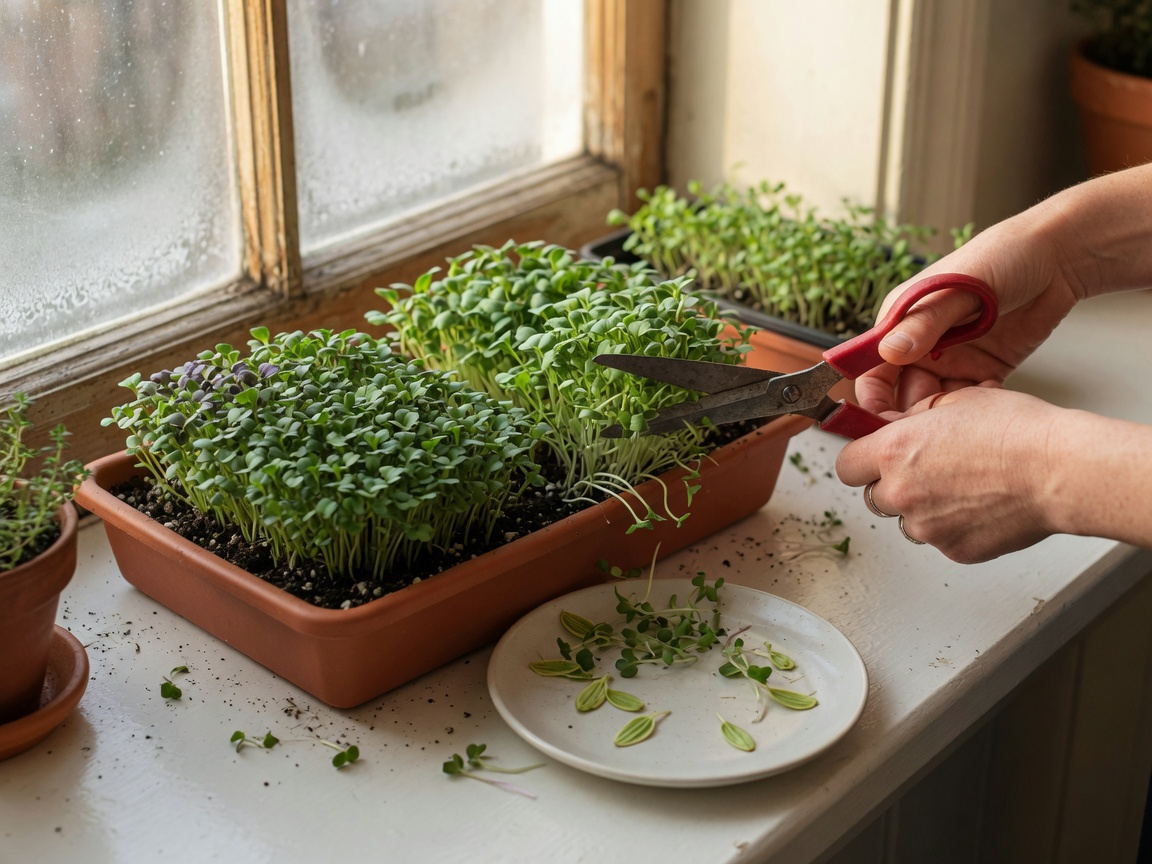
The single thing that trips people up with microgreens is water, and it goes the opposite way you’d expect. Overwatering, crowding, and still air grow mold, and mold is the one real enemy of a microgreens tray. A fuzzy white bloom creeping across the soil is the sign you’ve kept it too wet with no air moving.
So water gently and from below when you can — set the tray in a shallow dish of water for a minute and let the soil wick up what it needs, rather than blasting the delicate stems from above. Keep the mix evenly moist, never soggy, and give the tray a little airflow, even just a cracked window or the normal drift of a kitchen. I lost my first tray of radish to a slimy mat of mold because I misted it three times a day and kept it covered too long, so learn from that: less water, more air. If you do see a patch of mold, it’s usually from sowing too thick or watering too much — thin your seeding next time and back off the water.
Snip, and sow the next tray
When your microgreens are an inch or two tall and showing their first true leaves — usually seven to fourteen days in — they’re ready. Snip them off with clean scissors just above the soil line, rinse, and eat them that day; they’re at their best fresh and don’t keep long. Then dump the spent soil and roots into your compost or a bigger pot, and start another tray. Stagger a new one every few days and you’ll have a steady little harvest coming on all winter.
That’s the whole thing: a shallow container, an inch of soil, a handful of seed, a dark start, a bright sill, and a gentle hand with the water. It’s the fastest reward in all of small-space growing, and it’s the one I reach for when the balcony’s asleep and I need something green to fuss over.
If you’d like the whole calm, productive small-space garden — what to grow indoors and out, in what, and how to keep it going through the year — I go deeper in my book, Small-Space Big Harvest. And if herbs on the sill are more your speed, I wrote up growing herbs in containers for beginners too. (Otto supervises every tray from the warm spot by the window, and considers the sunflower shoots his personal salad bar.)
