How to Start Tomato Seeds Indoors for a Spring Harvest
How to start tomato seeds indoors for spring, no yard required. When to sow, the warmth they need, potting up deep, and moving your seedlings out to pots.
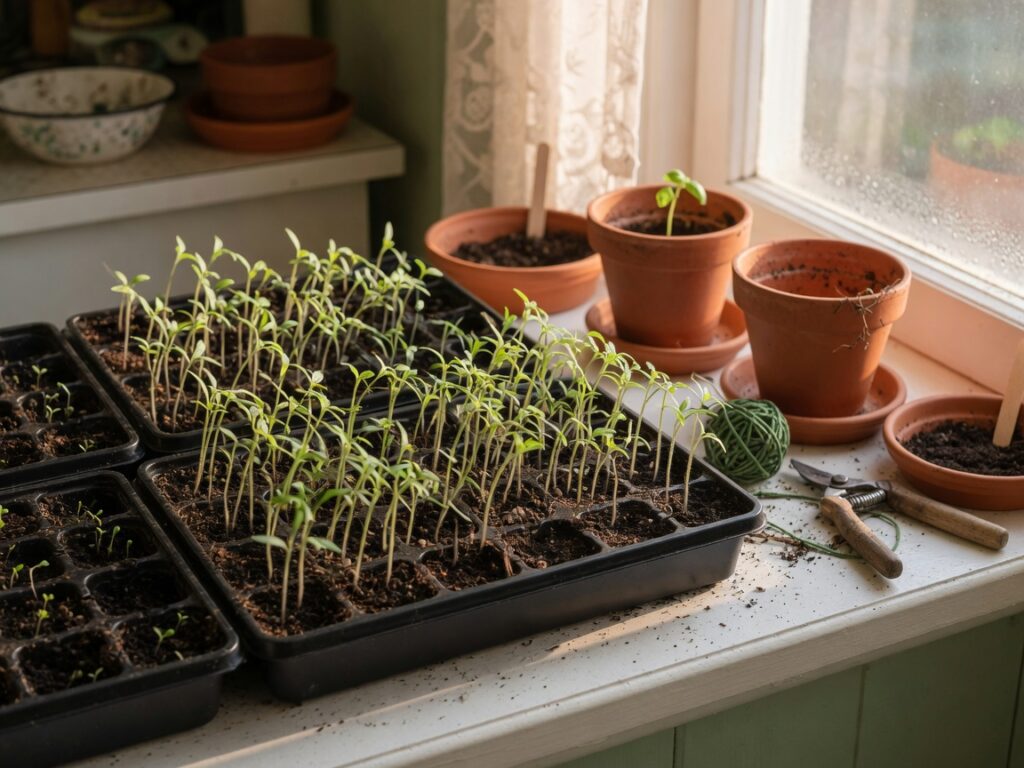
You don’t need a yard to grow your own tomatoes from seed. You need a warm spot, a bright light, and about eight weeks of lead time before spring.
Starting your own is the moment container gardening starts to feel like something you actually do rather than something you buy. A garden center sells you three or four tomato varieties in spring; a seed packet opens up dozens — the little sunny cherry types that never quit on a balcony, the compact patio varieties bred for a pot, the odd heirlooms you’ll never find as transplants. I killed a whole first tray by starting them too early and too cold, so let me save you that. This is the small-space way to start tomato seeds indoors and have sturdy plants ready the week it’s warm enough to move them out.
You’ll also want the basic starting gear — a cell tray with a humidity dome, a fine seed-starting mix, a warmth source, and a grow light. I walk through choosing all of that in my windowsill seed-starting guide; this post is the tomato-specific version of that setup, because tomatoes have a few needs of their own.
Count back from your last frost — don’t start too early
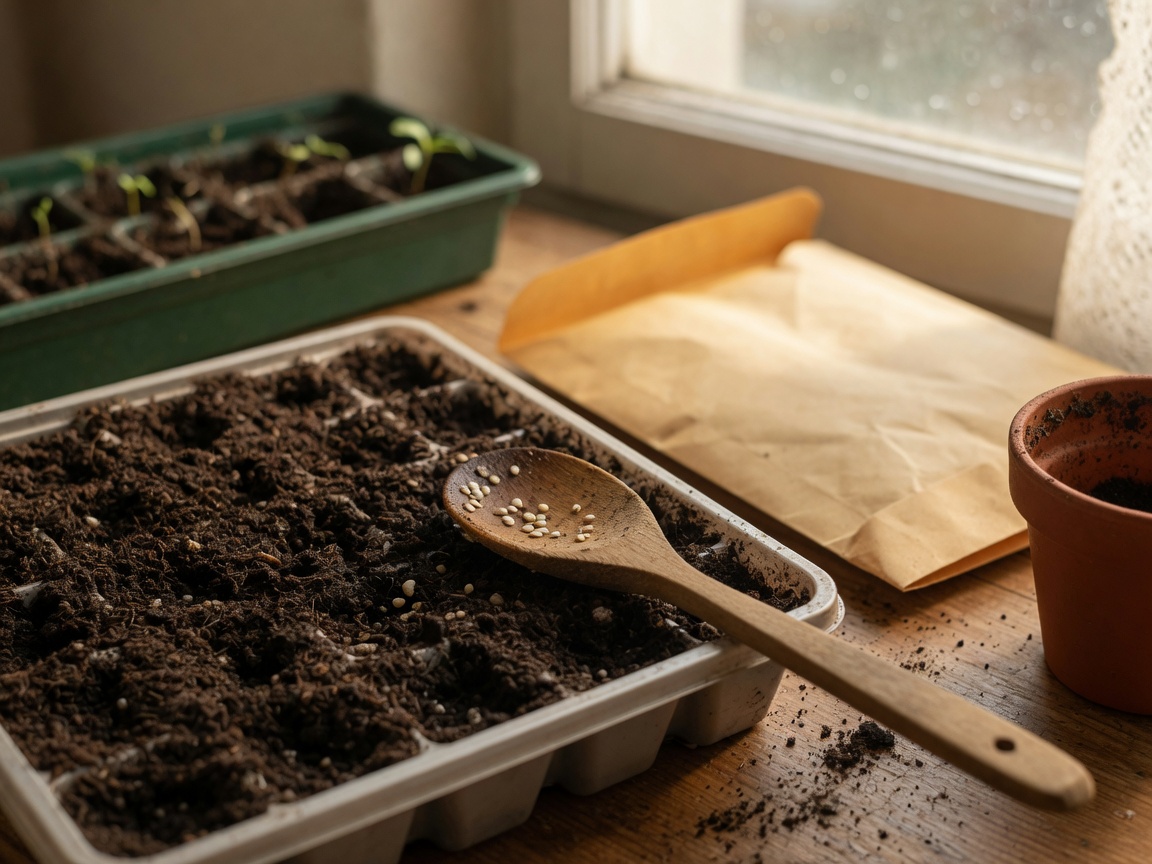
The most common tomato mistake, and the one I made, is sowing in February because you’re excited. Tomatoes grow fast, and a seedling started too soon just gets leggy and root-bound on your windowsill for weeks with nowhere to go.
Here’s the timing that works. Tomatoes want to go outside a week or two after your last spring frost, once nights are reliably above 50 degrees. Start the seeds six to eight weeks before that date. Look up your area’s average last frost — a quick search for your zip code or your county extension office gives it — and count backward. For a lot of the country that means sowing in March or early April for a late-April-to-May move outside.
Write the move-out date on the calendar first, then count back to your sow date. It keeps you honest.
Sow shallow in a fine, warm mix
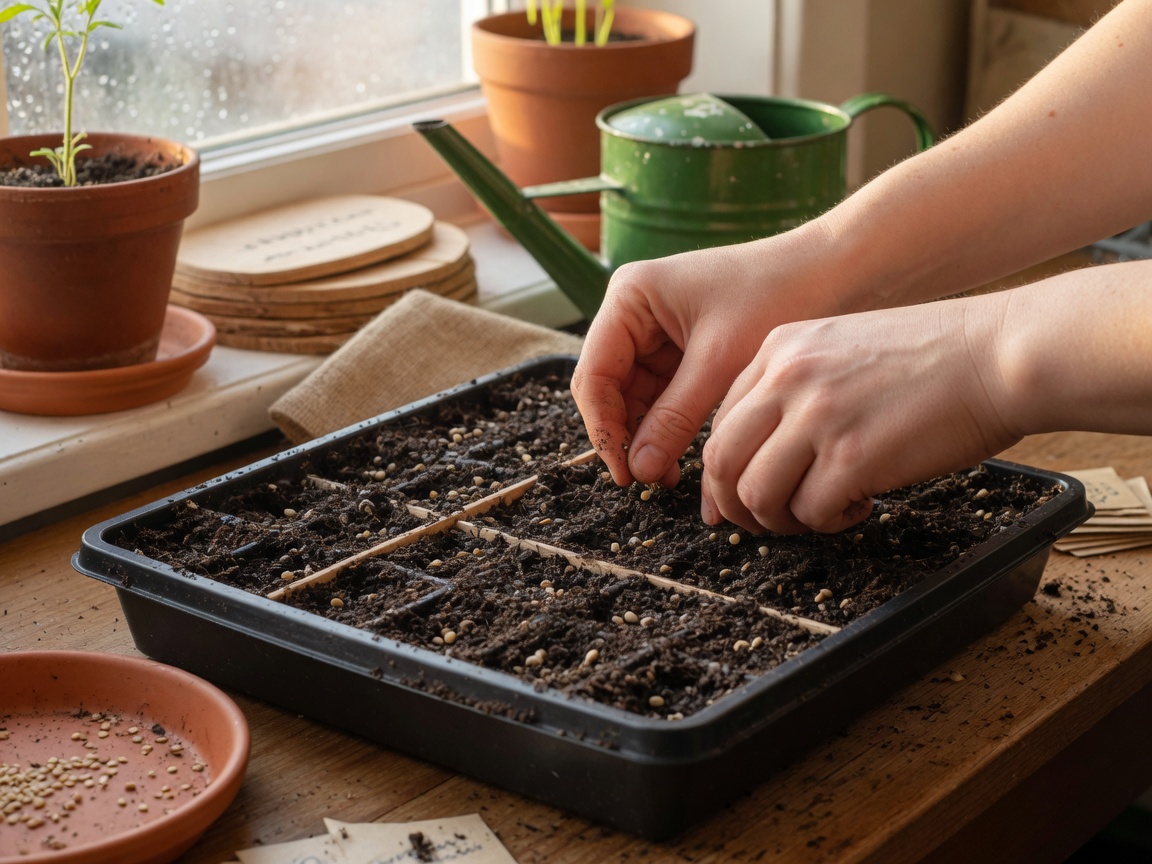
Fill your cells with a moistened seed-starting mix — the fine, light, sterile kind, not potting soil and never garden soil. Moisten it first in a bowl until it feels like a wrung-out sponge, damp but not dripping.
Drop two seeds per cell (you’ll thin to the stronger one later) and cover them just a quarter inch — about twice the seed’s width. Firm the surface gently and snap the dome on.
Now the part that’s specific to tomatoes: they germinate on warmth, and more of it than most windowsills give. Tomato seed wants a soil temperature around 75 to 85 degrees to come up fast. That’s what a seedling heat mat under the tray is for, and with tomatoes it’s the piece I’d least want to skip — warm mix brings them up in five to seven days instead of two slow weeks. If you don’t have a mat, set the tray on top of the refrigerator or somewhere else warm until they sprout.
The dome comes off the moment you see green. Leave it on past sprouting and you trap too much moisture, which is exactly how damping-off — the fungal collapse that flattens seedlings overnight — gets started.
Light hard, and water from the bottom
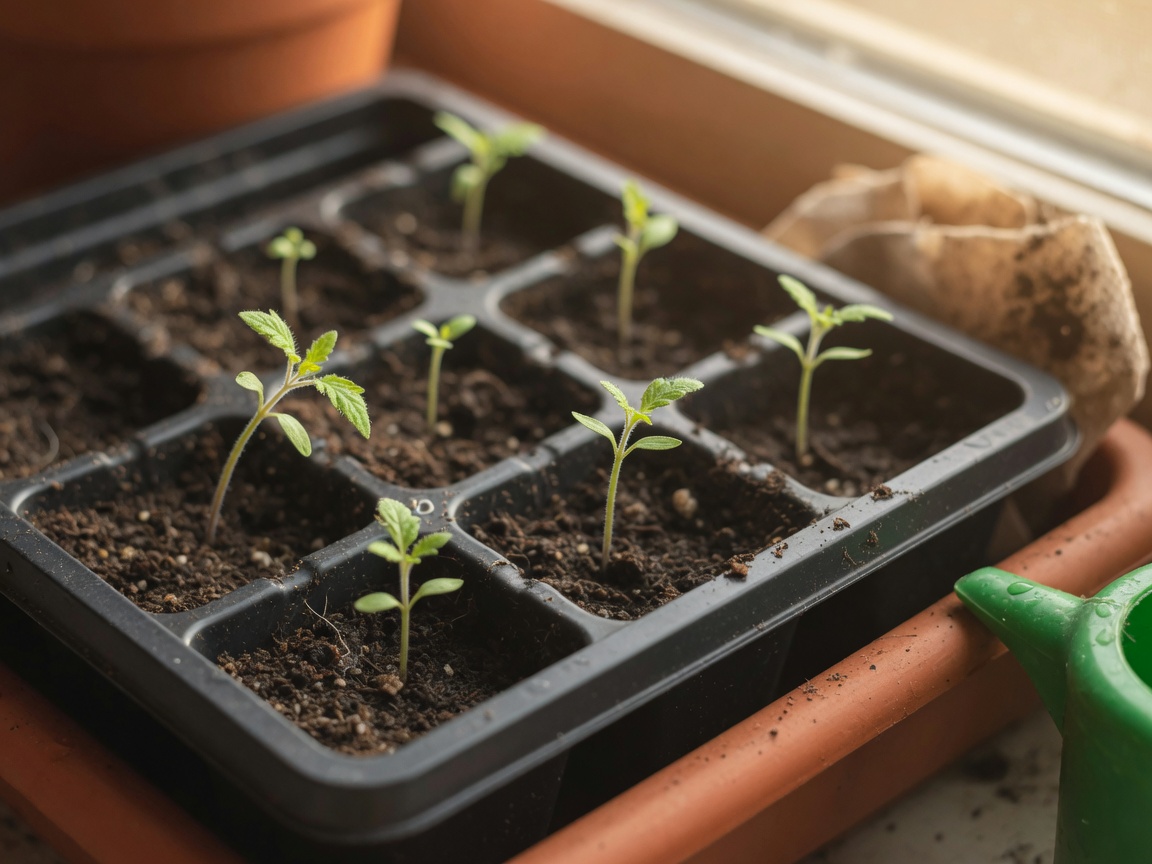
The day they sprout, two things change. Slide the tray off the heat mat — the warmth was for germination, and hot mix under leafy seedlings just cooks them. And get them under a bright light immediately.
This is where tomatoes are unforgiving. A seedling that doesn’t get enough light stretches — pale, floppy, reaching sideways — and a stretched tomato start rarely recovers into a sturdy plant. A windowsill almost never gives enough, so run a clip-on grow light a few inches above them, twelve to sixteen hours a day, and raise it as they grow. Keep it close.
For watering, go from the bottom. Set the tray in a shallow pool of water and let the mix wick it up for ten or fifteen minutes, then pour off the rest. Top-watering knocks tiny seedlings over and splashes mix onto the leaves, which invites trouble. This is also where a moisture meter earns its keep — tomato seedlings are far more often killed by a constantly soggy tray than by a dry one, and the meter tells you plainly whether the mix an inch down is actually dry before you reach for the watering can again.
Overwatering kills more container seedlings than neglect ever will. Let the surface dry between drinks.
Pot up once, and bury them deep
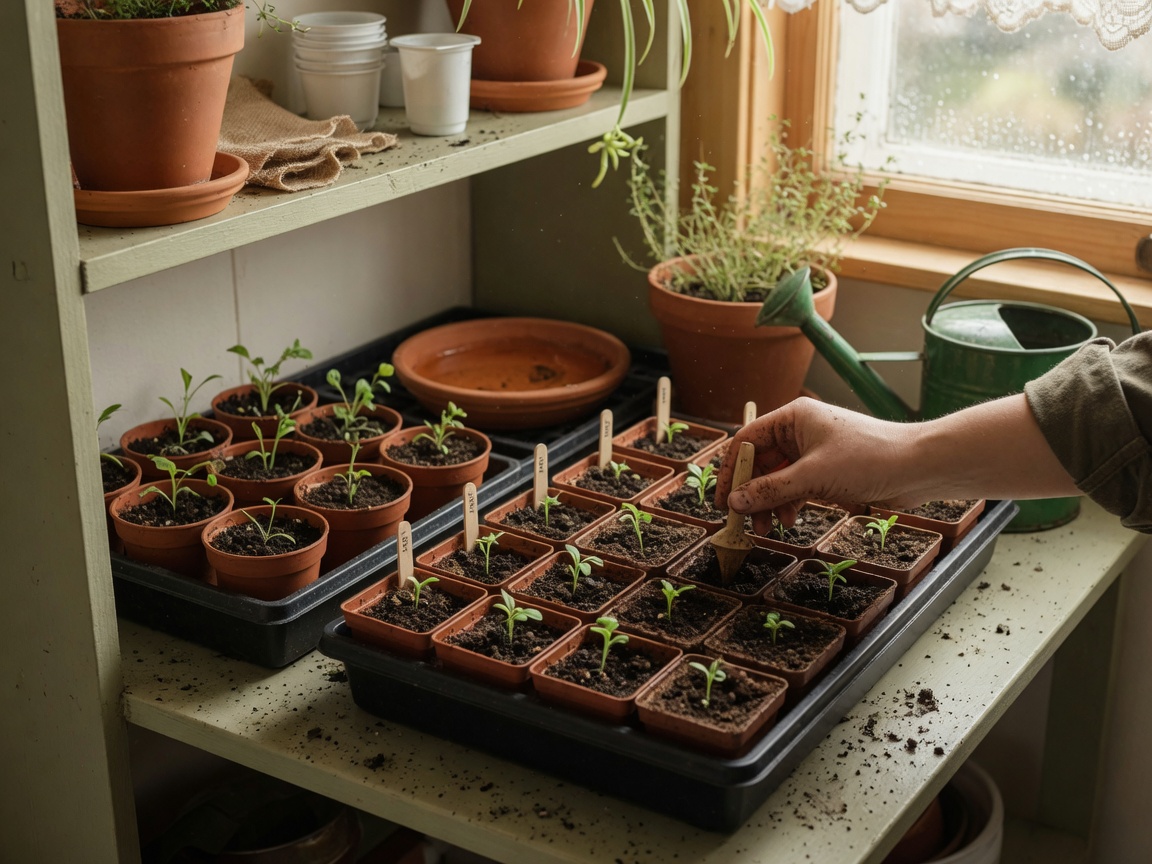
When your seedlings have their first set of true leaves — the second pair, the ones that actually look like tomato leaves — they’ve outgrown the cell. Move each one into a bigger cup or 4-inch pot. This step, called potting up, is where a lot of small-space growers stall, and skipping it is why seedlings go root-bound and sulk.
Here’s the tomato trick that surprises people: bury the stem deep. Pinch off the lowest leaves and set the seedling into its new pot up to the top few leaves, stem and all. Tomatoes grow roots all along a buried stem, so a deep-planted start builds a bigger, stronger root system — and it quietly fixes a seedling that got a little leggy on you. No other common vegetable lets you do this. Use it.
Keep them under the light, keep potting up if they outgrow that pot before it’s warm out, and feed lightly once they’re in real potting mix.
Harden off, then out to the pots
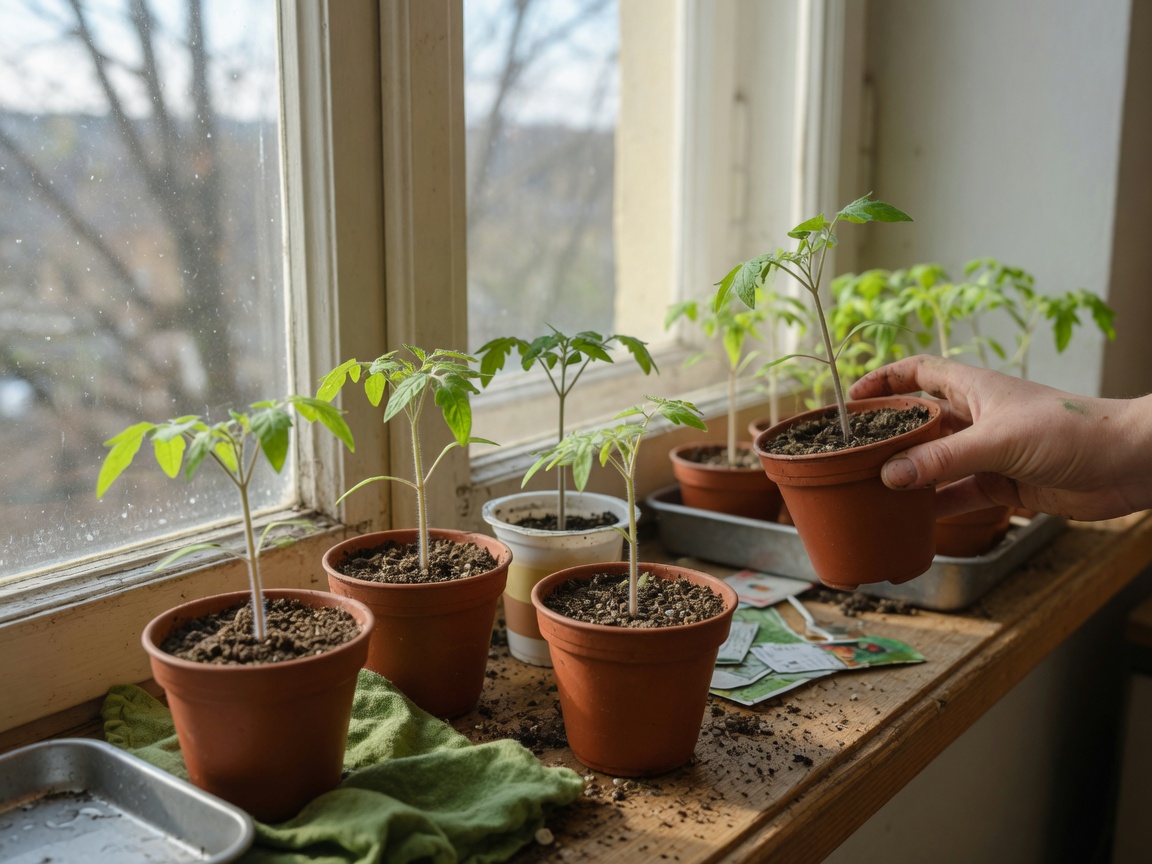
A seedling raised indoors has never felt wind or direct sun, and moving it straight outside will sunburn or wilt it in an afternoon. So harden them off: set the tray outside in shade for an hour the first day, then a little longer and a little sunnier each day for about a week. This catches people every single spring.
Then plant them out — again, deep — into their final containers. Tomatoes are heavy feeders with big roots, so give them room: a fabric grow bag in the 5-to-10-gallon range is my go-to on a balcony, because the fabric air-prunes the roots and drains so you’re far less likely to drown them, and you can fold it away at season’s end. A determinate patio variety can take a smaller bag; an indeterminate cherry wants the big one and a stake. From here, my growing tomatoes in containers guide picks up the rest of the season.
That’s the whole arc: sow warm about eight weeks out, light them hard, pot up deep, harden off, and move them to a roomy bag. None of it needs a yard, and all of it fits on a single shelf until the weather turns. Otto, for his part, supervises from the warm spot by the window and remains convinced the seedlings are a personal salad bar.
I walk through the full small-space season — what to start, when, and what to grow it on in — in Small-Space Big Harvest. This post is the tomato start. The book is everything that comes after the sprout.
