How to Start Pepper Seeds Indoors for Container Growing
Peppers are slow starters, so you sow them early. Here's how to start pepper seeds indoors on a windowsill with a clip light, then pot them up for a balcony.
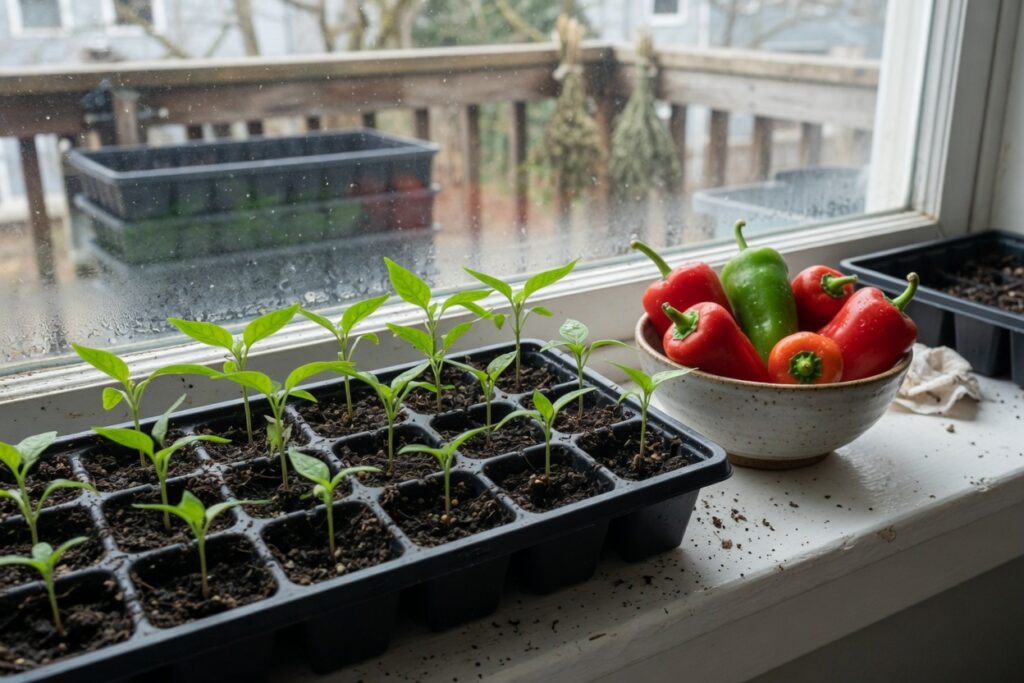
Pepper seeds are the slowest seeds I sow all year. Tomatoes pop up in a week. Peppers sulk for two, sometimes three, and the first time I grew them I decided the whole packet was dead and tipped the tray into the compost. A week later I noticed a green hook poking out of the pile. I fished it out, put it in a yogurt cup, and it gave me a very good jalapeño that summer.
So here’s the plan, and it works on a windowsill with no yard in sight. You sow early, you give the seeds warmth and a little patience, and by the time the weather turns you’ve got sturdy seedlings ready to move into pots on your balcony.
You’ll also need seed packets and something to start them in. I use clean yogurt cups with holes poked in the bottom, which is free and works fine. I haven’t found a seed-starting tray I trust enough to point you toward yet, so I’m leaving that one for the cups. For the seed, pepper seeds from SeedsNOW are raw and untreated, and the company supports the Safe Seed Pledge.
Know your dates first

Peppers want a long head start. The rule of thumb is six to eight weeks before your last frost for sweet peppers, and eight to ten weeks for hot ones, which grow even slower. Look up your area’s average last frost date. Your local extension office lists it, and it takes two minutes.
If your last frost is around the end of April, for example, you’d sow hot peppers in mid-February and sweet peppers in early March. Sowing a month too early is the usual mistake. You end up with leggy plants stuck in a cup, waiting for weather that isn’t ready.
Pick peppers that suit pots

A balcony isn’t the place for a six-foot plant. Look for compact types. A few I’ve grown or watched grow well in a 5-gallon container:
Lunchbox peppers. Small, sweet, snackable, and the plants stay manageable.
Jimmy Nardello. A long, thin frying pepper. The plant sprawls a little, but it gives a lot of fruit.
Padrón. Pick them small and they’re mild, mostly. Let them ripen and they get hot.
Apache or Basket of Fire. Compact hot peppers that look as good as they taste.
Sowing, step by step
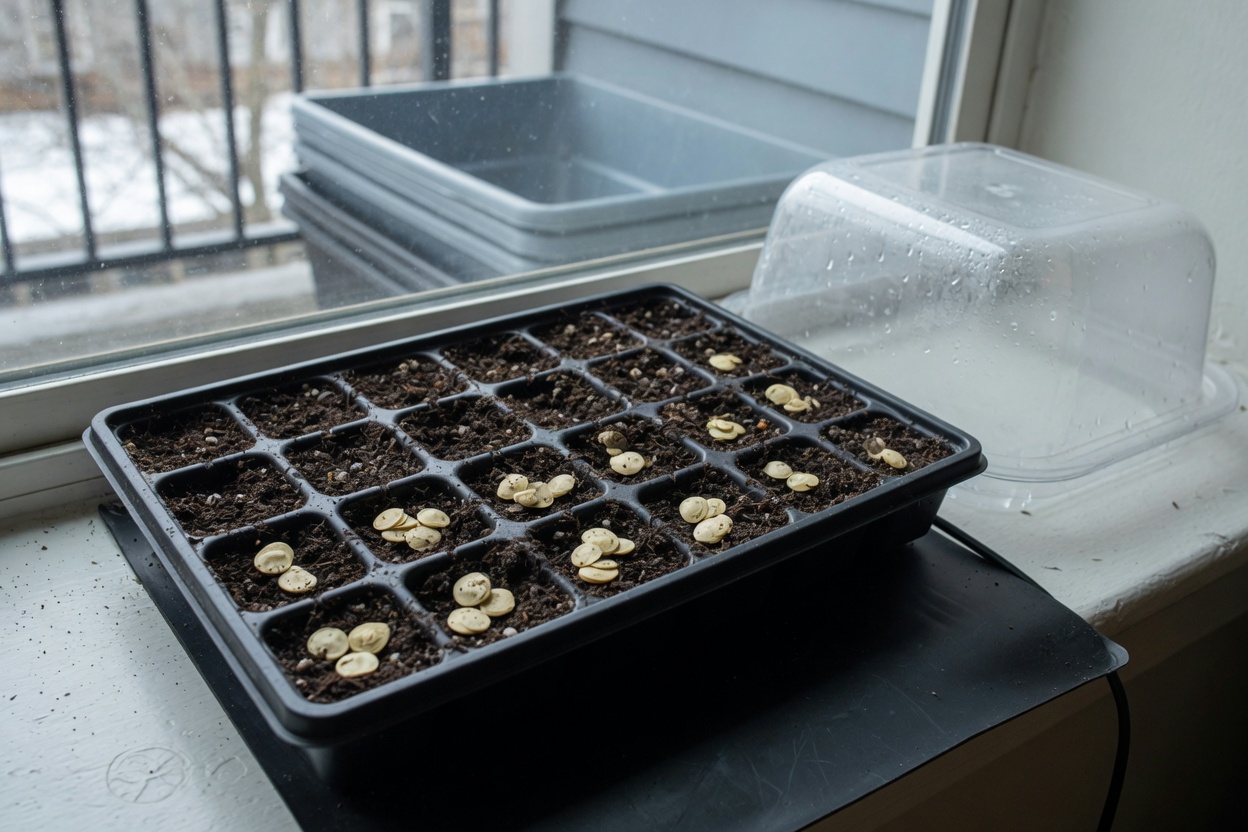
1. Moisten the mix first. Dump the seed-starting mix in a bowl and add warm water until it feels like a wrung-out sponge. Dry mix repels water, and a dry seed tray is a lost seed tray.
2. Fill your cups, and sow two seeds per cup. Put them about a quarter-inch deep. Cover lightly and press down gently. If both sprout, snip the weaker one at the soil line with scissors. Pulling it can tear the roots of the one you want.
3. Keep them warm. This is the part that surprised me. Pepper seeds want soil around 80 degrees to sprout well. A cool windowsill can stretch germination to three weeks or more. I set my cups on top of the refrigerator, which runs warm, until the first green shows. A seedling heat mat would do this job more reliably, but I haven’t found one I’d recommend, so the fridge top is my workaround.
4. Cover the cups loosely. A piece of plastic wrap or a clear lid holds in the moisture. Take it off the day you see green.
5. Move them under light right away. Once seedlings emerge, they need light immediately. Clip a grow light to a shelf or a bookcase, an inch or two above the tops of the plants, and run it for 14 to 16 hours a day. Raise it as they grow. I put mine on a cheap outlet timer and stopped thinking about it. If you want more on choosing a light, I wrote about how to choose a grow light for starting seeds indoors.
Watering without drowning them

Overwatering kills more seedlings than neglect does. The top of the mix can look bone dry while the cup underneath is soggy, or the other way around. This is why I push a moisture meter down to the root zone before I water anything. I water from the bottom when I can, setting the cups in a shallow tray and letting them drink for ten minutes, then pouring off what’s left.
A small fan, set on low across the tops of the seedlings for an hour a day, makes the stems stockier. It’s a cheap trick and it works. I also have a standing rule: if a seedling falls over at the soil line, that’s damping off, a fungus that thrives in wet, stagnant conditions. You can’t save that plant, but you can keep it from spreading by thinning crowded cups and not overwatering.
Pot them up

When a seedling has two sets of true leaves, which are the second pair of leaves, the ones that look like a real pepper leaf, it’s ready for a bigger cup. Fill a 3-to-4-inch pot with potting mix, make a hole with a pencil, and lower the seedling in. Peppers can go a little deeper than they were, but not as deep as tomatoes. Water gently and keep it under the light.
The short version of potting up: handle the leaves, never the stem, and don’t rush.
Hardening off and the final pot

About a week or two before your last frost date, start putting the plants outside for an hour or two a day, building up the time slowly. I wrote a full walk-through in how to harden off seedlings on a balcony.
When nights stay above 50 degrees, move them into their permanent homes. A 5-gallon fabric grow bag suits a pepper plant well, because the fabric breathes and the roots don’t sit in water. Put it where it gets six or more hours of sun. A south or west railing is ideal.
That’s all there is to it: sow early, keep them warm, give them light, water carefully. It’s a slow start, and there’s no way around that. But when the first peppers swell on a plant you began from a seed in February, it feels like a small gentle win.
I go deeper on starting seeds and getting more out of a few pots than you’d think possible in my book, Small-Space Big Harvest.
