Herbal Infused Vinegar: How to Make a Batch Before the Holidays
How to make herbal infused vinegar at home: pick the herbs, fill the jar, steep it four to six weeks, and have pantry gifts ready well before the holidays.
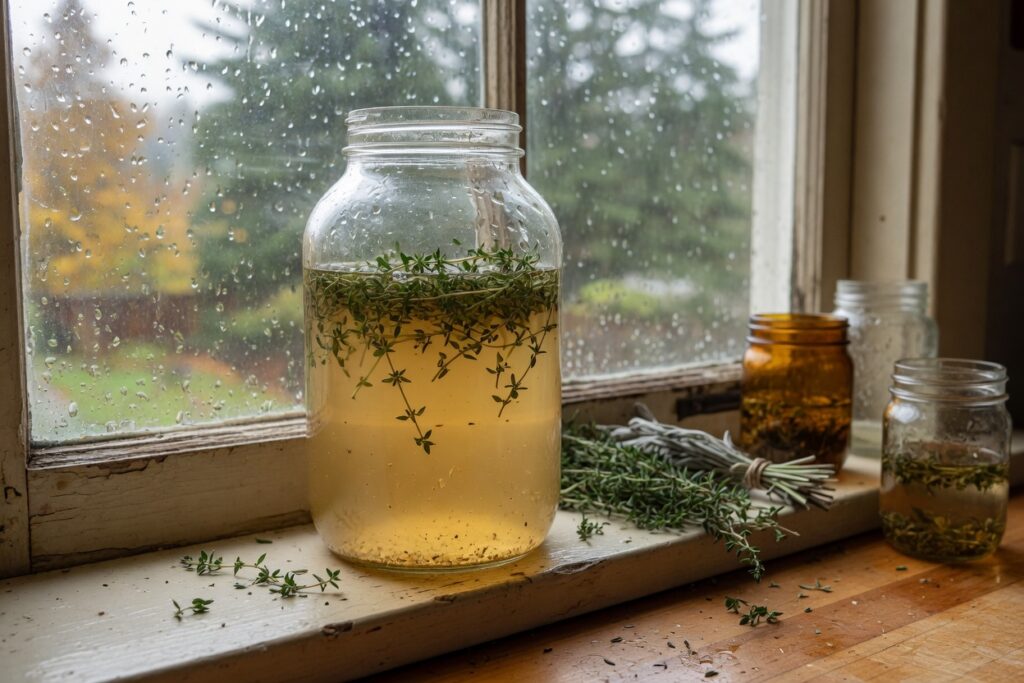
The first jar of herb vinegar I ever made sat on a windowsill for most of a summer because I forgot it was there. When I found it in September, the thyme had gone the color of strong tea and the vinegar smelled like a Sunday roast. I used it on potatoes that night and have made a batch every fall since.
October is the right month to start one. A vinegar wants four to six weeks to steep, which puts a jar begun this week on your counter, finished and strained, in the middle of November. That leaves you time to bottle it for the people on your list, and a couple of jars for your own pantry besides.
This is a kitchen project, and I’m treating it as one. Herb vinegar is a cooking ingredient: a splash in a pan of roasted roots, a dressing for winter greens, a way to wake up a pot of beans. Nothing more is claimed for it here, and nothing more needs to be.
Pick the vinegar and the jar
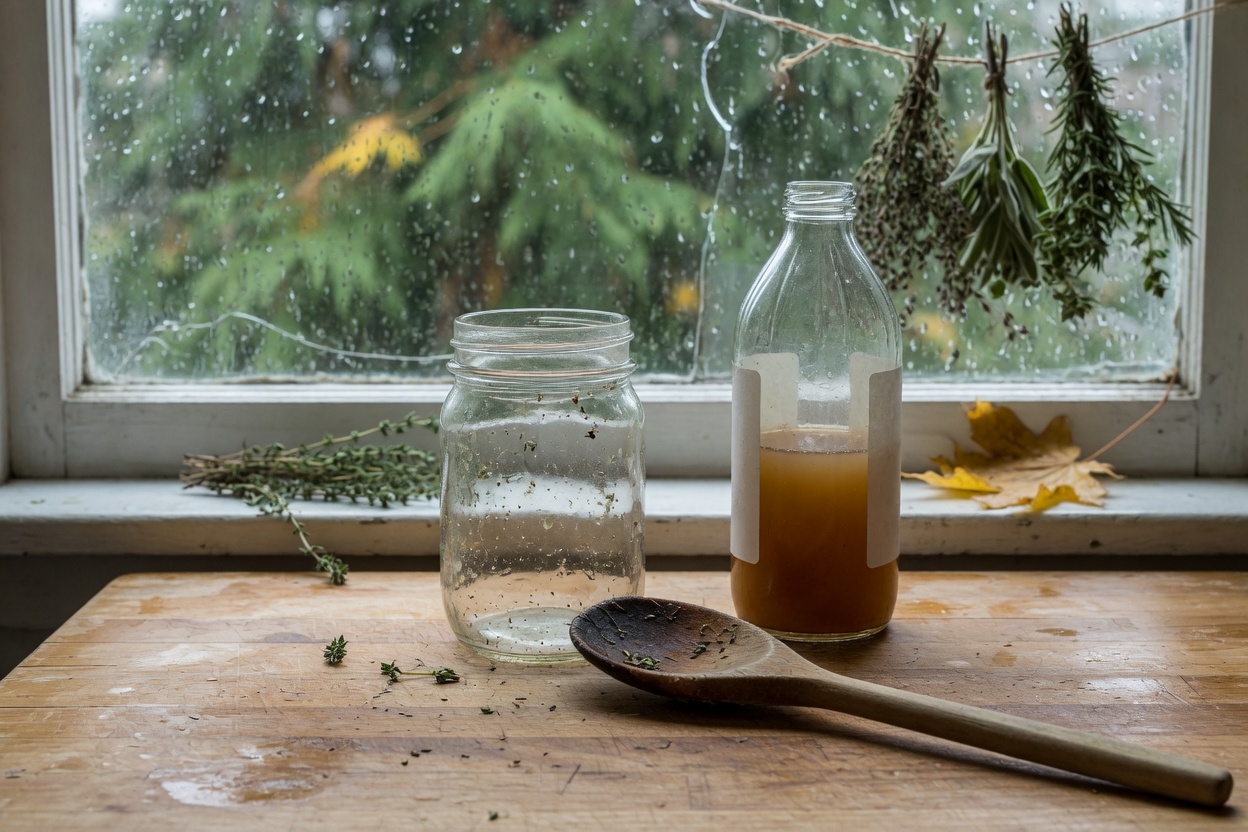
Use a vinegar you’d happily put on a salad. Apple cider vinegar is my default because it’s forgiving and its mild sweetness sits well under woody herbs. White wine vinegar is cleaner and lighter, and I prefer it with lemon balm and sage. Check the label for five percent acidity. That’s what keeps the jar stable over weeks of steeping, and it’s the standard strength on most grocery shelves.
I use wide mouth pint jars for nearly everything, and vinegar is no exception. A pint holds enough to be useful and small enough to give away, and the wide opening matters when you’re stuffing in rosemary sprigs. Wash the jars in hot soapy water and let them dry completely. They don’t need to be sterile the way canning jars do, because the vinegar is doing the preserving, but they do need to be clean.
Here is the one mistake I made early. Vinegar corrodes ordinary metal lids. My first batch ate through the coating of a two-piece lid and left a rust-colored ring and a metallic taste, and I poured the whole jar out. Use a plastic storage cap if you have them. Otherwise, lay a square of parchment paper over the mouth of the jar before you screw the metal lid on, so the vinegar never touches the metal. Shaking the jar is fine, since the parchment holds.
Choose herbs you know cold
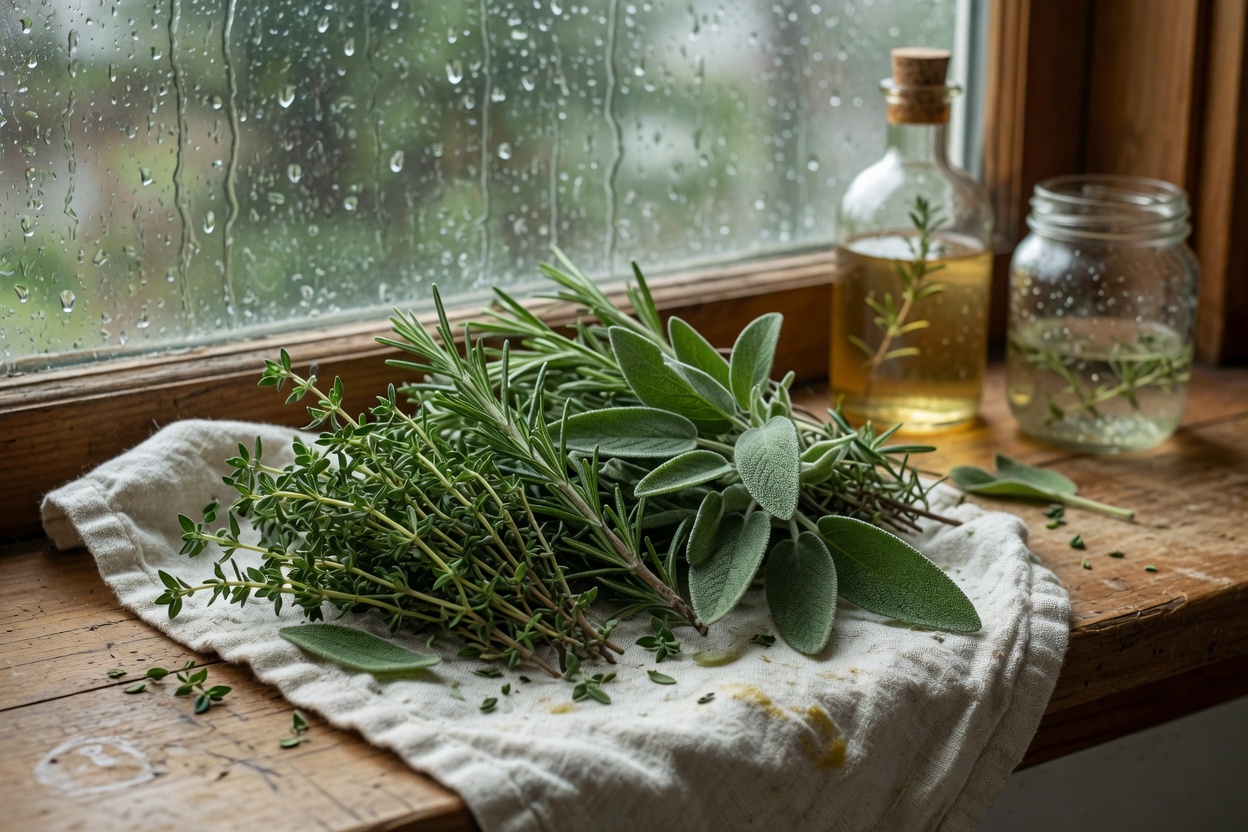
This is the section where I’m going to be strict, because the jar is going on a dinner table. Use only herbs you can name with certainty. That means thyme, rosemary, and sage from the garden, nettle you’ve harvested and dried yourself, lemon balm, and rose hips you gathered or bought dried. If you’re unsure about a plant, it stays out of the jar. A pretty leaf is not a reason.
Dry herbs are the easier route. Fresh herbs carry water, and extra water dilutes the vinegar and invites trouble over a long steep. If you’re using fresh, wash them, then dry them hard on a towel until there’s no visible moisture before they go in. I air-dry most of my woody herbs for a week anyway, and my notes on air-drying versus a dehydrator cover which herbs suit which method. Herbs that have been stored well make a better vinegar, too, so if yours have sat in a clear jar by the window since June, read how I store dried herbs so they last first.
Rose hips deserve a special mention for a fall batch. I gather mine along the fence lines and bluff edges near Dungeness after the first cool nights, and I dry them whole, then split them before they go in the jar. They give a vinegar a tart, fruity, slightly dusky edge that turns up well in a winter dressing. My guide to foraging and using rose hips walks through gathering and drying them.
A few combinations I come back to every year:
– Thyme and sage with apple cider vinegar, for roasted vegetables and anything with squash in it.
– Rosemary on its own in white wine vinegar. It’s strong, so a little goes far.
– Dried rose hips and a few lemon balm leaves in apple cider vinegar, for dressings and a splash over cooked greens.
– Nettle, lightly dried, with a sprig of thyme, which gives a deep green vinegar with a flavor that sits somewhere between spinach and tea.
For dried herbs, fill the jar about one-third full, loosely. They swell as they take up the liquid, and a jar packed tight gets cramped. For very dry fresh herbs, fill it about half full. Pour the vinegar over the herbs until they’re covered by at least an inch, leaving about half an inch of headspace at the top.
The herbs have to stay under the liquid. Anything poking above the surface can mold. If a sprig keeps floating up, press it down with a clean spoon, or trim it shorter. Then cap it, with the parchment, and write the date and the herb on a piece of tape or a label. Don’t trust yourself to remember, because you won’t. I have three unlabeled jars in my cupboard right now.
Steep it for four to six weeks
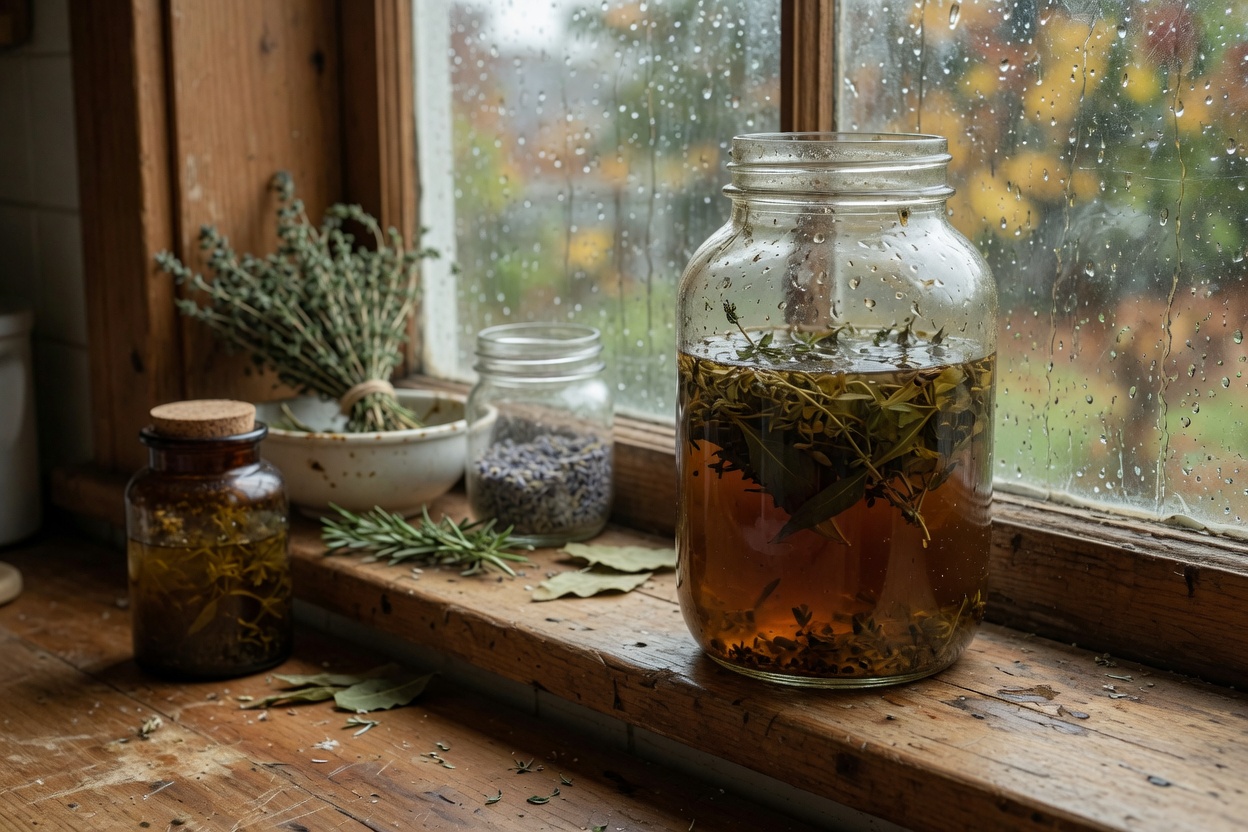
Set the jar somewhere out of direct sun. A kitchen cupboard or a shelf away from the window is ideal. Light fades the color and flattens the flavor, and a south-facing sill will do both. Give it a shake every few days when you pass, mostly as a reminder that it’s there.
At four weeks, taste a drop on a spoon. Woody herbs like rosemary and thyme are often ready then. Softer ones, like lemon balm and nettle, can take the full six. If it tastes thin, give it another week. If it tastes harsh or bitter, it has gone long, and you can strain it and cut it with a little plain vinegar. I’d rather a batch finish a week early than a week late. There’s no gentle way to take herb back out of a vinegar that’s steeped too long.
Strain, bottle, and label
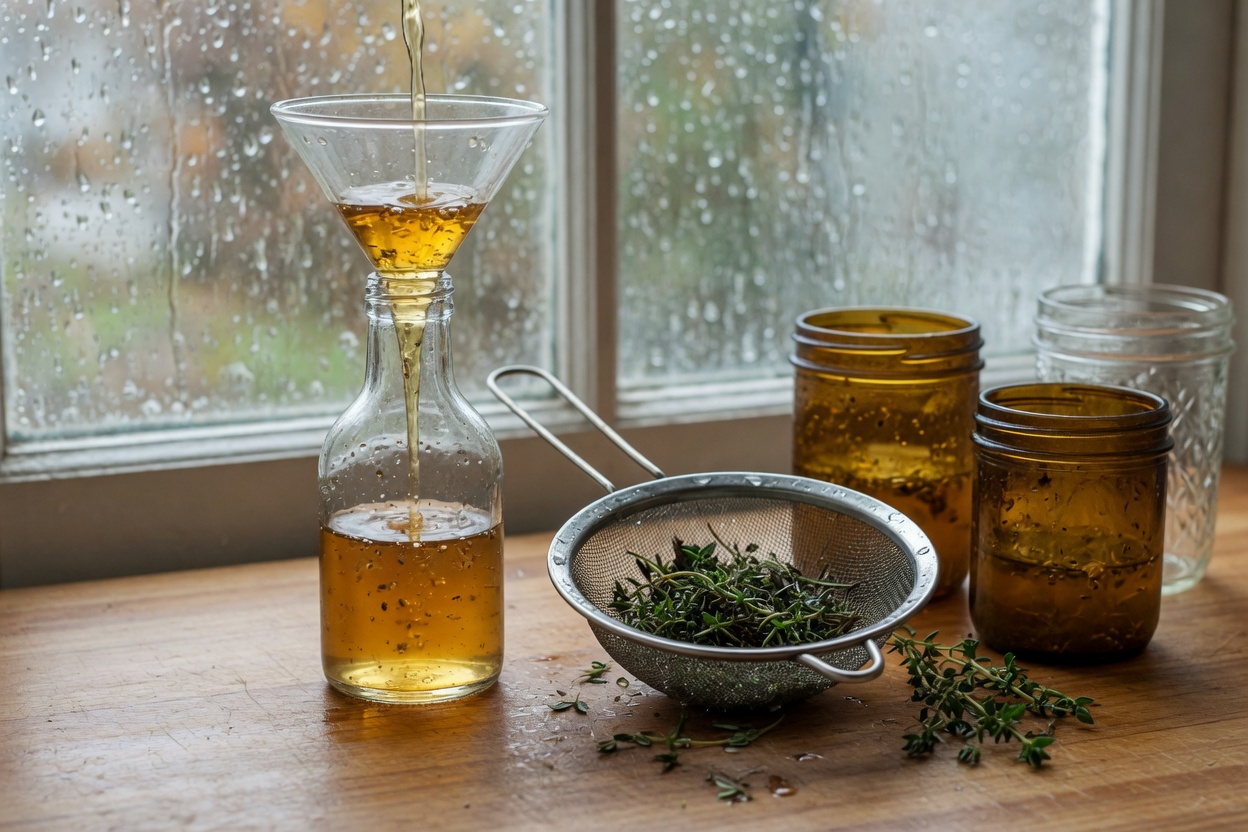
Line a funnel or a sieve with a double layer of grade-90 cheesecloth and pour the vinegar through slowly into a clean jar or bottle. A coffee filter clogs and takes an hour. I reuse my cheesecloth after a hot-water rinse. Squeeze the spent herbs in the cloth at the end to get the last of the liquid. They can go in the compost.
Take the herbs out completely before you store or give the vinegar away. Herbs left in a bottle look nice for about a week, then start to look like a science project.
Label every bottle with the herb, the type of vinegar, and the date you strained it. Add a short line on use, such as “roast vegetables” or “greens.” People are far likelier to use a gift when they know what to do with it.
Storage and shelf life
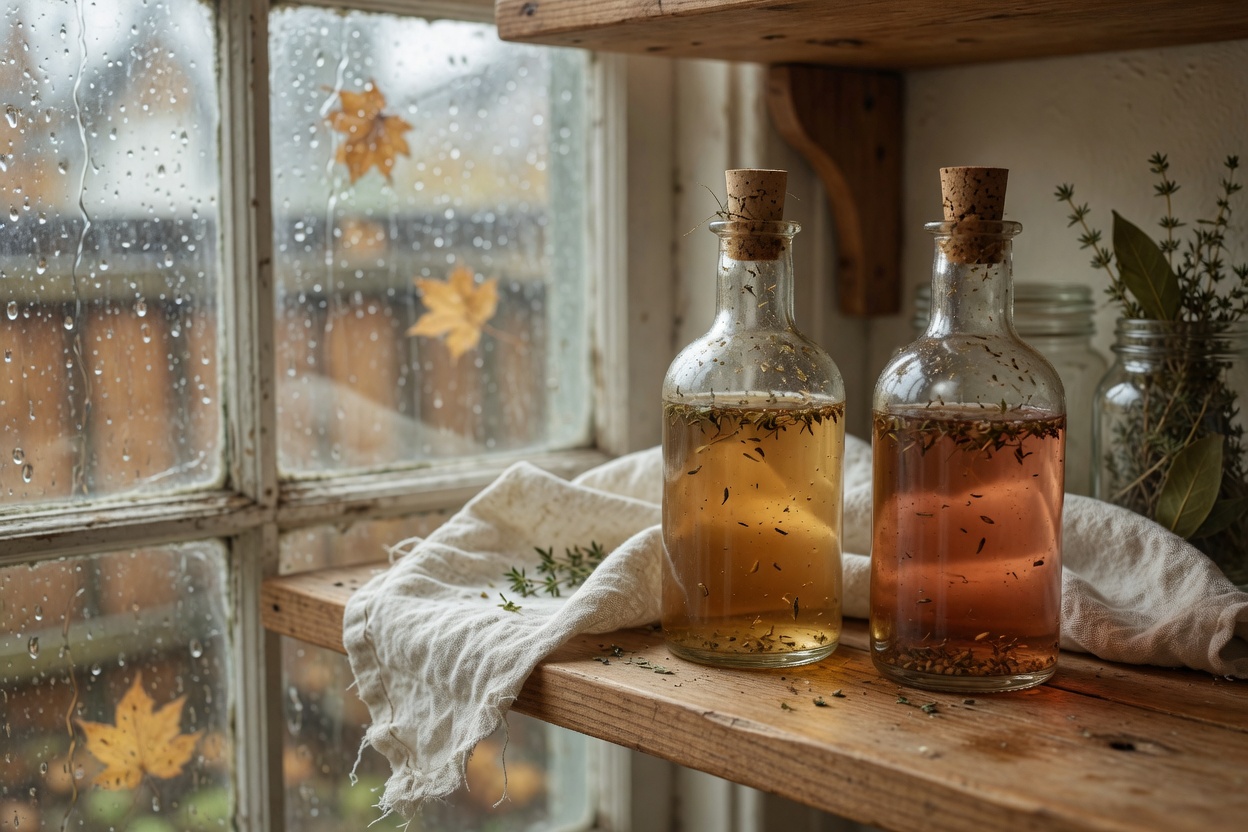
Stored in a cool, dark cupboard with a non-metal cap or parchment under the lid, a strained herb vinegar holds its flavor well for about a year. I use mine within eight months, because by then the color has faded and the flavor has started to dull. Cloudiness settling at the bottom is normal and harmless. Mold, an off smell, or anything slimy is not, and the jar goes in the bin.
The honest pros: it’s cheap, it’s forgiving, and it makes an ordinary pantry gift look like you planned ahead. The honest cons: it takes a month and a half of waiting, the color fades, and it will never be a showpiece. It’s a plain, useful thing, and that is why I like it.
If you want to put it in a set, it sits well beside a jar of dried herbs and a bottle of infused oil. I put together a few ideas in herbal gift sets for the holidays, and my herbal infused oil method uses the same herbs and the same sort of patience.
Where this practice comes from
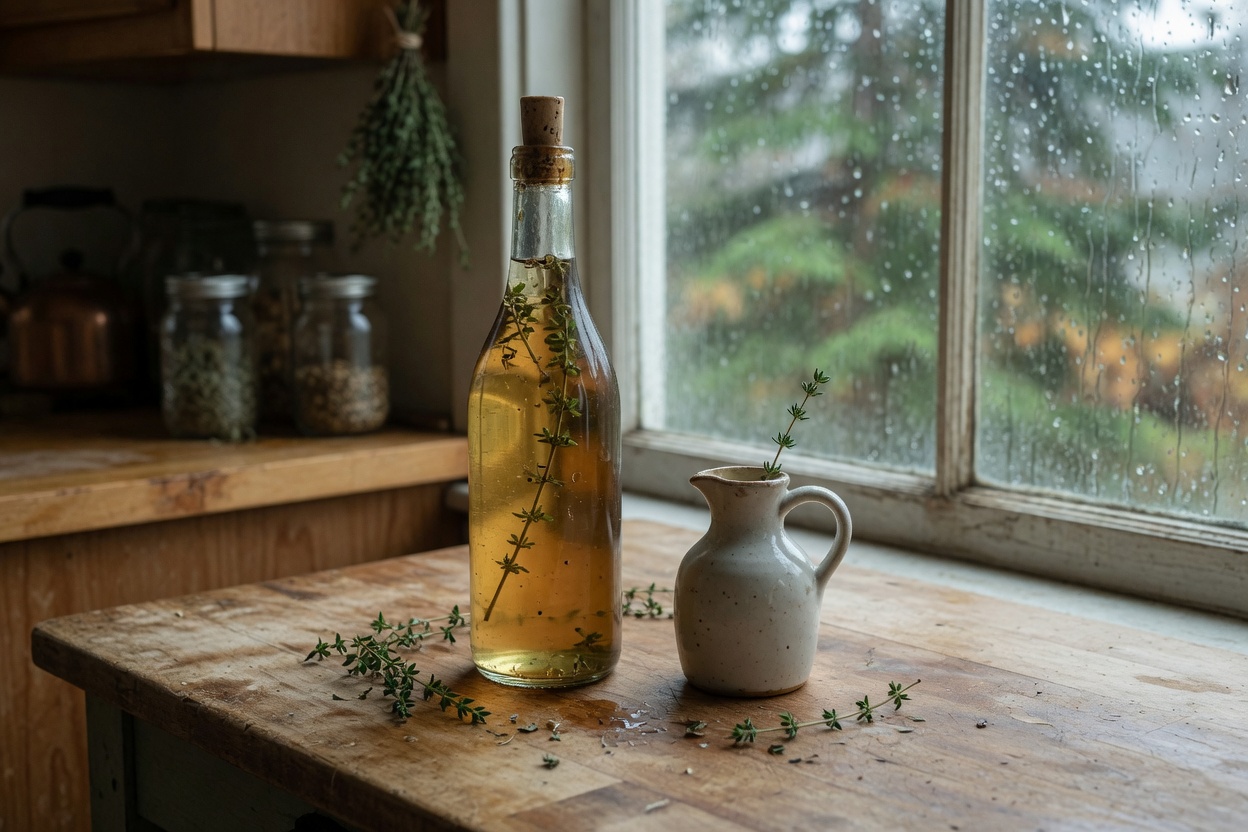
Steeping herbs in vinegar is old kitchen craft, and was a way to use up a garden and keep it through the winter long before anyone bought flavored vinegar in a bottle. My grandmother kept a jar of something green on the shelf above the stove every winter, and I never once asked what was in it. I wish I had.
That kind of knowledge, which plants, when to gather them, and how people have traditionally used them, is what fills my book, Pacific Northwest Medicinal Plants. It covers how to identify each plant without guessing and how it has been traditionally prepared, and it’s the deeper reference behind the jars on my shelf. The vinegar is the easy part. Knowing what belongs in the jar is the longer education.
