How to Make an Herbal Glycerite (An Alcohol-Free Tincture)
A herbal glycerite is the sweet, alcohol-free cousin of a tincture. Here's how I make one with dried herbs and glycerin, step by step, jar to strained bottle.
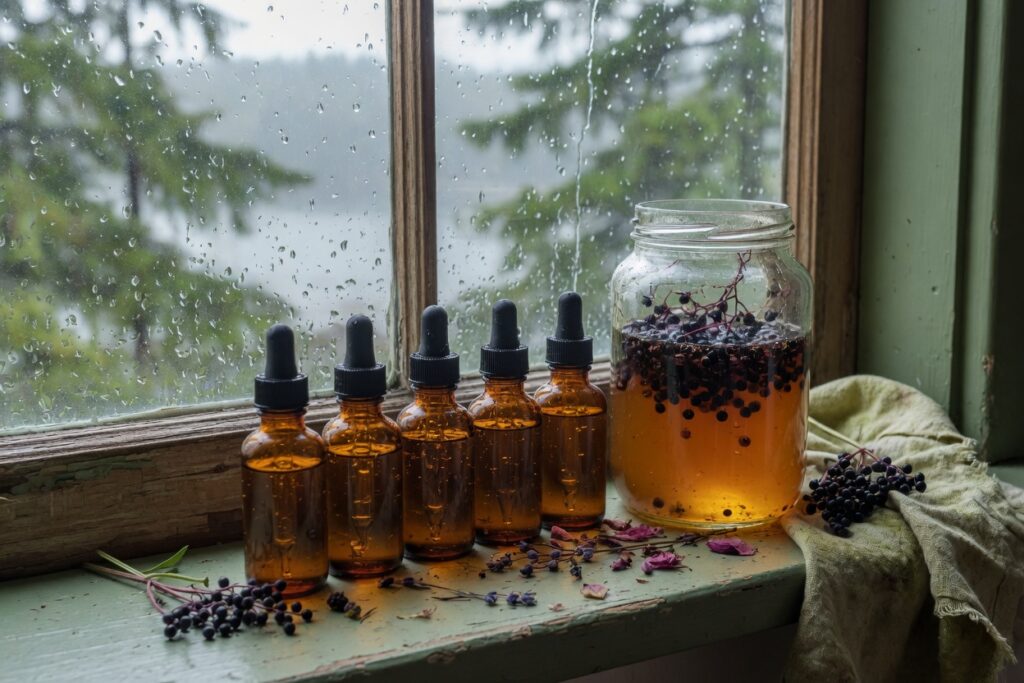
Every fall someone at my workshop table asks the same question: can I make a tincture without the vodka? Sometimes it’s a neighbor who doesn’t drink, sometimes it’s a woman who wants something she can keep in a house with small grandchildren, sometimes it’s just a person who dislikes the burn. My answer is a glycerite. It is the quieter cousin of the tincture, made the same way, with vegetable glycerin standing in for the alcohol.
I’ve been making them for about twenty years, mostly from the dried berries and roots I put up each fall, and I’ve also ruined a few. The ruined batches taught me most of what’s below. Here is the method as I make it on my kitchen counter outside Sequim, with the honest limits spelled out.
You’ll also need food-grade vegetable glycerin and a few small dark bottles to store the finished glycerite in. I haven’t settled on a glycerin or a bottle I’d put my name to, so I’m not linking one. Any food-grade glycerin from a pharmacy or herb shop will do, and any clean amber bottle with a dropper.
What a glycerite is, and what it isn’t
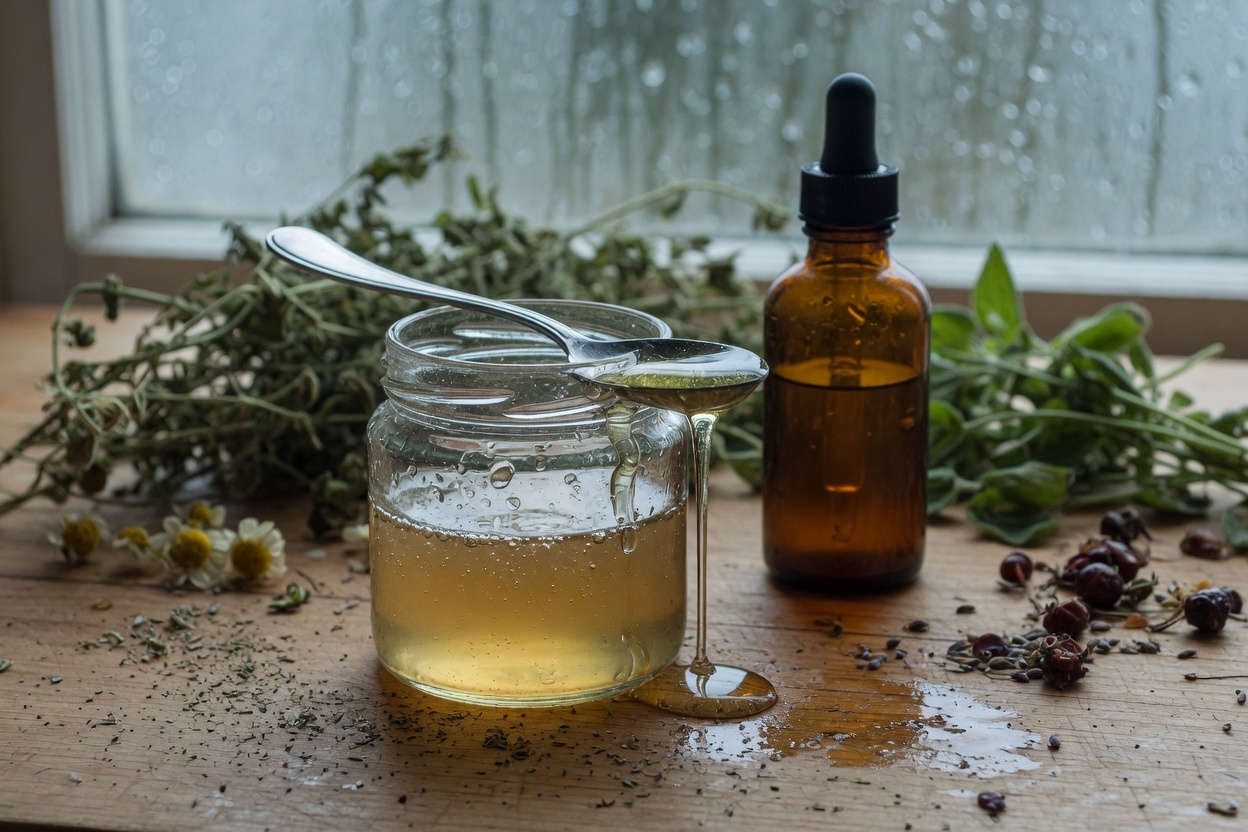
A tincture pulls the useful parts out of a plant with high-proof alcohol. A glycerite does the same job with glycerin, a thick, sweet, clear liquid that comes from plant oils. It takes plant material up more slowly and less completely than alcohol does. That is the trade, and I’d rather you hear it from me than discover it after three weeks of shaking a jar.
What you get is milder, sweeter, and shelf-stable for a good while: roughly a year if you keep it cool and dark, and I’d say so with some care, since glycerites have no alcohol to preserve them. What you don’t get is the full strength of an alcohol tincture, and certain resinous plants don’t give up much to glycerin at all. This is traditional-use information about how the method works. It isn’t medical advice, and I’m not going to hand you doses. If you’re pregnant, nursing, or taking prescription medication, that is a conversation for someone qualified, not for a blog post.
Choose the right herb
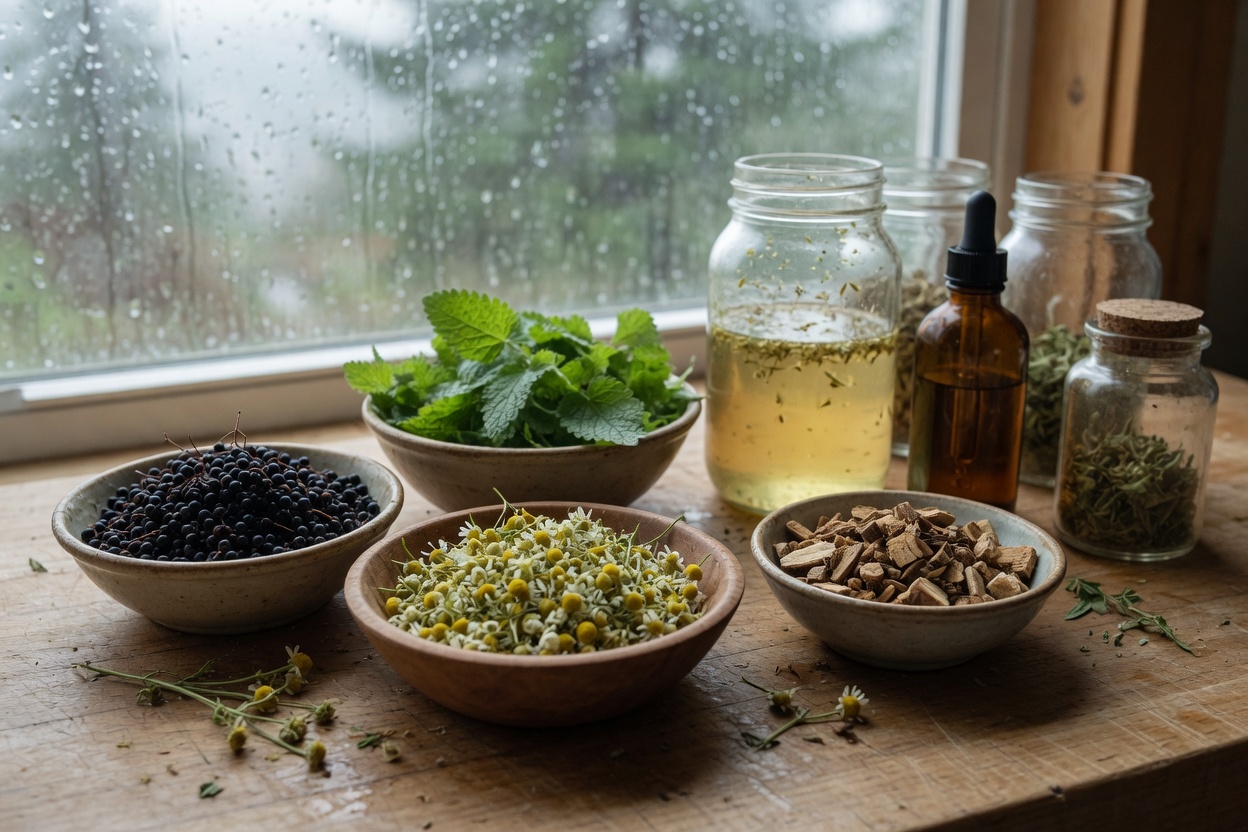
Glycerin is gentle, so it suits plants that are already mild and sweet or that carry plenty of water-soluble material. Elderberries are the classic, and so are rose hips. Dried dandelion root works, and so do hawthorn berries. Resins and strongly aromatic plants like pine pitch do better in alcohol or oil, and I wouldn’t try them here.
Use dried herb, not fresh, for your first batch. Fresh plant holds a lot of water, and water is what turns a glycerite into a jar of mold. Dry the herb until it snaps rather than bends. If you need a refresher on that, my notes on storing dried herbs so they last cover the signs.
If you are digging roots rather than buying them dried, go to a patch you know, take a small share, and keep your cut clean. I use a hori-hori for dandelion roots in a damp November lawn. It’s thick enough to lever up a taproot without snapping it, which a trowel won’t do.
The method, step by step
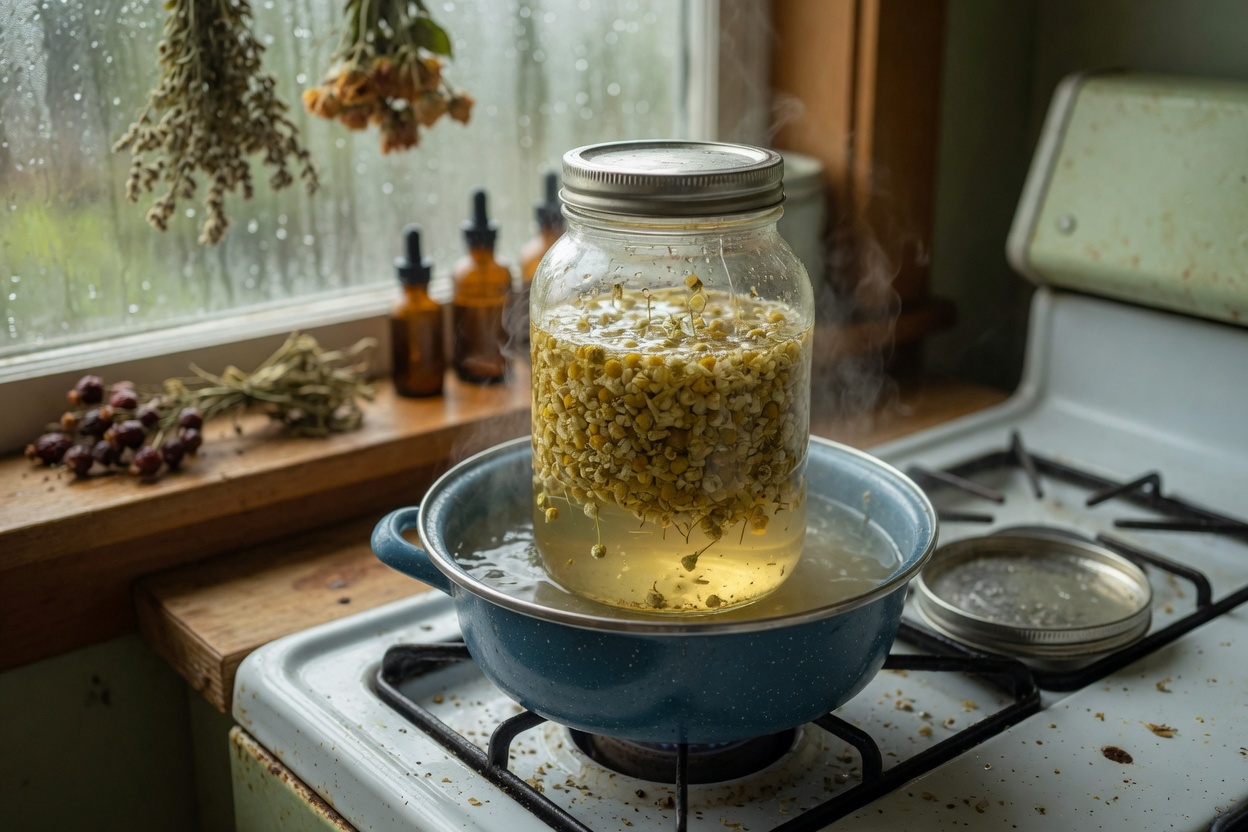
1. Chop or crush the dried herb. Roots get chopped small, berries get a light crush. More surface means a better extraction.
2. Fill a clean mason jar about halfway with the herb. Don’t pack it tight. The herb will swell as it takes up liquid.
3. Warm your glycerin gently. I stand the bottle in a pan of hot tap water for ten minutes, not on the stove. Warm glycerin pours easily and wets the herb, and hot glycerin scorches the sweet taste out of it.
4. Pour the glycerin over the herb until it’s fully covered, then top it with a splash of distilled water. The ratio I use is about three parts glycerin to one part water, which keeps the finished product a little thinner and, more usefully, makes it easier to strain. Stir with a clean spoon, pressing out air bubbles along the glass.
5. Seal, label, and date the jar. Write the plant, the date, and the ratio on a strip of tape. I’ve lost count of the unlabeled jars I’ve found and wondered about in January.
6. Let it steep for four to six weeks in a warm spot out of direct sun. Shake it each time you walk past, which, in my kitchen, is a dozen times a day. Glycerin is thick, and without shaking the herb settles into a dense layer at the bottom and stops giving anything up.
Straining is where batches go wrong
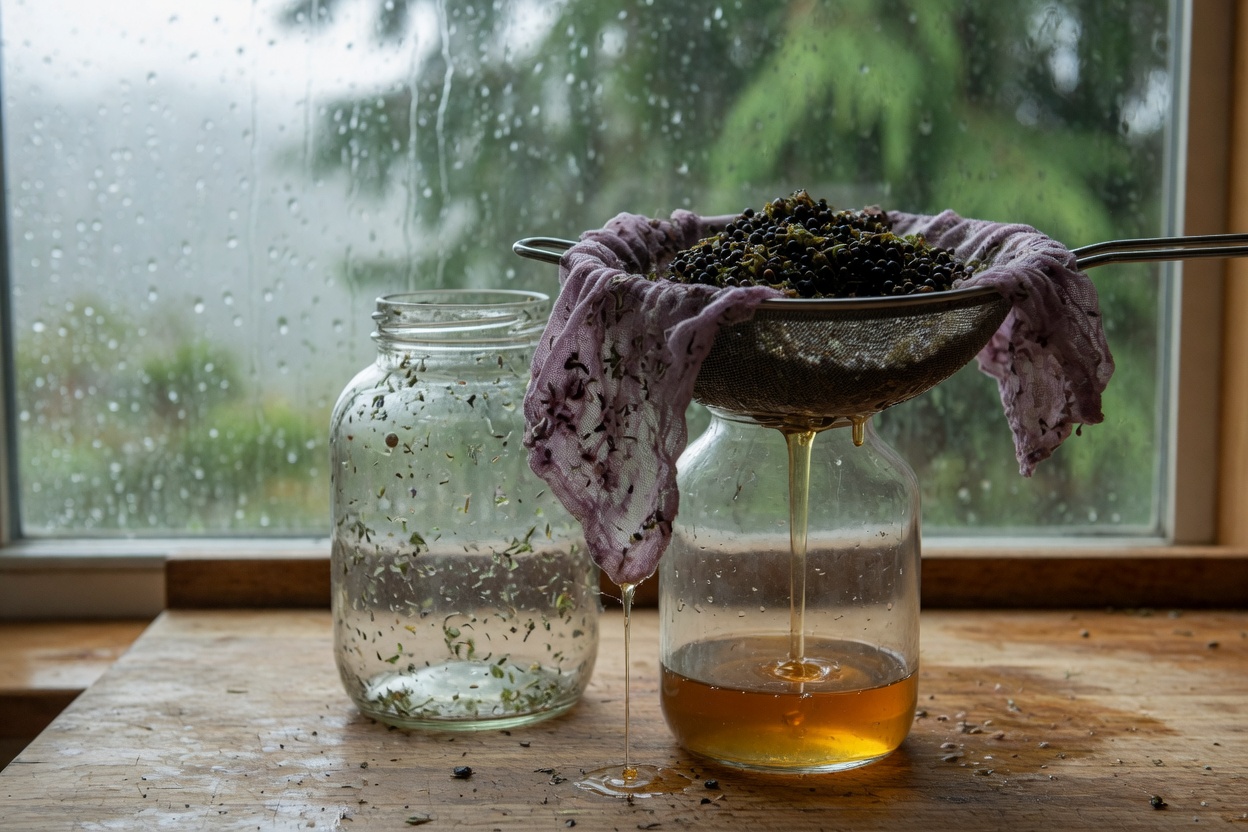
I lost most of a berry glycerite a few years back because I tried to strain it in a hurry through a coffee filter. The filter clogged in a minute and I ended up squeezing the bag, which pushed fine grit through into the bottle. It looked cloudy for the whole year it lasted.
Do it slowly instead. Line a bowl with doubled cheesecloth, pour the jar through it, then gather up the corners and twist. Glycerin clings, so give it a good half hour to drip before you squeeze. A gentle squeeze at the end is fine; a hard wring is how grit gets through.
Bottle it in dark glass with a dropper, label it, and keep it in a cupboard, not on the windowsill where the afternoon sun hits it. A glycerite that’s turned cloudy, fizzes when opened, or smells sour is finished. Pour it out. Don’t try to rescue it.
What I’d tell a beginner
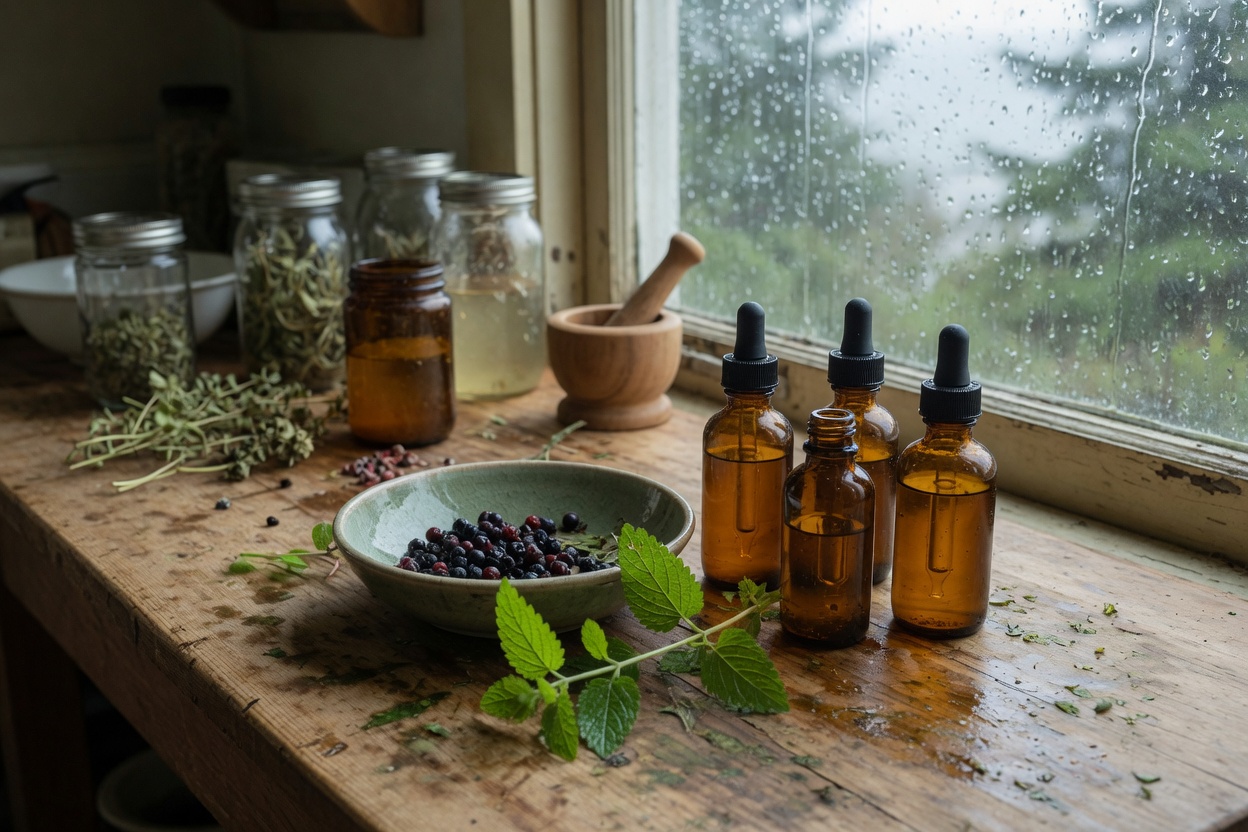
Make one small batch first, a pint jar at most. Pick a plant you can identify without a flicker of doubt, and write down what you did. A glycerite is a forgiving thing to learn on because the worst outcome is a jar you throw away.
And don’t ever eat or prepare a wild plant on the word of a book, an app, or a single source, including this page. Confirm every identification with several reputable guides and, if you can, an experienced local forager. When in doubt, throw it out.
If you want to learn the plants themselves, which ones to gather, how to tell them from their neighbors, and how the people here prepared them before any of us wrote it down, that is what I put into my book, Pacific Northwest Medicinal Plants. The glycerite is the easy part. The knowing is the work.
