How to Make a DIY Chicken Bucket Waterer (Step by Step)
A DIY chicken bucket waterer keeps water clean for days and costs next to nothing. Here's exactly how I build mine, the leak trap to avoid, and how to teach the girls.
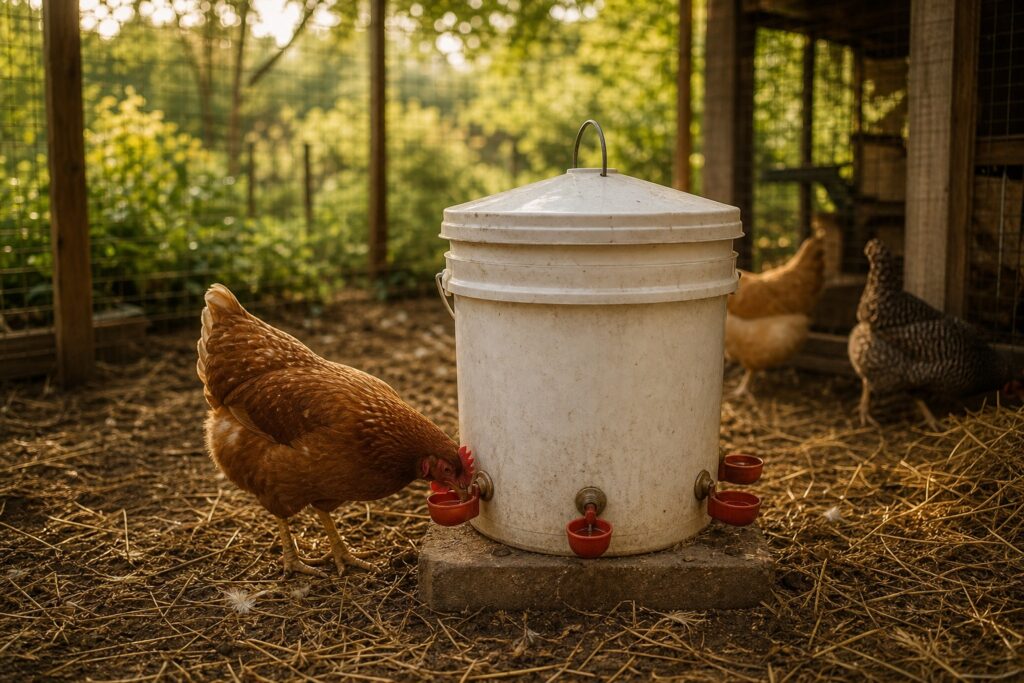
For my first two summers keeping chickens, I was out at the run three times a day in July dumping warm, fouled water out of an open fount and refilling it. The girls had usually pooped in it, kicked shavings into it, or let it go green and warm by mid-afternoon — and a hen won’t drink water she doesn’t like, even in dangerous heat. The thing that finally fixed it cost me a few dollars and twenty minutes with a drill: a five-gallon bucket with horizontal nipples screwed into the side.
I’ve built four of these now, for my own run and for a couple of neighbors I helped get started. They hold clean water for days, the hens can’t dirty them, and an opaque bucket keeps the water shaded and cool by its own walls. This is exactly how I build one, including the one mistake that makes them leak — because I made it the first time, and so does almost everybody.
Why horizontal nipples, and why a bucket
A nipple waterer keeps the water sealed inside the container. The hens peck a little metal pin, a few drops come out, and they drink. Nothing gets in — no droppings, no shavings, no algae — so the water stays clean for days instead of hours. That’s the whole appeal, and it’s a bigger deal in a Tennessee July than any other time of year.
You’ll see two kinds of nipple: vertical (the pin points straight down) and horizontal (the pin points sideways, usually with a little catch cup under it). For a side-mounted bucket you want horizontal nipples. They drip less, they don’t force the hen to crank her head straight up to drink, and the catch cup gives a timid bird an easier sip. A five-gallon bucket is the right body for it — you almost certainly already have one, an opaque one shades its own water, and five gallons gets a small backyard flock through the hottest stretch without running dry.
Step 1 — Pick a clean food-safe bucket
Any sturdy five-gallon bucket with a snap lid works, as long as it never held anything you wouldn’t want in your water. A bucket that came with drywall mud or driveway sealer is not the one. A clean food-grade bucket from the bakery counter at the grocery store is perfect and usually free for the asking. Give it a good wash and let it dry.
If you’ve got more than six or eight birds, or you don’t want to refill often, step up to a lidded tote or a larger drum and use the same method. The nipples don’t care how big the container is.
Step 2 — Mark and drill the holes
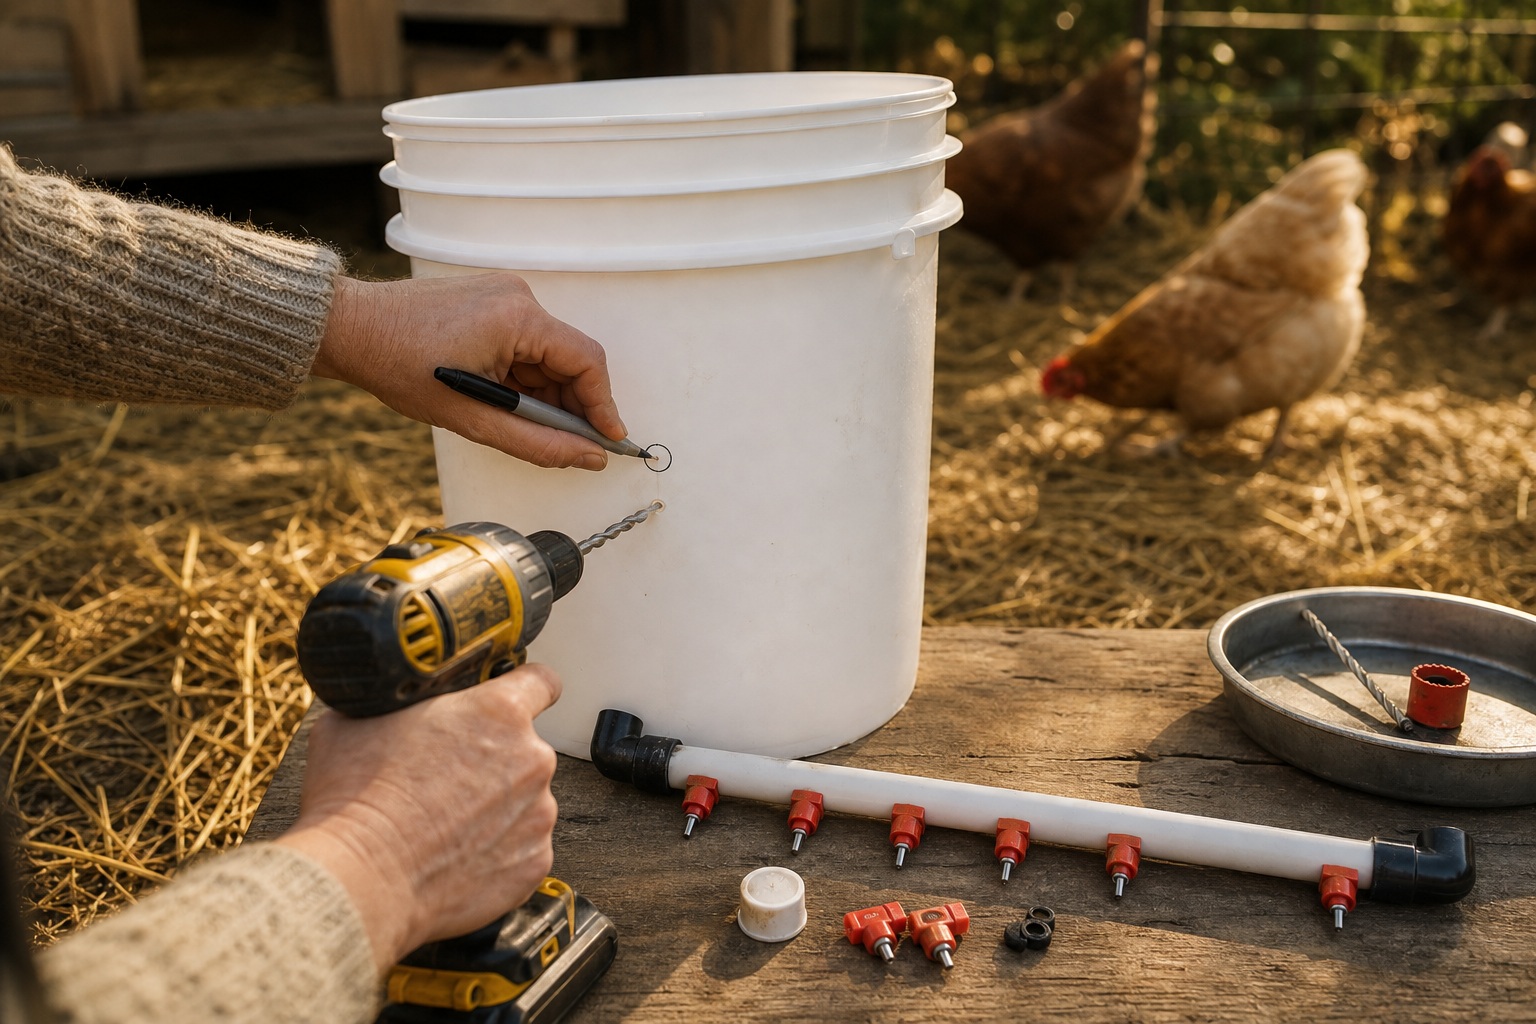
Plan your nipple spots a few inches up from the bottom of the bucket — high enough that a little sediment can settle below the lowest nipple, low enough that the hens reach them comfortably at standing height. For a five-gallon bucket I run three or four nipples spaced evenly around the lower side, so two hens can drink at once and a low bird on the pecking order isn’t shut out.
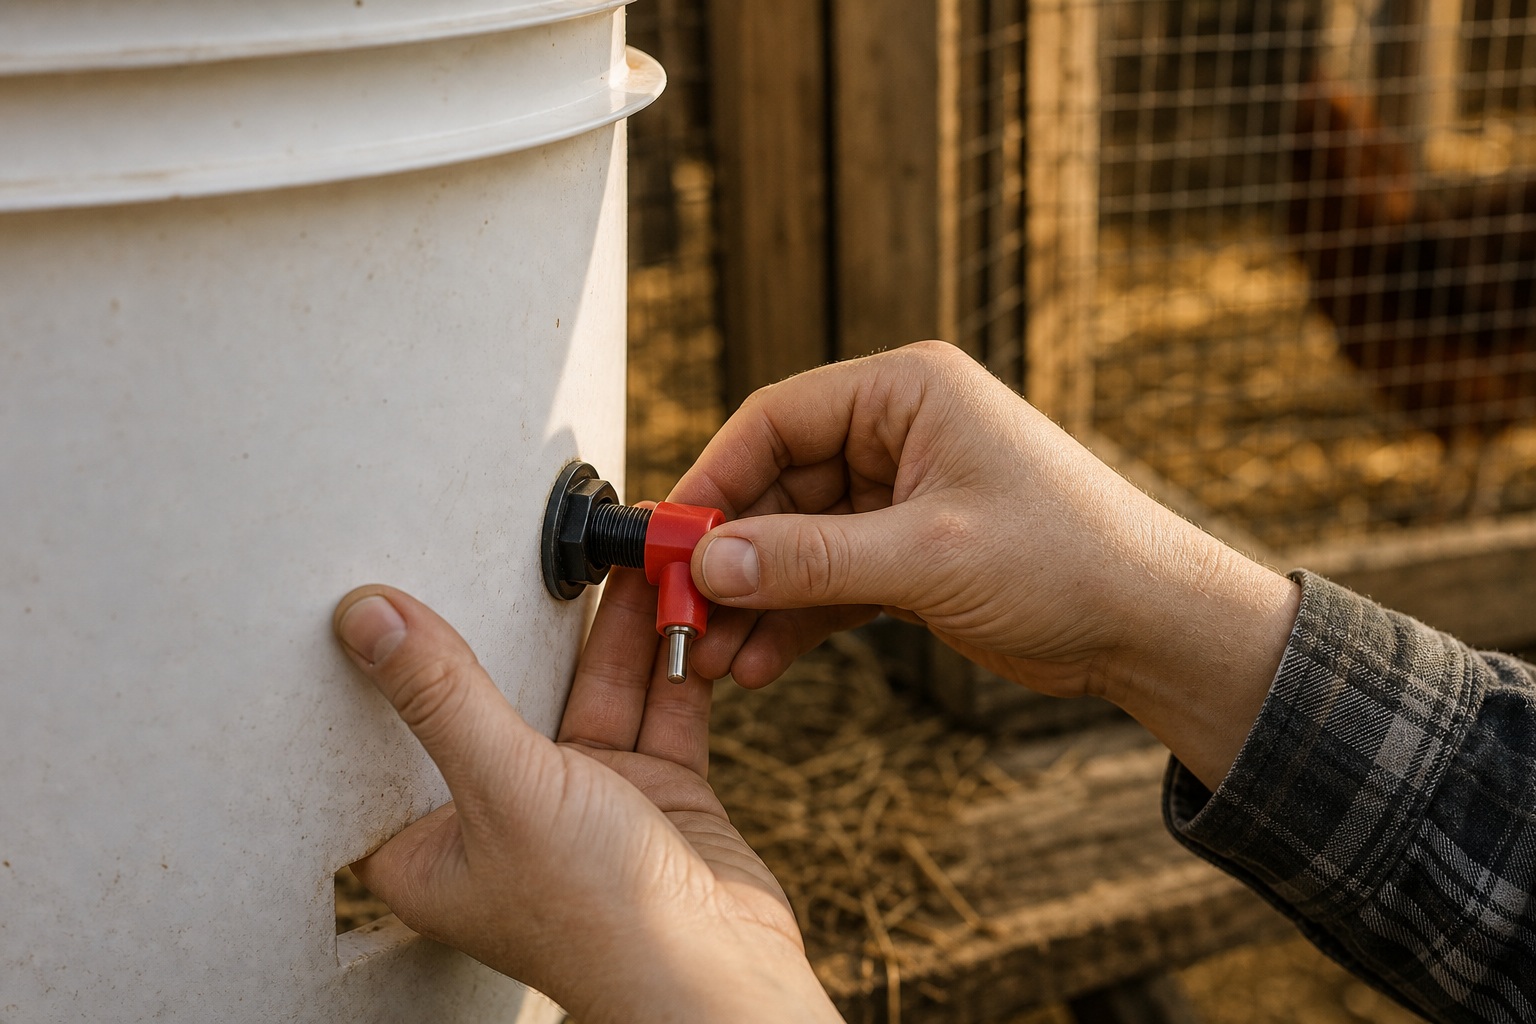
Here is the step everyone rushes, and the one that matters most: drill the hole the exact size your nipple kit specifies — no bigger. Most horizontal kits call for an 11/32″ bit and thread into the plastic themselves. The threads cut their own seal as you turn the nipple in. Drill the hole a hair too large “to make it go in easier” and you have just guaranteed a leak that no amount of fussing will fix.
That was my first-build mistake. I went up a bit size because the nipple was stiff to seat, and I spent the next week chasing a slow drip and a muddy patch under the bucket. Drill it the right size and thread the nipple in firmly, and you’ll never think about it again.
Step 3 — Seat the nipples square
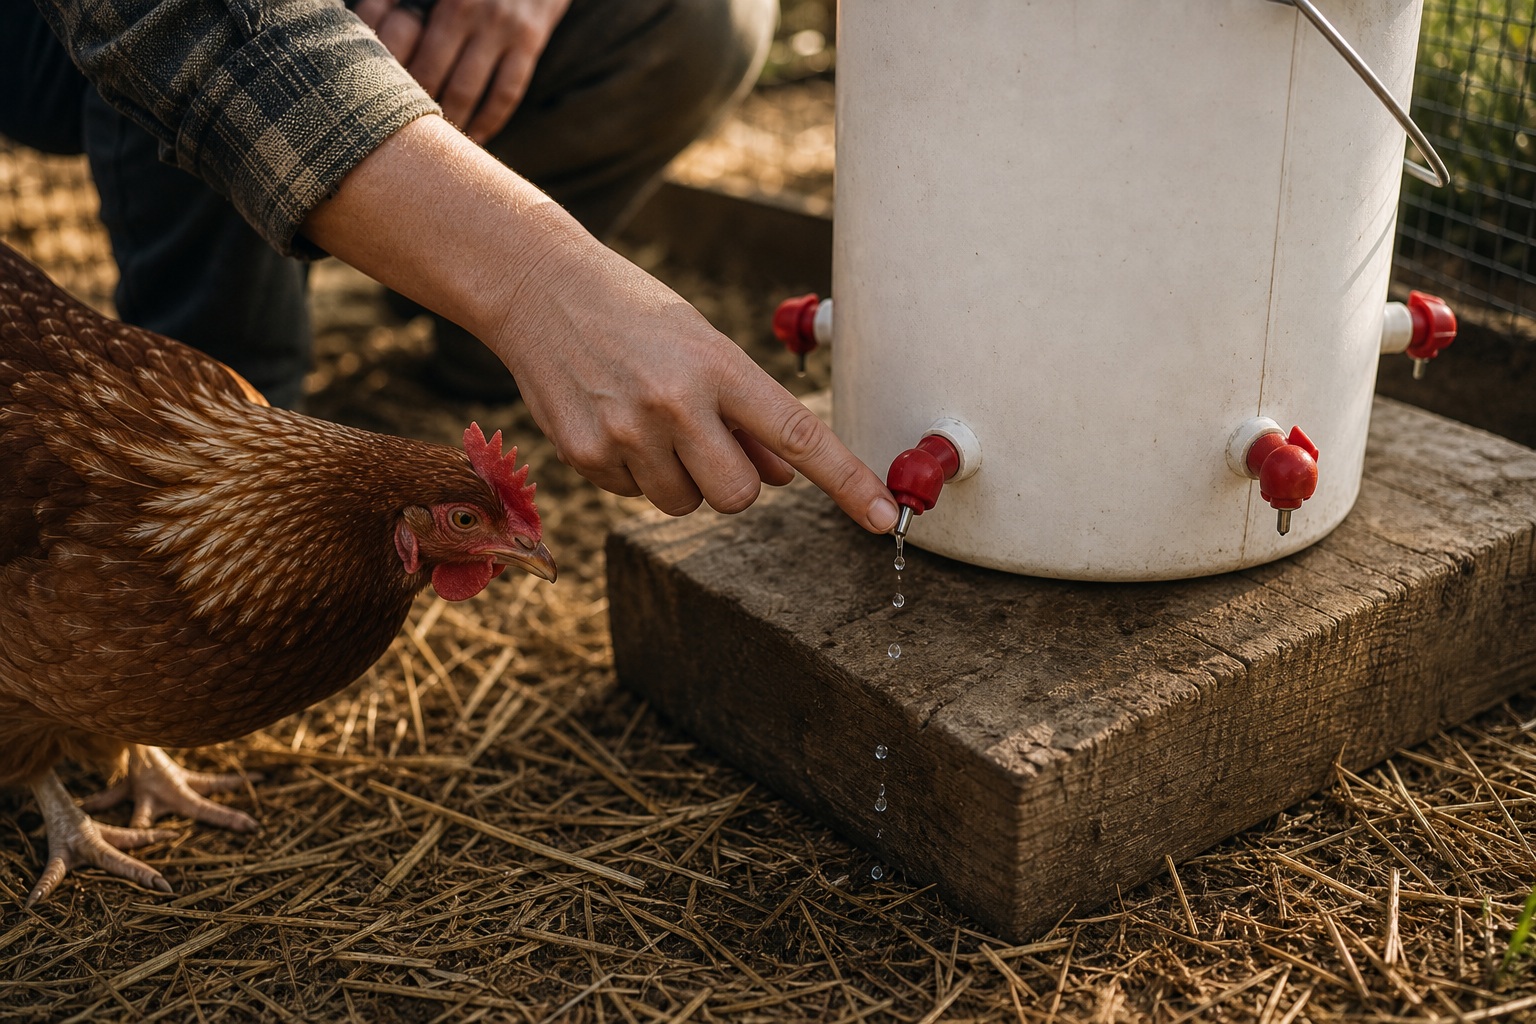
Thread each nipple straight into its hole — not at an angle — until it’s snug and the gasket (if your kit includes one) is seated flat against the bucket wall. Hand-tight plus a small turn with a wrench is plenty. Crank it like a lug nut and you’ll crack the plastic, which is its own kind of leak.
Every leaky bucket waterer I’ve ever been handed to fix was one of two things: a hole drilled too big, or a nipple seated crooked. Get those two right and the build is genuinely foolproof.
Step 4 — Fill, test, and set it up
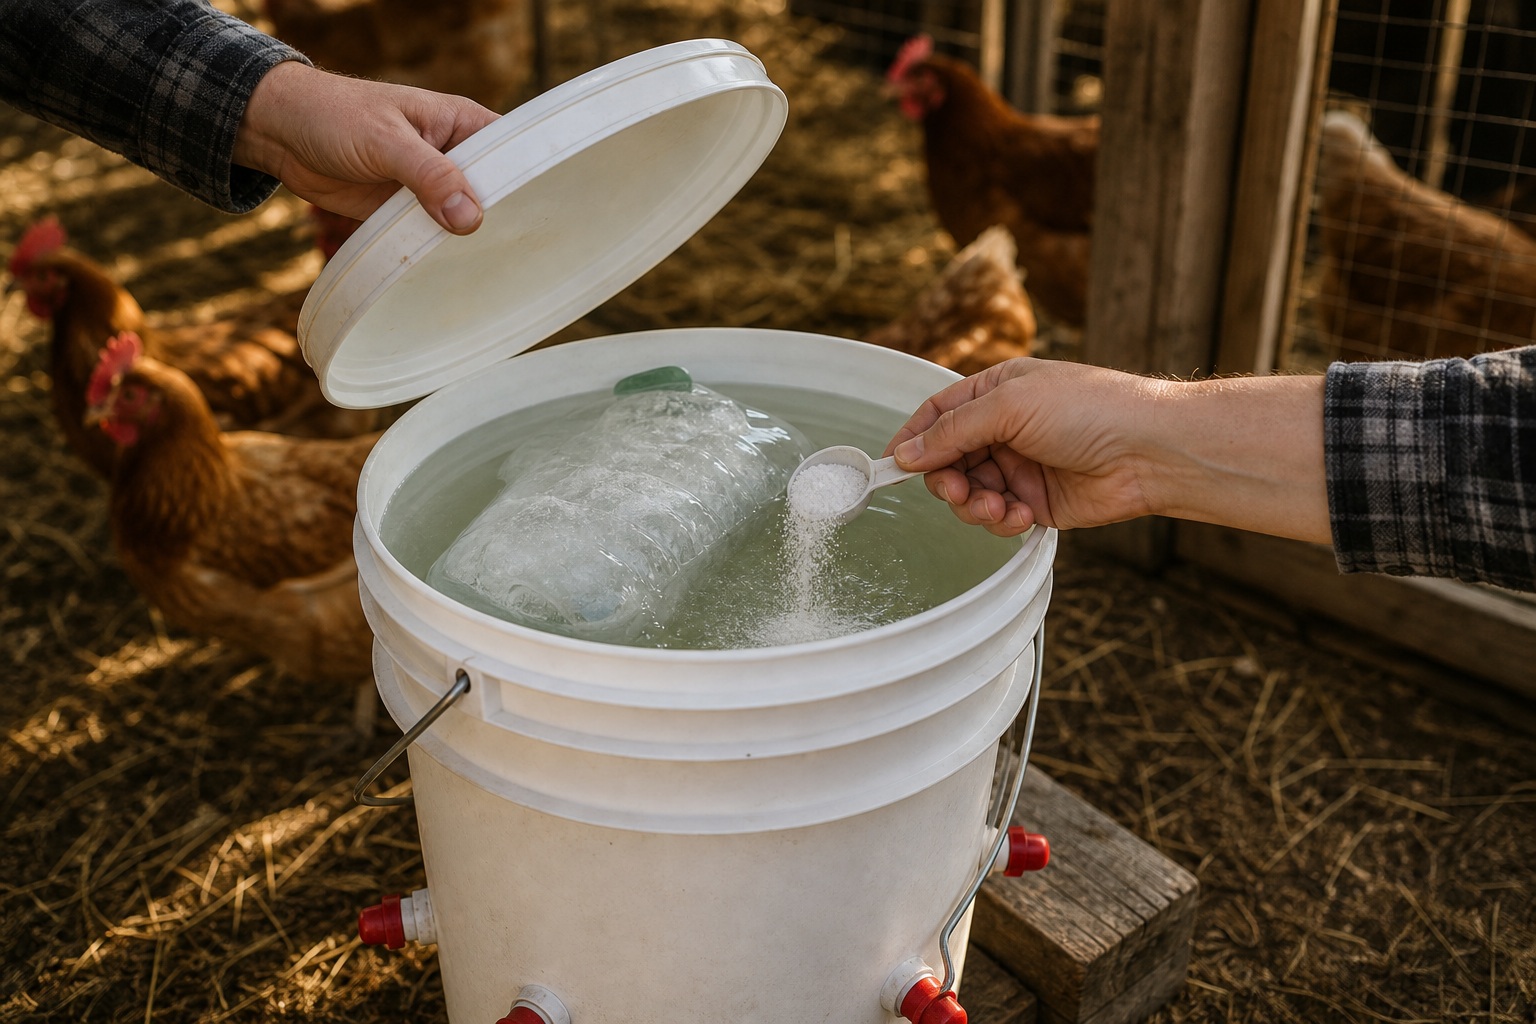
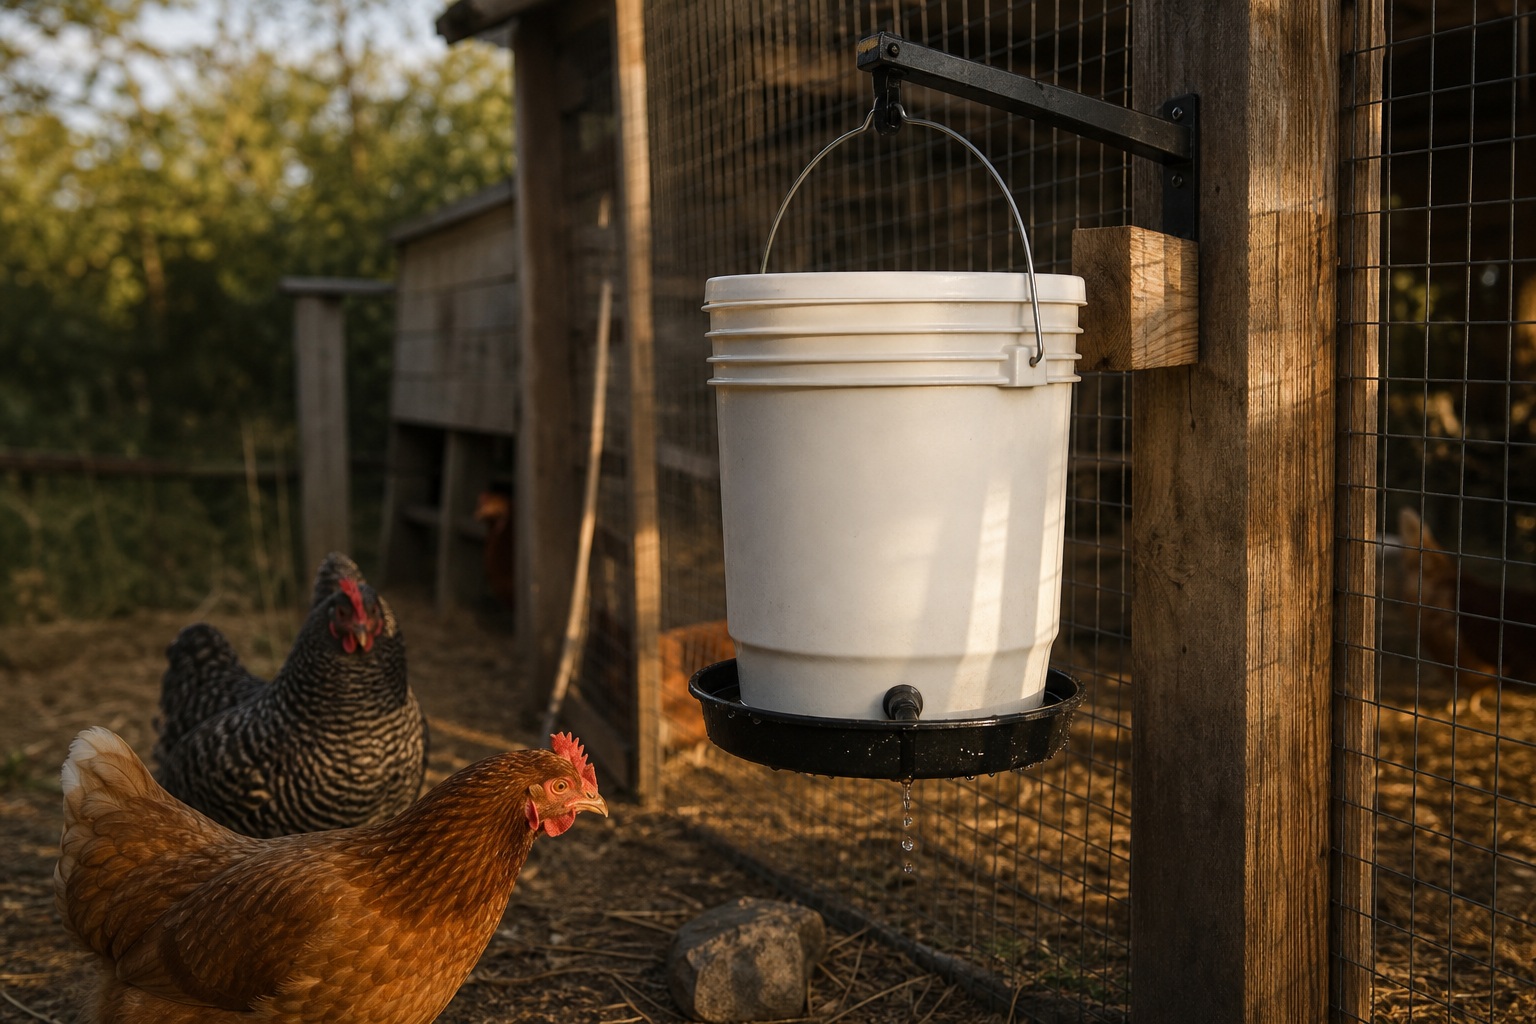
Snap the lid on — the lid is what makes it gravity-feed cleanly, and it keeps debris and sun off the top. Fill it, set it on a level surface or hang it from a sturdy bracket at the hens’ head height, and watch for drips for a few minutes. A properly seated nipple holds until a beak presses the pin.
I like mine hung so the nipples sit right at standing back-height for my standard hens — they drink most naturally with the head level or just slightly up. On the ground works fine too; just set the bucket on a paver or block so it doesn’t sit in the mud.
Teach the girls, then keep it cool
Birds raised on an open fount don’t automatically understand a nipple. Tap a pin with your finger so it drips and glints while they’re watching, and most of the flock catches on within a day. I’ll sometimes pull the old open waterer at the same time so there’s a gentle nudge — but only in mild weather, never during a heat wave, when you never want to limit their water while they learn.
A nipple bucket keeps water clean, but clean isn’t the same as cool. Shade is still the non-negotiable. Set the bucket out of direct afternoon sun, and over the run I string up shade cloth for the hottest stretch — it drops the temperature underneath noticeably. On the genuinely brutal afternoons I pop the lid and drop in a frozen water bottle to take the edge off, and add a scoop of Sav-A-Chick electrolytes to help the girls hold onto the fluids they lose to all that panting. Cool, not ice-cold — you’re helping them, not shocking them.
One honest limit: like all nipple systems, this is a warm-season tool. The nipples freeze, so come the first hard frost I swap the bucket out for a heated setup. It’s a summer hero, not a year-round one.
If you’d rather not drill
No shame in skipping the build. A ready-made nipple-and-cup waterer gives you the same clean, sealed water straight out of the box, already assembled and tested for leaks. You pay a little more than a bucket and a kit, but you save the drill and the chance of a crooked seat. For a brand-new keeper who just wants clean water in front of the flock today, that’s the one I’d point you to. The DIY bucket is for when you want big capacity for pocket change and don’t mind twenty minutes of work.
Either way, clean water that stays clean solves the single biggest risk a summer flock faces. Get that right and the rest — the shade, the dust baths, the frozen watermelon they go silly for — is a bonus on top of a flock that’s drinking well.
I go deep on summer heat care, winter water, and the whole stumbling first year in my book, Raising Backyard Chickens for Beginners. This is the bucket build. The book is everything else I wish someone had handed me my first summer.
