How to Help Chicks Recover From Shipping Stress
Chicks arrive from the hatchery cold, dehydrated, and stressed. Here's how to help shipped chicks recover — electrolytes, warmth, dipping beaks, and the first 48 hours.
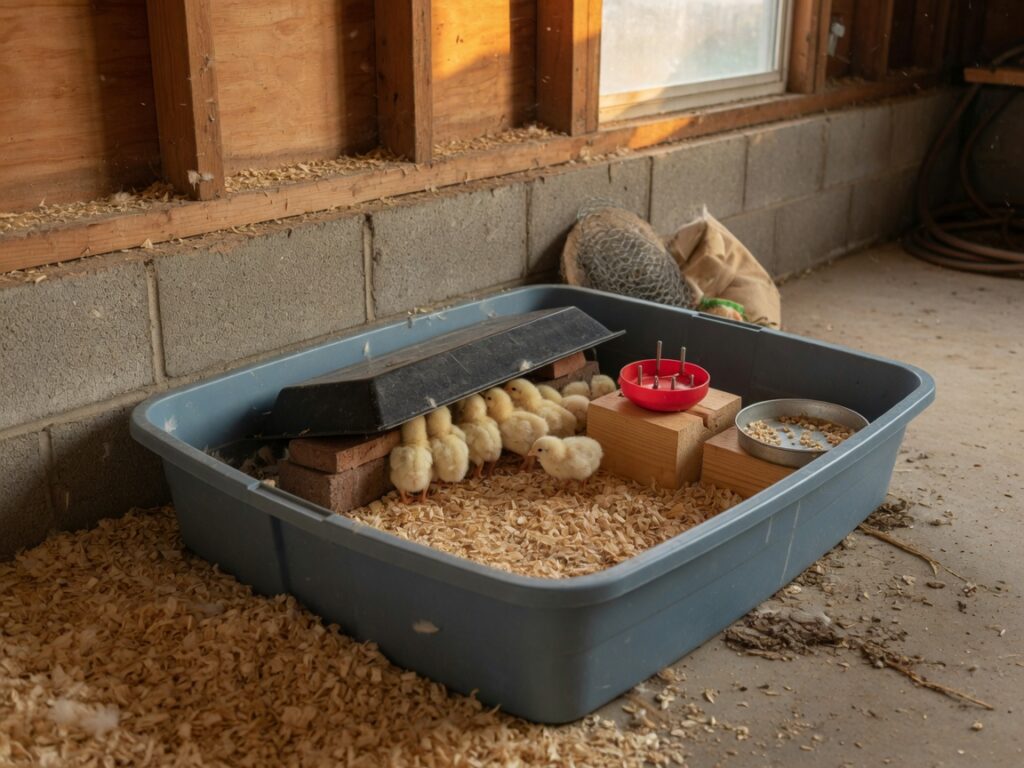
The call comes from the post office at 6 a.m., and there’s a peeping box waiting on the counter when you get there. That box has been in the mail for one to three days. The chicks inside hatched with a bit of yolk still in them to live on, which is the only reason they can ship at all — but by the time they reach you, that reserve is running low, they’re chilled from the ride, and they are stressed in a way you can’t see until one of them tips over an hour after you get home.
I’ve picked up more than a few of those boxes. My first order, I did almost everything right and still lost one by that afternoon, because I didn’t understand that the first hour matters more than the first week. So let me walk you through exactly what to do when you get that box home, in the order it needs doing. Get the first forty-eight hours right and the whole batch usually pulls through fine.
Warm the brooder before you open the box
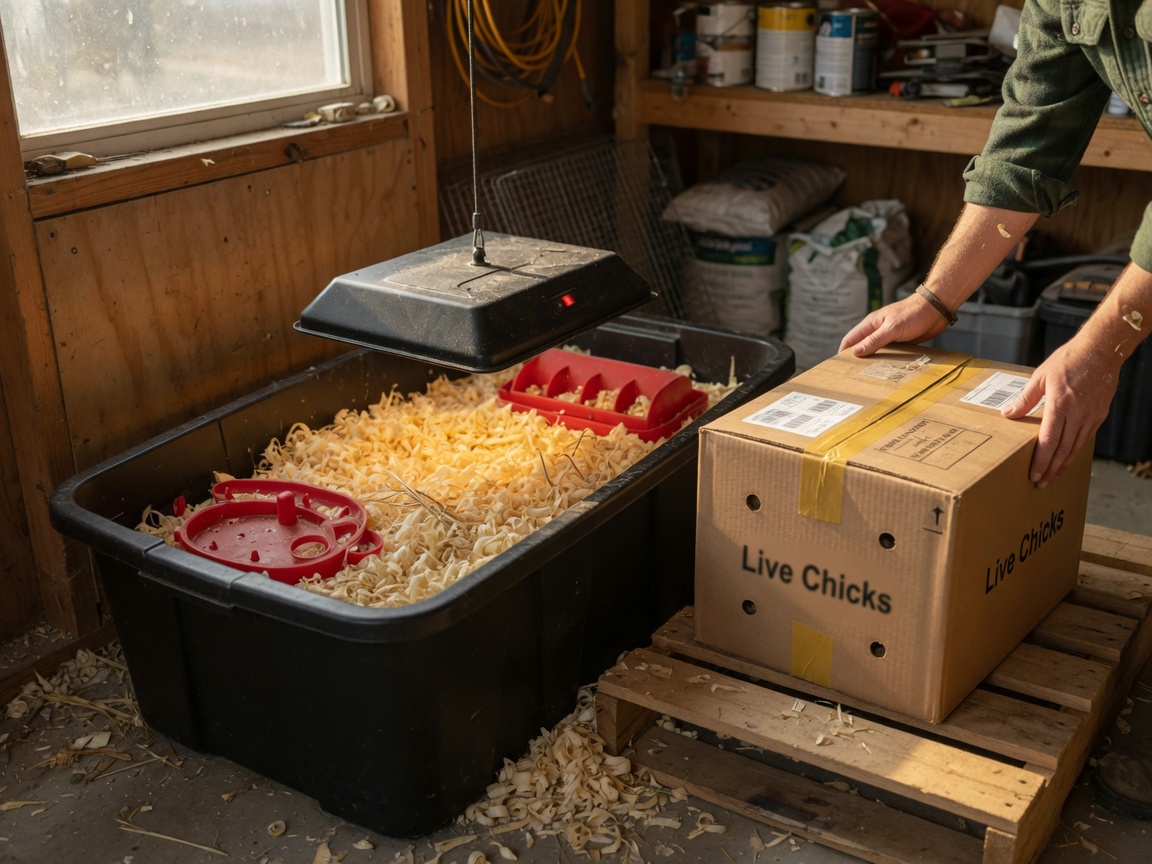
The single biggest thing you can do happens before the chicks are even in your hands: have the brooder up and running and stabilized at temperature before you leave for the post office. A chilled chick can’t process food or water, and a cold draft finishes a stressed one fast.
You want one warm corner sitting right around 95 degrees that first week, with the rest of the brooder cooler so the chicks can move off the heat when they need to. I run a radiant heat plate rather than a lamp, but whatever you use, the number matters, and eyeballing it is how people cook or chill a batch. This is the one piece of gear I’d tell you to get a reliable read on and I can’t hand you a tested link for yet — I’m still running down a brooder thermometer-hygrometer I’d stake my name on. Until then, watch the chicks themselves: piled up in a heap under the heat means too cold, pressed to the far corners panting means too hot, scattered around eating and dozing means you’ve got it right. The girls will tell you more than a cheap thermometer will.
Electrolytes first, feed second
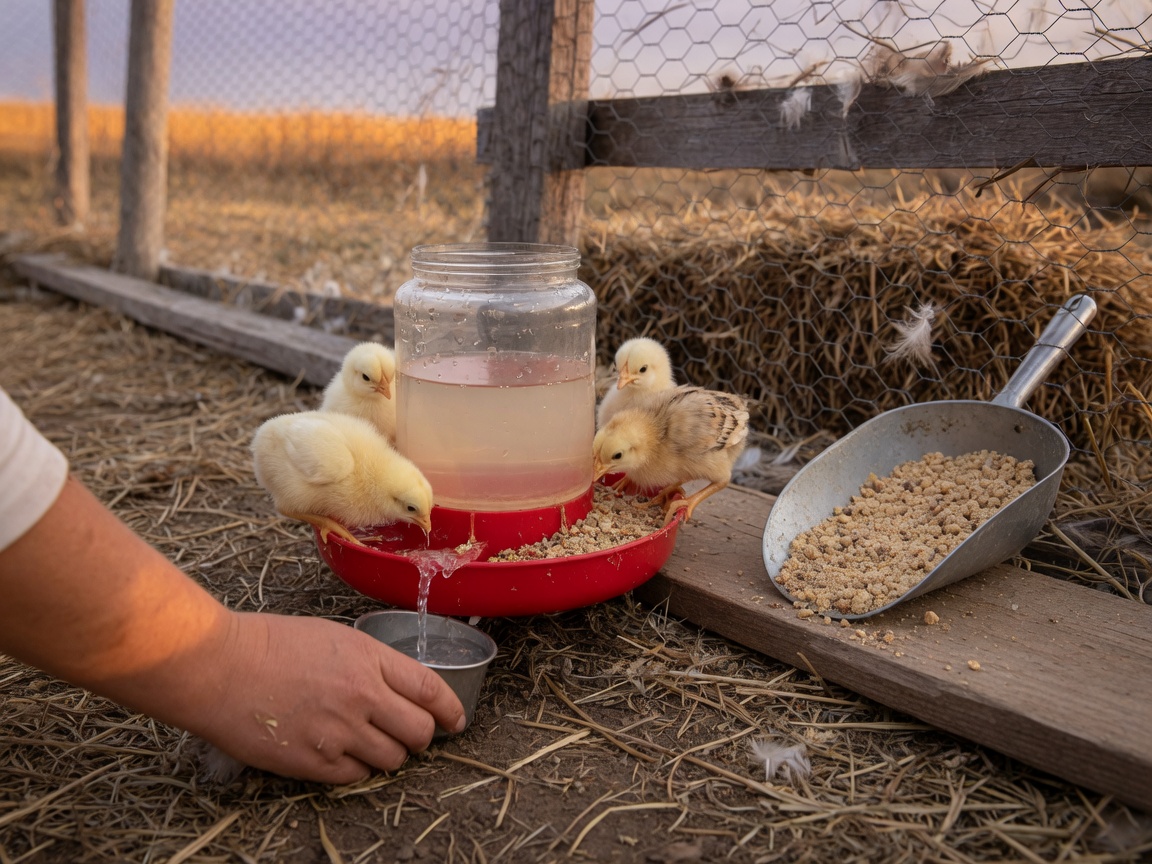
Here’s the part new keepers get backwards. A chick out of a shipping box needs water before it needs feed — and not just water. Plain water rehydrates slowly, and these birds are behind. I mix Sav-A-Chick electrolytes into that first waterer for the first day or two, and it makes a visible difference in how fast a droopy chick perks back up.
Electrolytes and a little sugar give a stressed chick the quick energy and hydration to get itself going again. If you’ve got a chick that arrived truly limp, a few drops of plain sugar water straight onto the beak can bring it around enough to drink on its own. What I don’t do is leave electrolytes in the water forever — two, maybe three days, then switch to plain fresh water, because too many days of it isn’t good for their kidneys. It’s a recovery tool, not a daily supplement.
Feed goes in after they’re drinking. Once the batch is up and taking water, set out chick starter. Some keepers sprinkle a little on a paper towel the first day so the chicks find it by pecking, and that works fine.
Dip every beak, one at a time
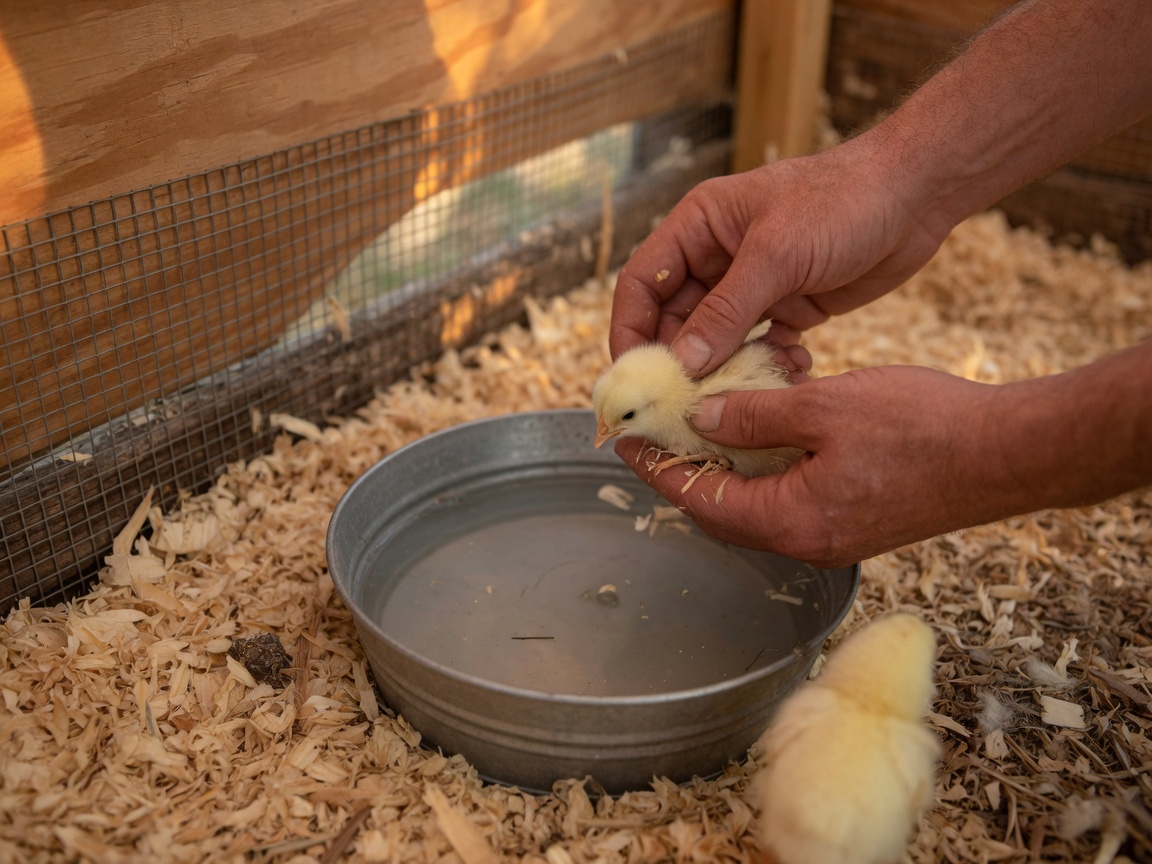
Don’t just set the box down by the waterer and hope. As you move each chick from the box into the brooder, hold it a second and dip its beak — gently — into the water so it gets that first taste. Then set it down near the cups.
Every single chick, one at a time. It takes five extra minutes and it’s the difference between a chick that knows where water is and one that wanders the brooder dehydrating while you assume it figured it out. I learned to do this the hard way, watching a slow chick I’d skipped go downhill while its hatch-mates thrived.
This is also why I like the nipple-and-cup waterer for the brooder. The cups sit low at chick height and refill themselves, the water stays clean instead of turning into a shavings-and-droppings soup by noon, and there’s no open dish deep enough for an exhausted chick to fall asleep in and drown. A stressed batch does not need a dirty waterer working against it.
The first 48 hours: quiet, warm, and watched
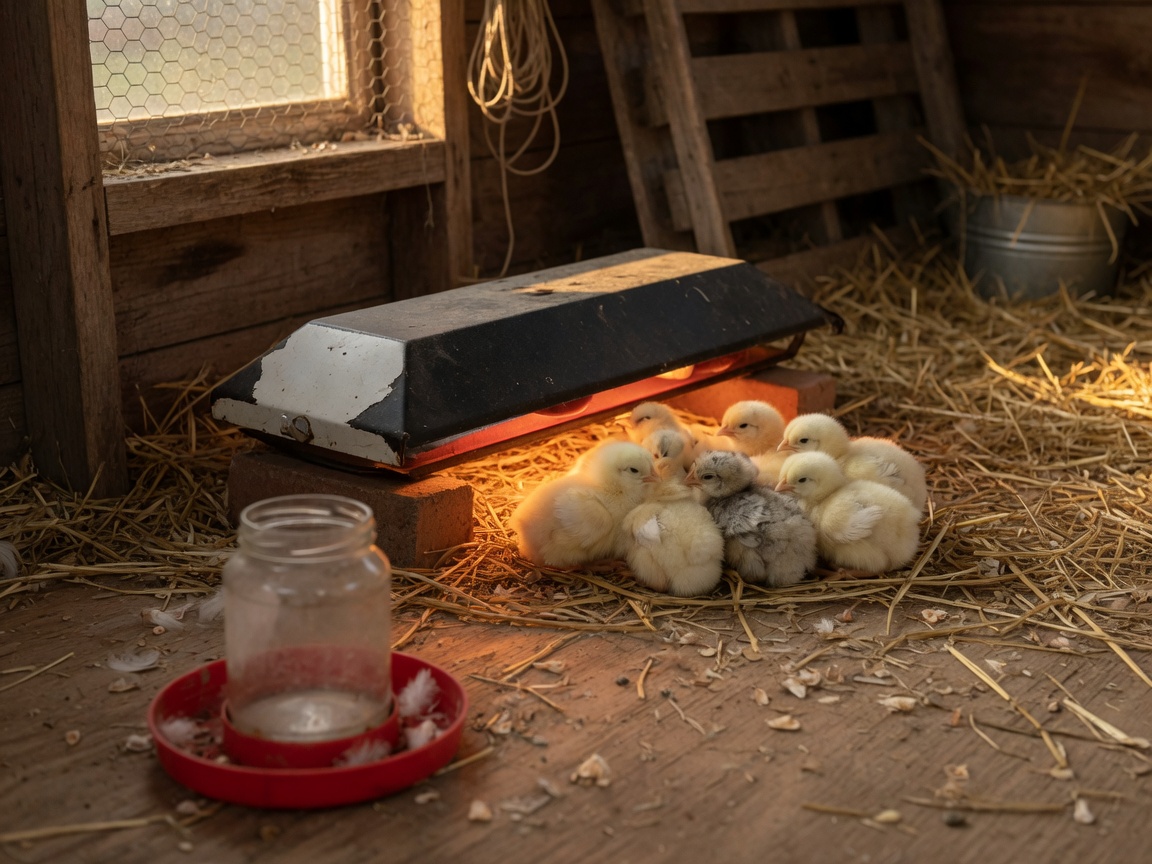
After beaks are dipped and everyone’s under the heat, the best thing you can do is leave them mostly alone. I know that’s hard — you’ve been waiting weeks and they’re the softest things you’ve ever seen. But handling a just-shipped chick adds stress it doesn’t have to spare. Let them rest, drink, warm up, and find the feed on their own schedule that first day.
What you are doing is watching. Watch for the ones that stay off by themselves, don’t drink, or stand hunched with their eyes closing — those are the chicks that need a beak re-dipped and a closer eye. And watch back ends for pasty butt: a plug of dried droppings sealing the vent, which shipping stress makes more common. If you see it, wipe it clear with a warm damp cloth, gently, because a blocked vent will kill a chick in a day. It’s the most common first-week problem and it’s easy to fix if you catch it.
Losing one despite doing everything right happens, and it isn’t always your fault — sometimes a chick was just too far gone when the box arrived. But a warm brooder, electrolytes in the first water, a dipped beak, and a quiet day fixes the great majority of shipping stress before it becomes a loss.
If you want the whole first-flock timeline — brooder setup, the week-by-week of those first eight weeks, and where a chick heads next — it’s all in Raising Backyard Chickens for Beginners. Getting the box home safe is day one. The book is the rest of the road to your first eggs.
For more on those early weeks, I’ve written up starting chicks without a heat lamp, the full first-chick brooder setup checklist, and the OTC chicken first-aid kit I keep stocked before any birds arrive.
