How to Grow Radishes in Containers (Ready in 4 Weeks)
Radishes are the fastest crop you can grow in a pot. Here's how to grow radishes in containers: the right depth, thinning, watering, and why they crack.

Radishes are the first thing I recommend to anyone who says they can’t grow food. You sow a seed on a Saturday, and about four weeks later you’re pulling something red and crisp out of a pot you can reach from your kitchen door. Nothing else in the garden pays you back that fast.
They’re also made for containers. A radish doesn’t need a deep pot, a big yard, or a lot of patience. It needs loose soil, steady water, and cool weather, and a balcony can deliver all three in early spring.
You’ll also need a packet of seeds. I haven’t found a seed brand I’d point you to over another, so buy whatever your local garden shop or hardware store carries.
Pick a radish that suits a pot

Most radishes will grow in a container, but a few are easier than others.
Cherry Belle. Round, red, and ready in about 22 to 25 days. This is the one I start beginners on.
French Breakfast. Long, with a white tip. It’s a little milder and wants a pot at least eight inches deep.
Easter Egg. A mix of pink, purple, and white roots in one packet. It’s pretty on a plate, and the mix staggers the harvest a little.
Skip the big daikon types for now. They need a lot of depth and a long season, which isn’t what a balcony pot gives you.
When to sow
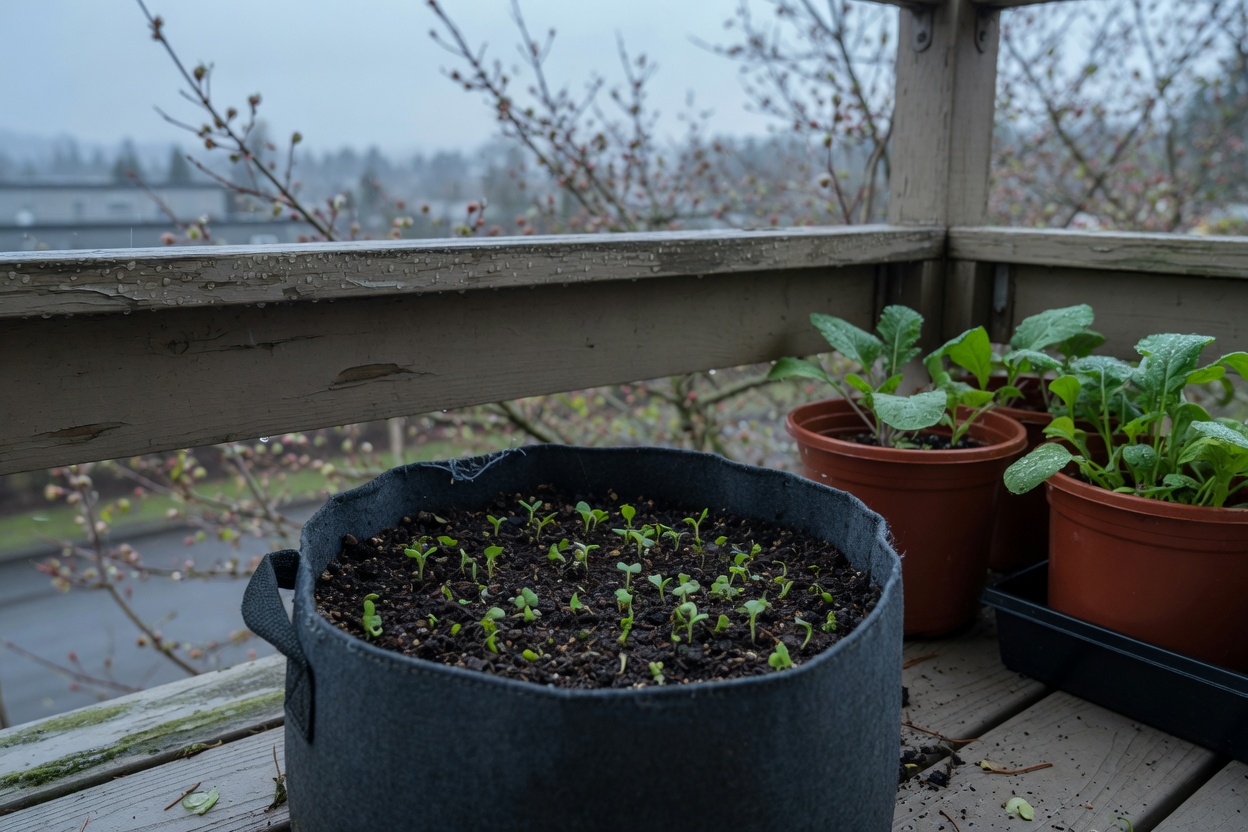
Radishes like cool weather. They sprout when the soil is around 45 degrees or warmer and do their best between 50 and 70. In a lot of places that means early spring, a few weeks before your last frost, and again in fall. I’m in the Portland area, so I sow from late February through April and again in September.
Heat is what ruins them. Once days climb into the 80s, radishes bolt, which means they rush to flower and the root turns hot and pithy. If summer arrives early, switch your pot to something else and try again in the fall. Looking ahead now is the point of this post: plan a spring sowing for that first mild stretch.
Sowing, step by step
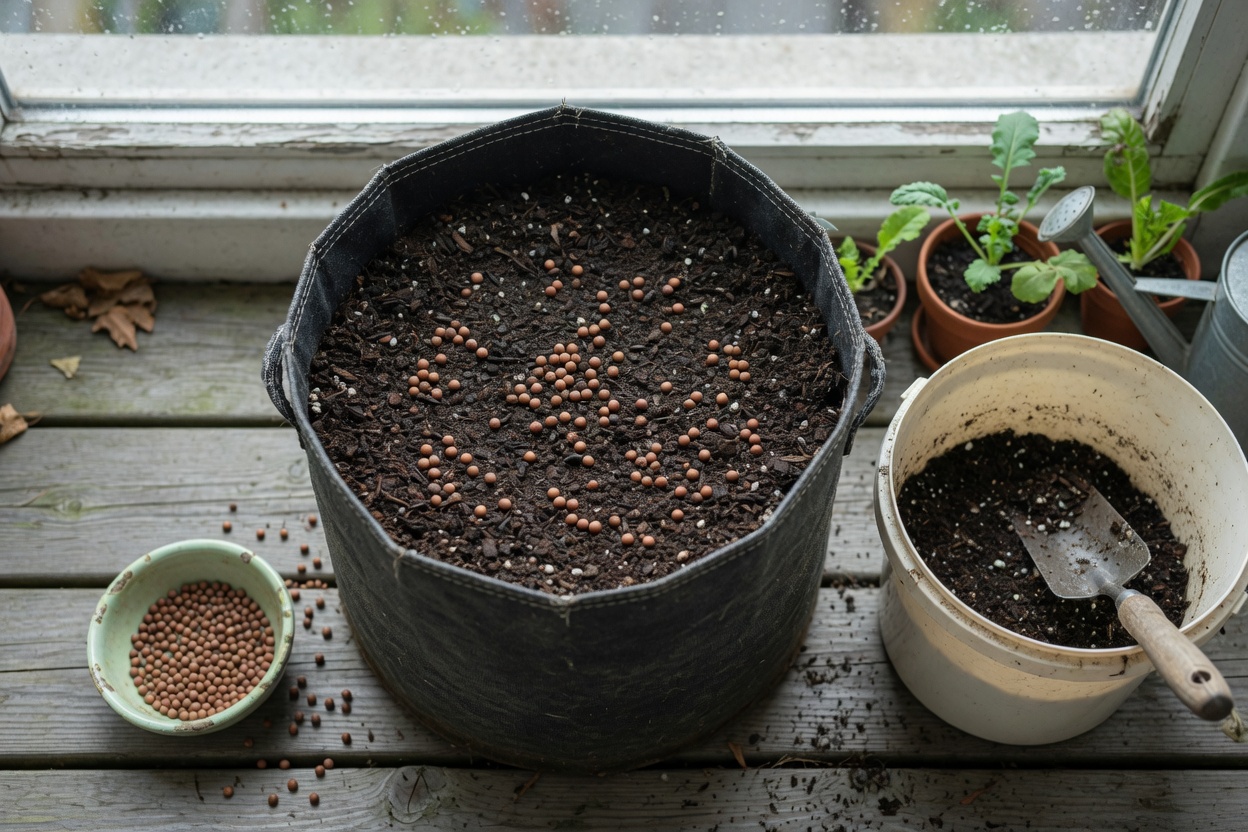
1. Fill your bag with moistened potting mix. Dry mix repels water and the seeds won’t sprout evenly. I dump the mix in a bucket, add water, and squeeze a handful. It should feel like a wrung-out sponge.
2. Fill the bag to within an inch of the top. Radishes only need six to eight inches of depth. A fabric bag will give you more than that, which is fine, and it leaves room to tuck in lettuce later.
3. Scatter the seeds, about an inch apart. Cover with a half inch of mix and press down gently.
4. Water gently. Use the long-spout can with a light flow, or the seeds will wash into a pile at one edge. You want the whole surface damp, not puddled.
Seeds should sprout in three to seven days. If nothing has come up after ten, the mix probably dried out or the soil’s still too cold.
Thin them, even if it hurts
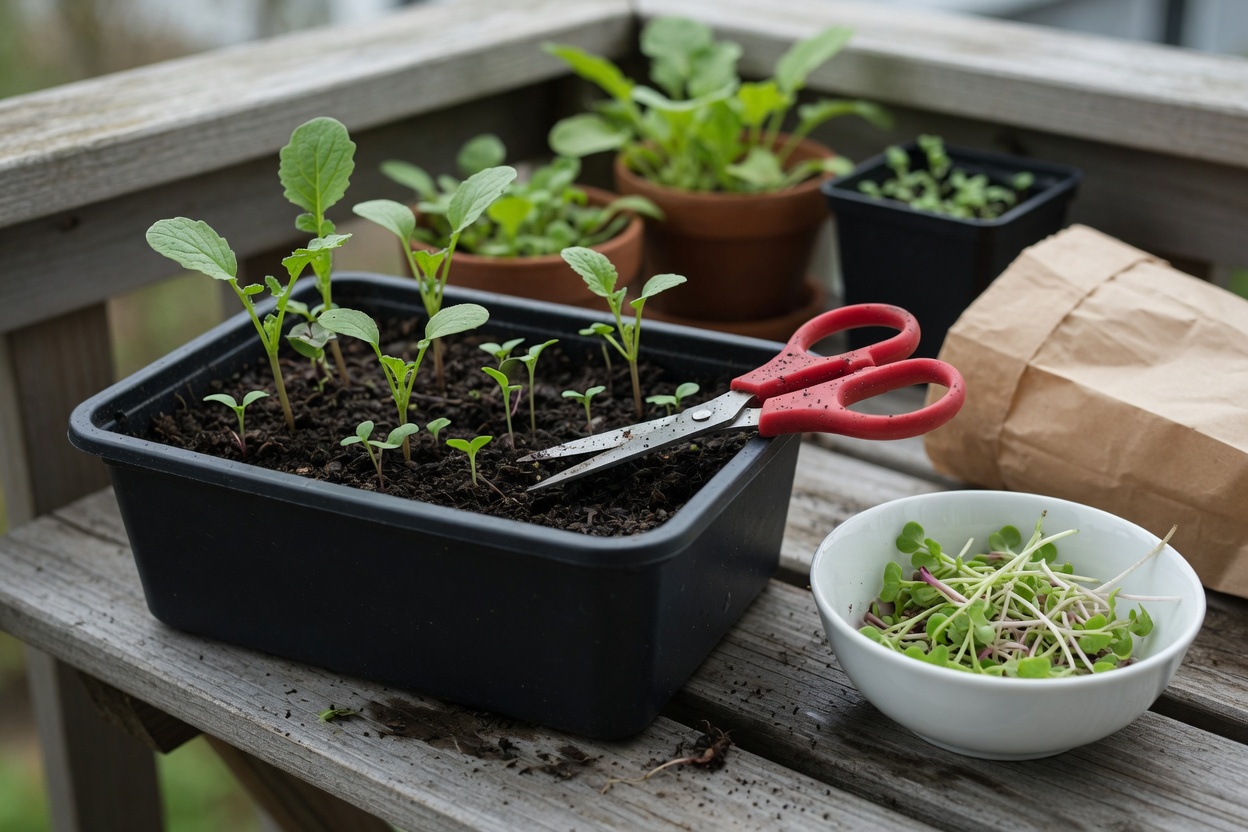
This is the step beginners skip, and it’s why they get a pot full of leaves and no radishes. When the seedlings have their first true leaves, which are the second pair, the ones shaped like a real radish leaf, thin them to about two inches apart. Use scissors and snip the extras at the soil line. Pulling can tear the roots of the ones you’re keeping.
The thinnings are edible, by the way. Tiny radish greens are good in a salad or on a sandwich.
Watering without cracking

The biggest killer of container radishes is uneven watering. A pot that goes bone dry and then gets drenched makes the roots swell too fast and split. Containers dry out faster than the ground, so check daily in warm spells.
I push a moisture meter down to the root zone before I water. The top inch can look dry while the roots are fine, and I’ve overwatered a few pots by trusting my eyes. If you’re not sure the meter earns its keep, I wrote an honest review of the soil moisture meter. A fingertip works too: poke one knuckle deep, and if it’s dry there, water.
Keep the soil evenly damp. That’s the whole trick.
Harvesting
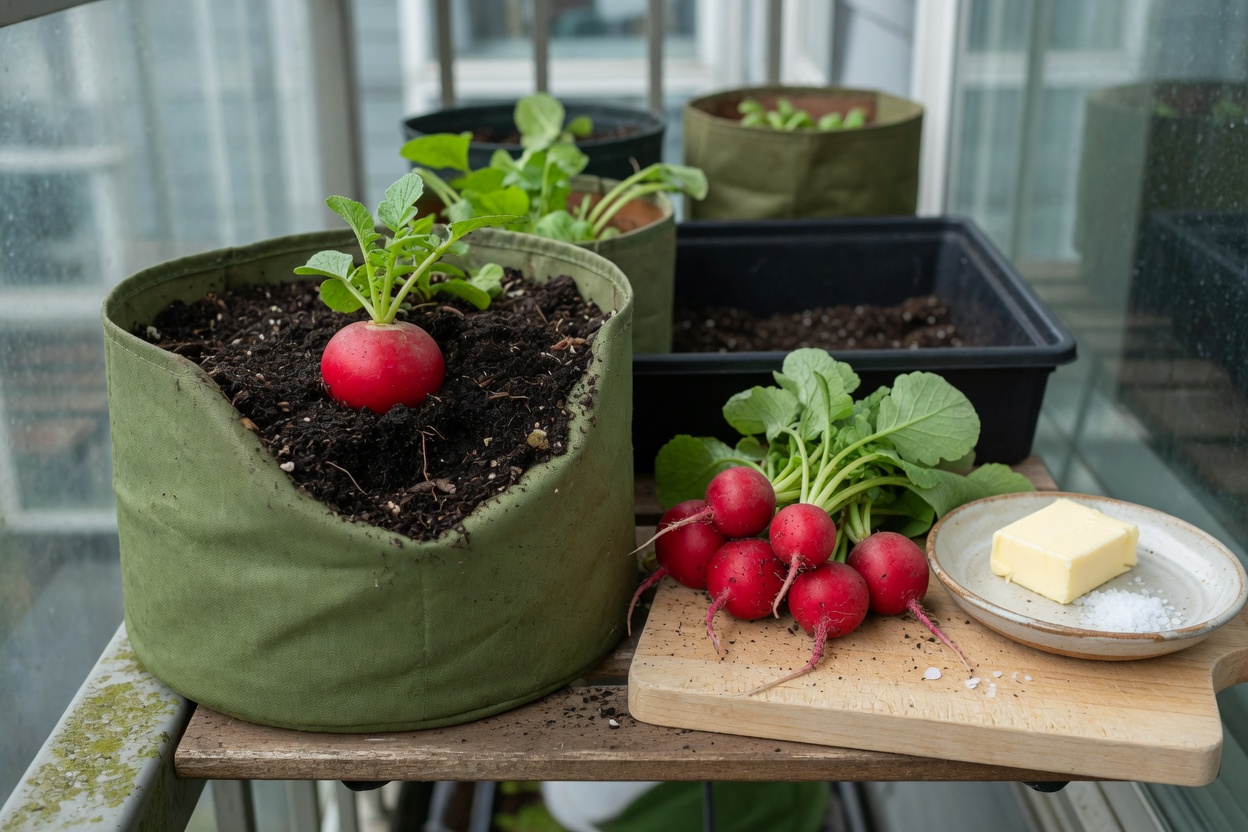
Check at about three weeks. Brush the soil from the top of a root and look at the shoulder: when it’s about the size of a large marble, it’s ready. Pull one and taste it. Radishes left too long get woody and hot, so I’d rather pull a few small than wait for big.
If you sow a new pinch of seeds every week or two, you’ll have radishes on and off for a month. That’s called succession sowing, and it’s the best reason to keep a pot of radishes going.
What to plant next in the same bag
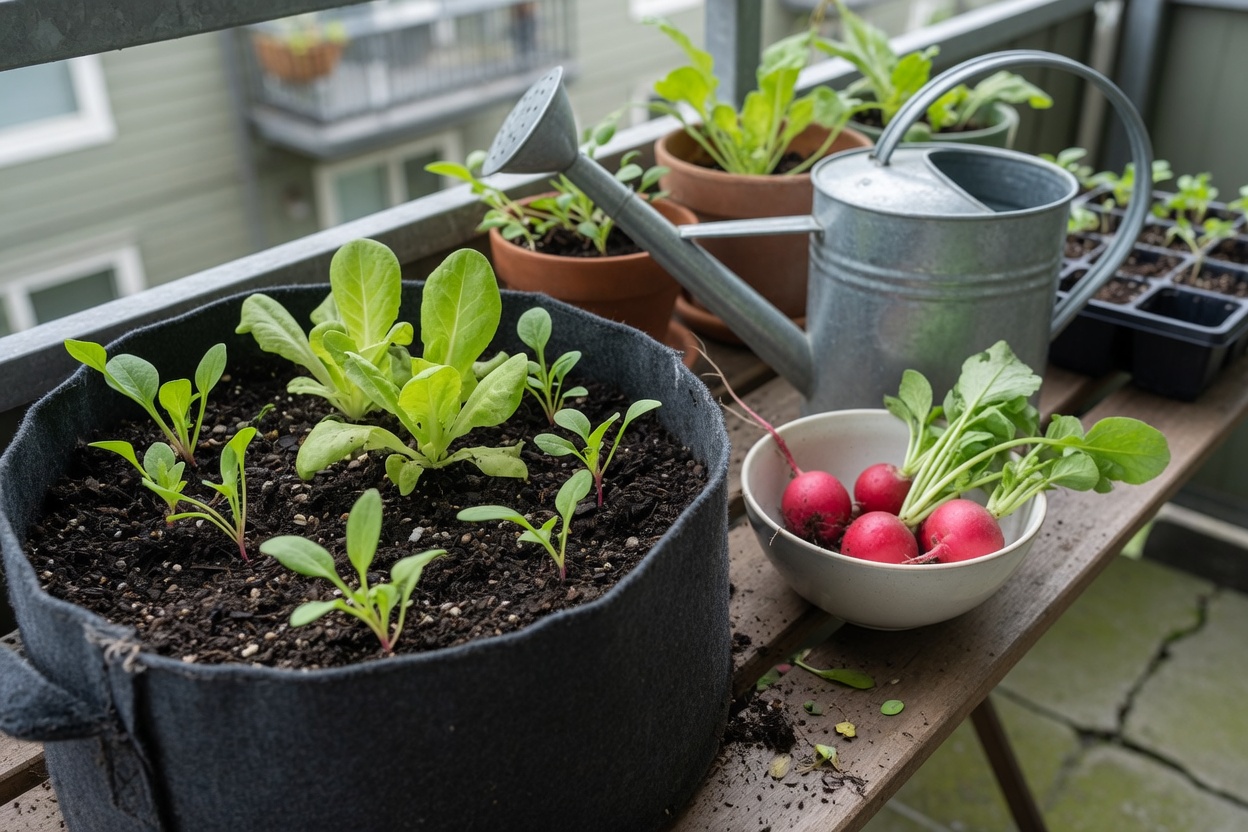
When the radishes are out, the soil in your bag is loose and ready. I follow with lettuce, which likes the same cool weather, or spinach. My notes are in how to grow spinach in containers and how to grow lettuce in containers all summer. If you’re deciding between bags and plastic pots, I compared them in fabric grow bags versus plastic pots.
A radish is a small gentle win. You plant it, you wait a few weeks, and you eat it with butter and salt on your own balcony. If you want to get more out of a few pots than you’d think possible, that’s what I put in my book, Small-Space Big Harvest.
