How to Forage and Use Red Alder Bark, the PNW Way
Red alder grows all over the Pacific Northwest and most foragers walk right past it. Here's how I identify, harvest, and use the bark — the traditional way.

Red alder is the tree most PNW foragers learn to identify and then never think about again. It’s everywhere — every clearcut edge, every stream bank, every disturbed patch of ground west of the Cascades fills in with alder before anything else gets a foothold. I spent my first several years out here walking past it on the way to something I thought was more interesting. That was a mistake I’ve been correcting for the better part of two decades now.
The inner bark of red alder has a long history of use among the coastal peoples of this region, and it’s one of the more forgiving barks for a beginner to work with responsibly, if you take the time to identify the tree correctly and harvest it in a way that doesn’t kill it. Here’s how I do it.
Identifying the tree before you touch it
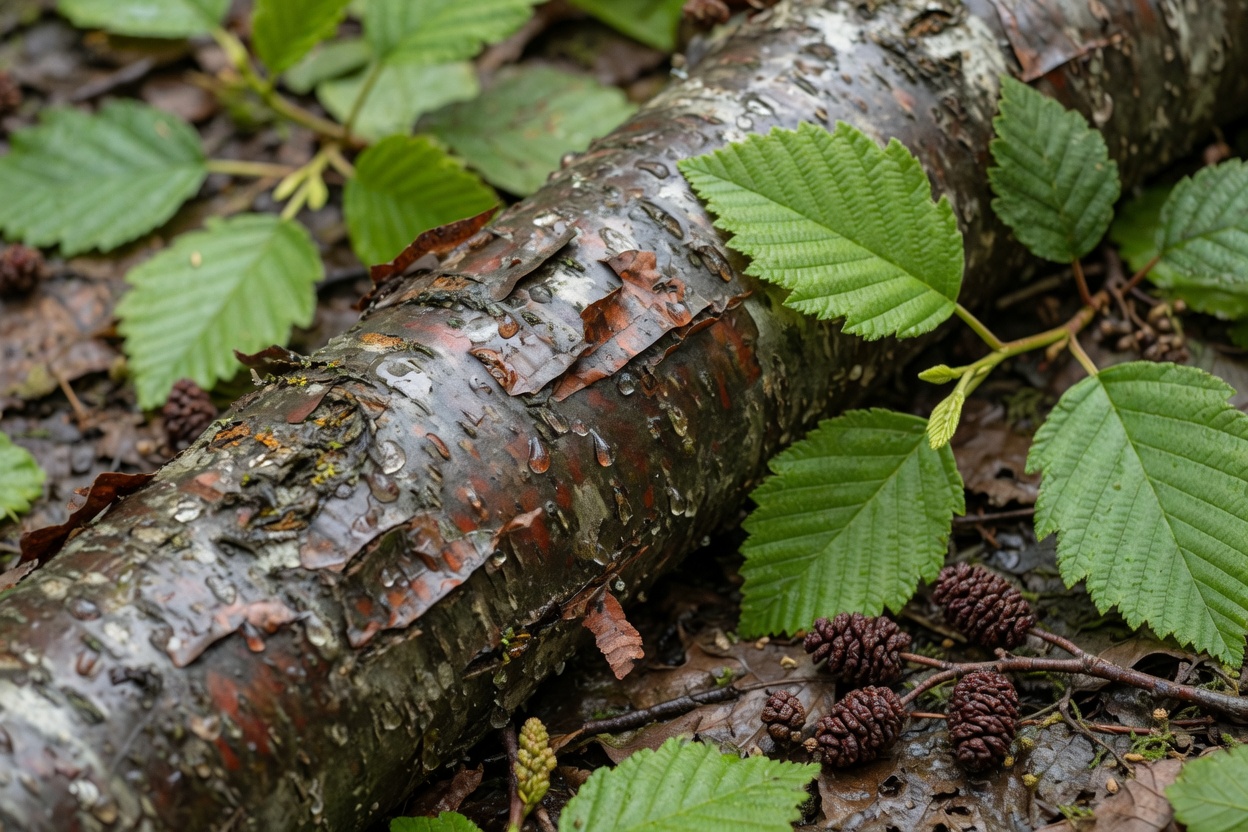
Red alder (Alnus rubra) grows fast and grows thin — you’ll rarely find one with a trunk much wider than a dinner plate, because they don’t live long enough to get bigger before a Douglas fir or a bigleaf maple eventually shades them out. The bark is smooth and pale gray, often blotched with white or pale green lichen and moss, and it bruises or scrapes to a reddish-orange underneath — that color change is where the “red” in red alder comes from, and it’s the single fastest field check. Scrape a thumbnail’s worth of outer bark on a low branch or the trunk; if what’s underneath goes orange-red within a minute or two of exposure to air, you’re looking at red alder.
The leaves, when they’re on the tree, have a distinctive rolled-under edge — the margin curls slightly under itself, unlike a similar-looking bigleaf maple leaf, which is a different plant entirely with a different bark chemistry. In winter, when the leaves are down, the bark check and the growth habit (thin trunks, colonizing in dense stands along water and disturbed ground) are what you’re working from.
Never harvest bark from a plant on a book, app, or single source alone — confirm the identification with multiple reputable guides and, ideally, someone who’s harvested this tree before. When in doubt, throw it out.
Harvesting without killing the tree

This is the part beginners skip past, and it’s the part that matters most. Never ring a tree — cutting bark all the way around the trunk cuts off its ability to move water and nutrients, and it will die. I take bark in narrow vertical strips, no wider than two fingers, spaced well apart around the trunk, and never from a tree smaller than my wrist. A young sapling doesn’t have bark to spare.
I go for a stand with several trees close together rather than a single isolated one, and I take from two or three different trees instead of stripping one. Red alder colonizes so aggressively along the wet ground here that a careful harvest from a healthy stand doesn’t put any real pressure on the population — but careful is the operative word. Score the outer bark with a knife or the edge of a hori-hori, then peel the strip away and scrape the inner bark — the part you actually want — off the back of the strip with the same blade.
Drying and storing it

Spread the inner-bark strips or scrapings on a screen or a clean towel somewhere dry and out of direct sun. Alder bark dries faster than root material — a few days in a spot with decent air movement, turned once or twice. Once it snaps rather than bends, it’s dry enough to store.
I keep dried bark in a wide-mouth mason jar, labeled with the harvest date and location, in a cupboard away from light. Kept dry and sealed, it holds its quality for about a year — after that it’s not dangerous, just weaker, and I toss it into the next batch of compost instead of a decoction.
The traditional preparation — a simple decoction
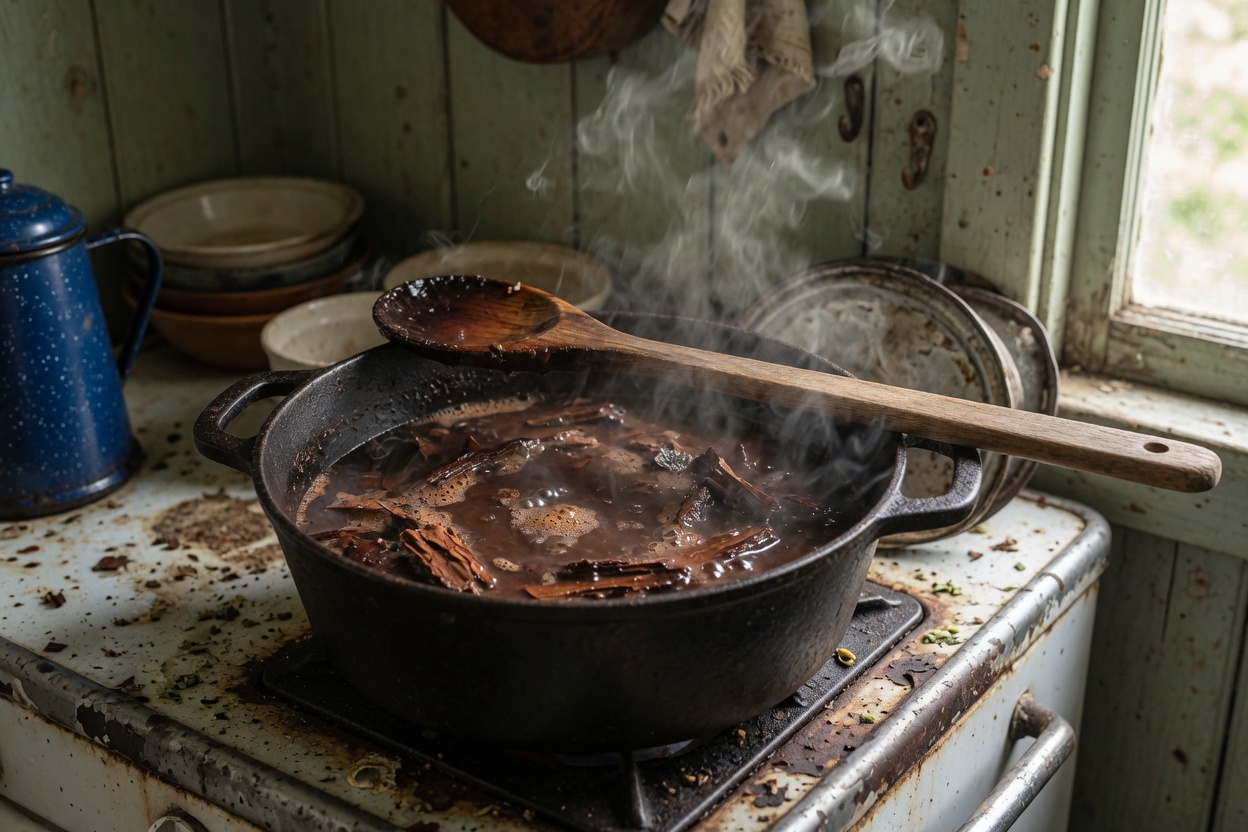
Bark is tough, fibrous material, and it doesn’t give up much through a quick steep the way a leaf does. The traditional approach is a decoction: simmer the dried bark gently in water — a small handful to about two cups — for twenty to thirty minutes, well below a hard boil, then strain the liquid through cheesecloth into a jar.
Coast Salish peoples of this region have long used red alder bark this way, among other traditional preparations, and I want to be plain about where that knowledge comes from: it isn’t mine, and I don’t claim it as mine. I’m sharing what I’ve read and learned from published, attributed sources — Nancy Turner’s ethnobotanical work on coastal First Peoples’ plant use is the one I’d point you toward first if you want to go deeper than this post — and crediting the people who knew this tree long before any settler-descended forager, myself included, showed up with a hori-hori and a mason jar.
I’ll say the same thing here I say about every traditional plant preparation in this space: this is what’s been used, traditionally, for generations. It isn’t a substitute for seeing a doctor about anything serious, and I’m not telling you it treats a specific condition — I’m telling you what the tradition is and how to prepare it the way it’s been prepared.
Where it fits in a home apothecary
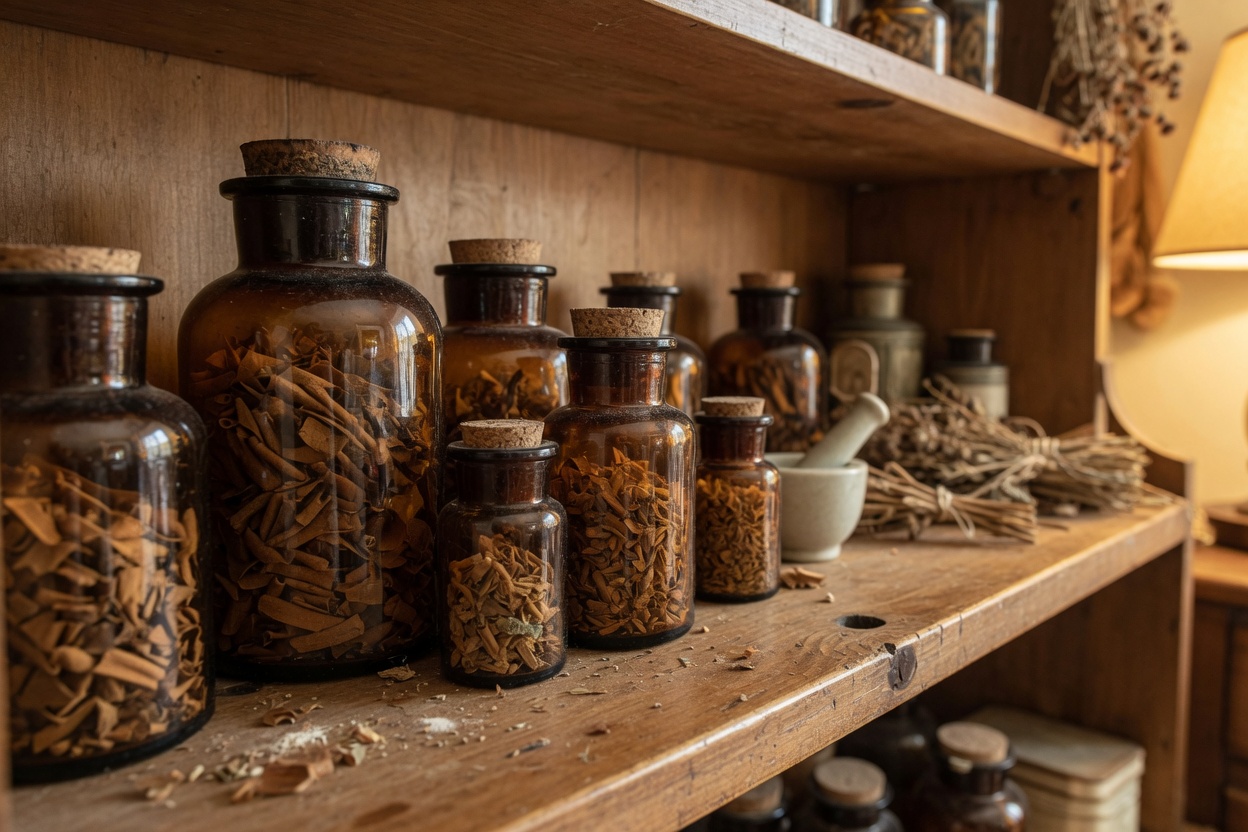
A red alder decoction is one more thing in the same rotation as the tinctures and infused oils I’ve written about elsewhere on this site — another traditional preparation worth knowing how to make correctly, from a plant that’s genuinely everywhere in this region and mostly ignored. If you’re building out a home apothecary shelf from scratch, I’d start with your first herbal tincture before you tackle a bark decoction — the technique for straining and storing carries straight over, and it’s a gentler place to build confidence. Once you’re comfortable with that, how to store dried herbs so they last covers the shelf-life side of things in more depth than I have room for here.
I go a lot deeper on identification, seasonal harvest windows, and the traditional uses of the plants that actually grow in this region in Pacific Northwest Medicinal Plants — red alder gets its own section, with the identification photos this post can only describe in words. I’ve been walking past this tree for twenty years longer than I should have. Don’t make the same mistake.
