How to Clean and Dry Medicinal Roots After the Dig
A good dig can be ruined in the kitchen. Here's how I clean and dry medicinal roots in a damp mountain fall, from scrubbing to the snap test to the jar.

I lost a whole burlap sack of roots one October because I was tired. We’d dug all afternoon in the coves below the gap, I carried them home in the dark, and I set the sack on the porch thinking I’d see to them in the morning. By the second morning there was a gray fuzz on the bottom layer and a smell I can still call to mind. Digging is the half of the job people talk about. The half that decides whether you have anything to put in a jar is what happens in the next three days.
Here’s how I clean and dry roots in the mountains, where a fall can be warm and wet at the same time, and where a root that isn’t fully dry will mold in its jar before Christmas.
You’ll also want a stiff vegetable brush and a screen of some kind. I haven’t found a food dehydrator I’d put my name to, so I’m not linking one. A window screen on two sawhorses has worked for me for thirty years.
First, know what you’ve got
Everything below is about handling a root you have already identified with certainty, not identifying it. Don’t dig what you can’t name. If you need a refresher on telling safe plants from dangerous ones, I wrote how to identify dangerous look-alikes of Appalachian medicinals, and I’d read it before you pick up a digging knife.
Never use any wild plant on the word of one book, one app, or one blog post, including this one. Confirm with several good guides and, if you can, someone who has dug it before. When in doubt, leave it.
A word on at-risk plants. American ginseng, goldenseal, and bloodroot are protected or regulated in much of the mountains, and ginseng has legal seasons and rules about digging and selling. This post isn’t about those. If you’re working with them, learn the law in your state first, and replant the seed. The plants in this post are ones I’d call common and forgiving, like yellow dock and burdock, which I cover in how to forage and use yellow dock root and how to forage and use burdock root.
In the field: trim before you carry

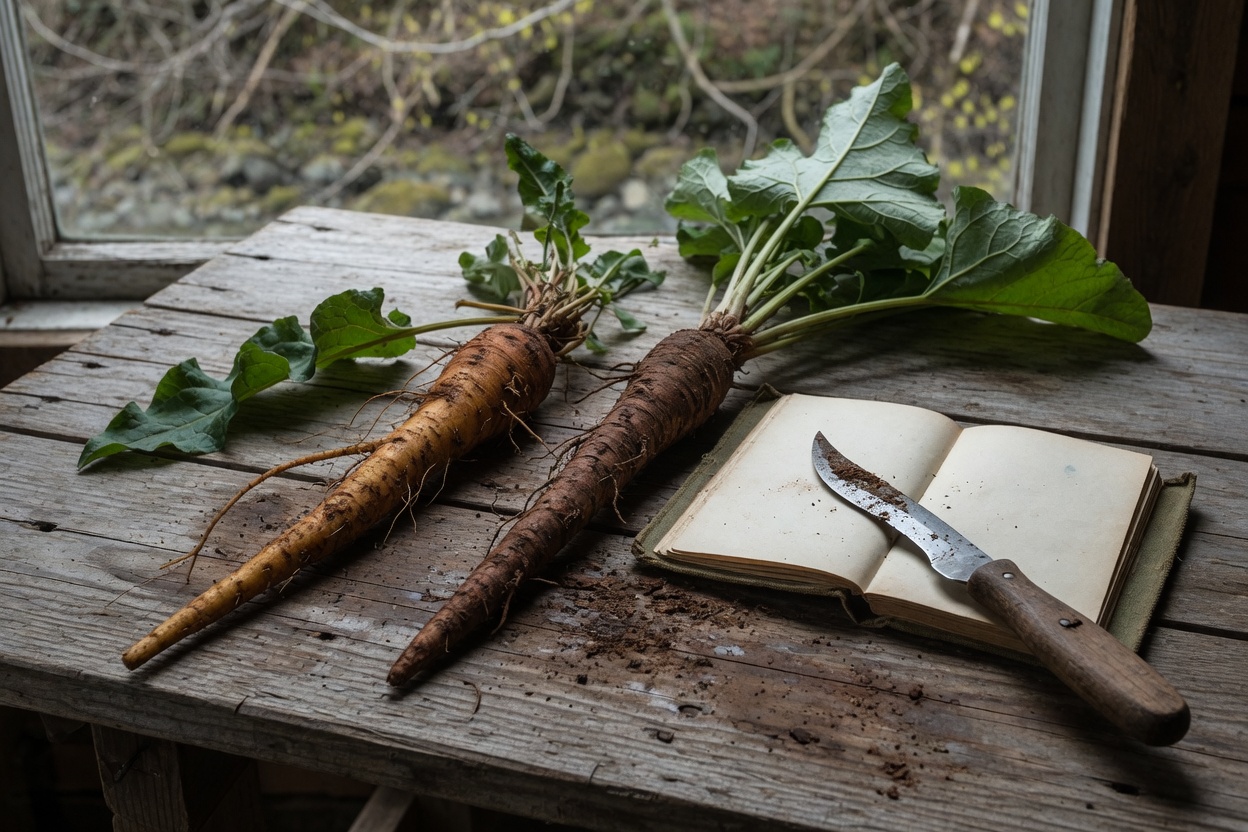
The best time to start cleaning is before you leave the cove. Shake off the loose soil. With the hori-hori, cut away the leaf crown and any stalk remnants, and trim off any root that’s black, soft, or chewed. Carry roots in a bucket or an open basket, not a sealed bag or a tied sack. Roots sweat, and a closed bag turns that sweat into rot in a few warm hours.
The wash

Get to the wash the same day. Fill a tub or a deep sink with cold water, and scrub each root with a stiff brush, working the soil out of the crevices. Cold, running water is better than a long soak. A root left in water pulls some of what you want out into the tub and gets waterlogged, which slows drying.
Don’t peel. The skin carries a good deal of what you’re after, and most traditional preparations used the whole root. If a root is so dirty that soil has packed into cracks, use the point of the knife to pick it out. A clean root shows its true color, which is a good time to look again at what you’ve dug. If the inside doesn’t look right for the plant, put it in the compost.
Cut it so it dries evenly

A fat root dries on the outside and stays wet in the middle, and the wet middle is where mold starts. Split anything thicker than your thumb lengthwise, then slice or chop it into pieces about the size of a thumb joint. Long, thin roots can be cut into short lengths. The goal is pieces of about the same thickness, so they dry on the same schedule.
Pat the cut pieces dry with a clean towel. They shouldn’t go onto the screen dripping.
Drying in a damp fall

This is the step that matters most in the mountains, where October rain can keep the air at eighty percent humidity for days.
Spread them thin. Lay the pieces in a single layer on a screen, with a sheet of cheesecloth over it if the pieces are small. Air has to reach every side. A screen on sawhorses is better than a tray, because the air moves underneath too.
Choose your spot. Out of direct sun, in a dry, airy room, a barn loft, or a drying shed with a fan. I use the spare room with a box fan on low. Don’t dry roots on a covered porch in a wet week. They’ll just get damp again.
Give it heat if the air won’t. When the weather is against me, I finish roots in the oven on its lowest setting, around 100 to 115 degrees, with the door propped open a crack and the pieces in a single layer. Check them every half hour. It takes a few hours, and the danger is cooking them, so don’t let the oven climb.
Stir them. Turn the pieces once a day.
The snap test

Don’t trust the calendar. Trust the root. A dry piece of root snaps cleanly when you bend it. It doesn’t flex or give. Break one in half and look inside. If there’s any moisture at the center, or it’s leathery, it needs more time. I pull a few pieces from each batch and break them before I pack anything. A root that feels dry but bends will still mold in a jar.
Plan on one to two weeks in a dry house, and longer in a wet fall. Thick pieces take longer.
Jar it right

Once the pieces pass the snap test, let them sit out one more day. Then pack them into clean, dry mason jars, leaving a little headspace. Label each jar with the plant and the date, using a strip of masking tape, because a marker on glass smears.
Keep the jars somewhere cool and dark. Check them after the first week. If you see any fog on the inside of the glass, the roots weren’t dry enough. Pour them back onto the screen and dry them again. I wrote about how to hold stored plants through the damp months in how to store mountain herbs through a humid Appalachian winter.
Properly dried root keeps well for about a year. After that I’d replace it. If you plan to make something from it, my notes on making a mountain root tincture pick up right where this one ends. These are traditional-use methods, handed down in my family, and not medical advice.
The part that takes years

Cleaning and drying a root is a skill you can learn in a season. Knowing what’s growing in the cove behind your house, which roots are common, which are at risk, which look like something that will hurt you, takes longer.
That is the reason I wrote my book, Appalachian Medicinal Plants. It carries what I know about identifying each plant, when to gather it, and what the mountain people before us did with it.
