Setting Up Your First Chick Brooder: My Day-One Checklist
My day-one chick brooder setup checklist from six years and a lot of mistakes — heat plate, thermometer, feeder, the right starter feed, and bedding that works.
The first time I brought chicks home from Tractor Supply during Chick Days, I had a cardboard box, a heat lamp clamped to the rim, and absolutely no idea what I was doing. Three Buff Orpington chicks, peeping their heads off in the back seat, and a setup I’d thrown together that afternoon. It worked, mostly. But the heat lamp slid loose on night two, and I woke up at 3 a.m. with a pit in my stomach and a flashlight, checking that the box hadn’t caught. It hadn’t. I got lucky.
I don’t run a heat lamp anymore, and I don’t wing the brooder setup anymore either. Six years and a lot of stumbles later, I have a checklist I run before a single chick comes home. Here’s what’s on it, in the order I set it up.
Start with the heat, and skip the heat lamp
Heat is the one thing chicks cannot survive without, and it’s also the part most new keepers get wrong. For my first two years I used a clamp heat lamp because that’s what the feed store sold me alongside the chicks. They’re cheap, they throw a lot of heat, and they are the leading cause of coop and barn fires in this hobby. That’s not me being dramatic. Ask anyone who’s been in chickens a while and they’ll have a story.
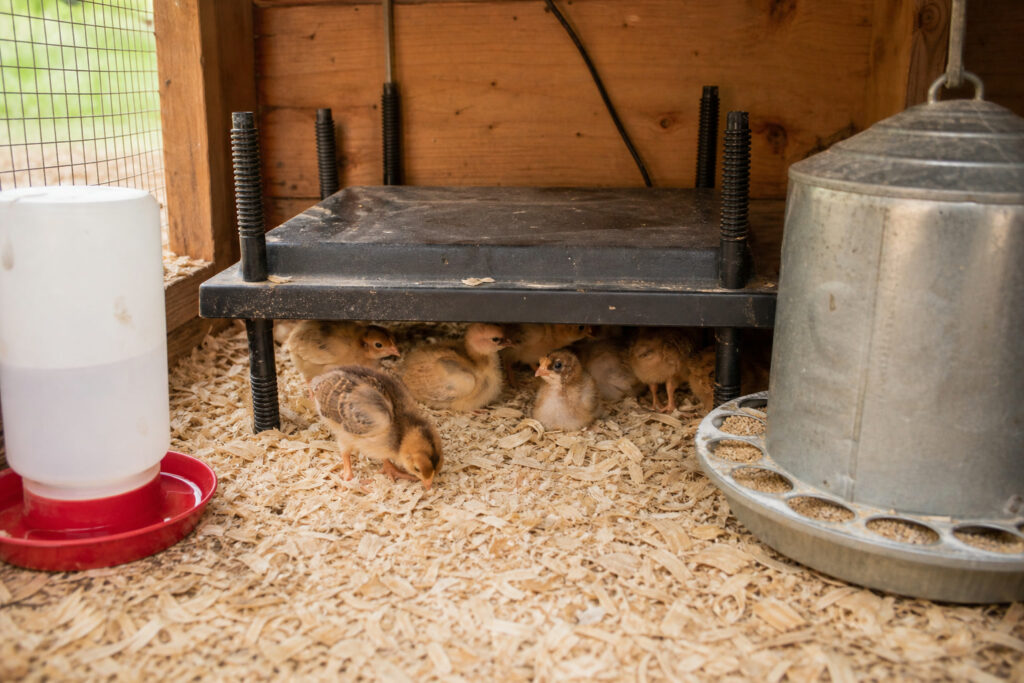
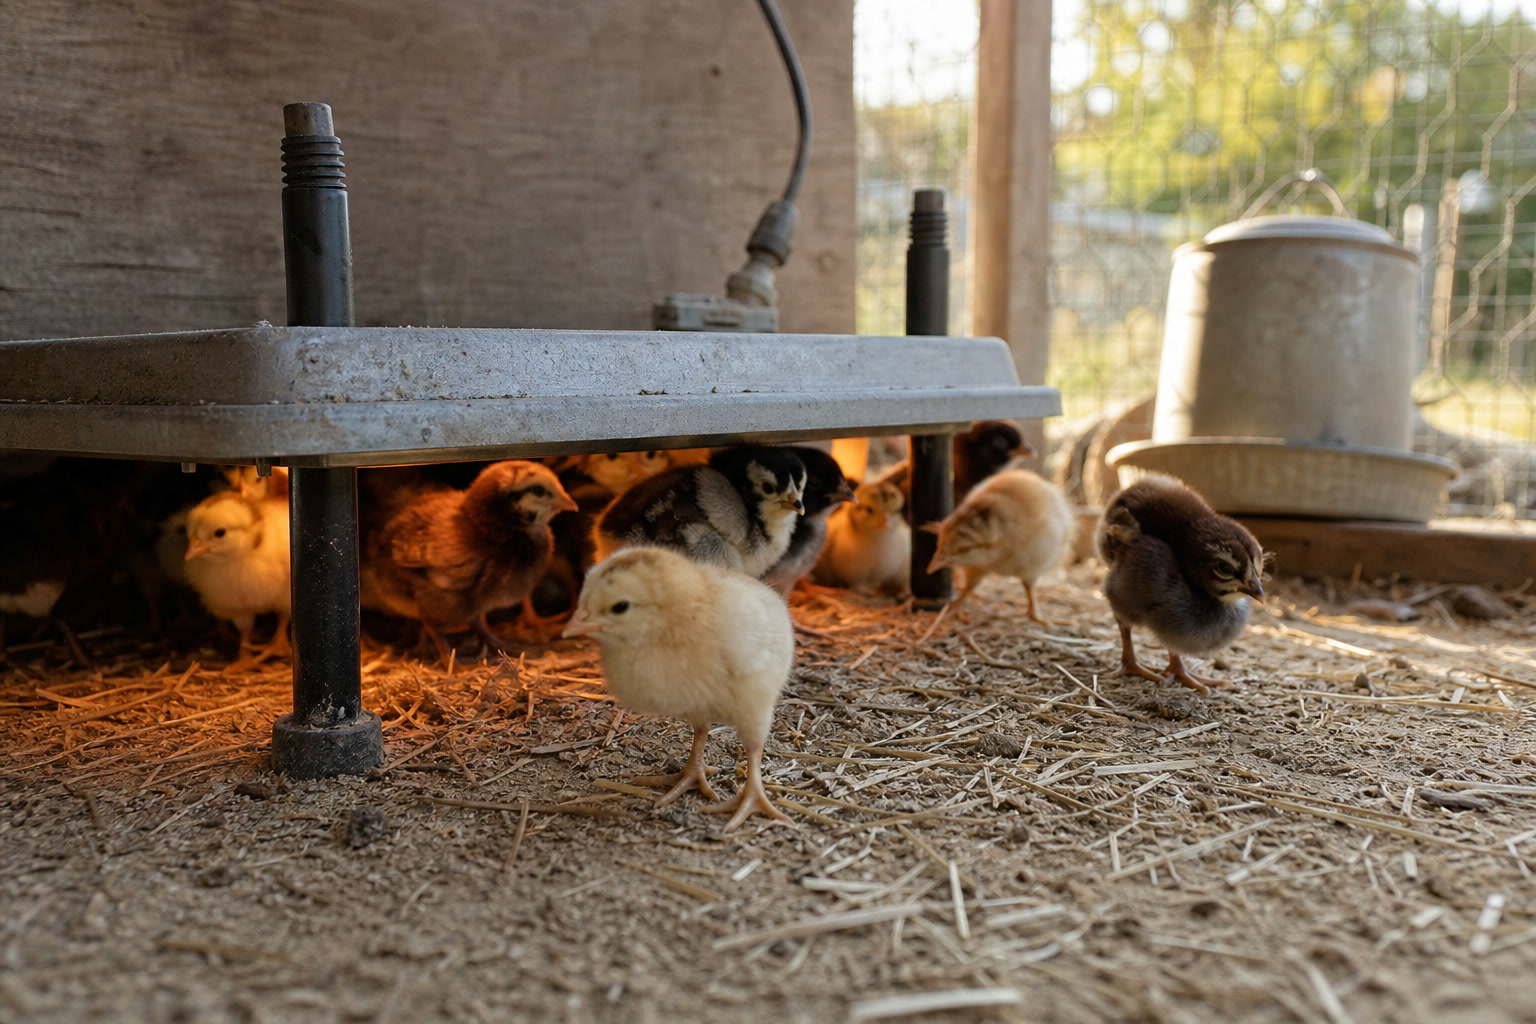
I switched to a radiant heat plate the year after my heat lamp scare, and I’ve never gone back. A plate like the Brinsea EcoGlow mimics a mother hen — the chicks tuck up underneath it for warmth and step out to eat and explore, the way they would under a broody. It runs cool to the touch, draws a fraction of the power, and it won’t set your shavings on fire if it tips. You raise the legs as the chicks grow. The one tradeoff is that it warms the chicks directly rather than heating the whole brooder, so in a cold garage you’ll want the room itself reasonably warm. For most people setting up in a spare bathroom or a corner of the house, it’s perfect.
Read the temperature, don’t guess at it
Chicks need it warm — about 95 degrees right under the heat source in week one — and you drop it roughly five degrees a week until they’re feathered out and ready for the coop. With a heat plate you’re adjusting the leg height rather than the air temperature, but you still want to know what you’re working with.
I keep a cheap thermometer-hygrometer in the brooder at chick level, not up near the lid where the reading lies to you. Honestly, though, the chicks are the better thermometer. A pile of chicks crammed together directly under the heat are cold. Chicks pressed against the far walls, panting, are too hot. Chicks scattered around the brooder, peeping contentedly and moving in and out from the warmth, have it just right. Learn to read the birds and the gauge becomes a backup. But for your first round, when you don’t trust your own eyes yet, the number on the screen is reassuring at 2 a.m.
Feeder and waterer sized for tiny birds
Day-old chicks will walk through, kick shavings into, and occasionally fall asleep in an open dish of water. They’ll also foul their feed within an hour. I learned to skip the open dishes entirely after cleaning poop out of the waterer four times a day that first week.
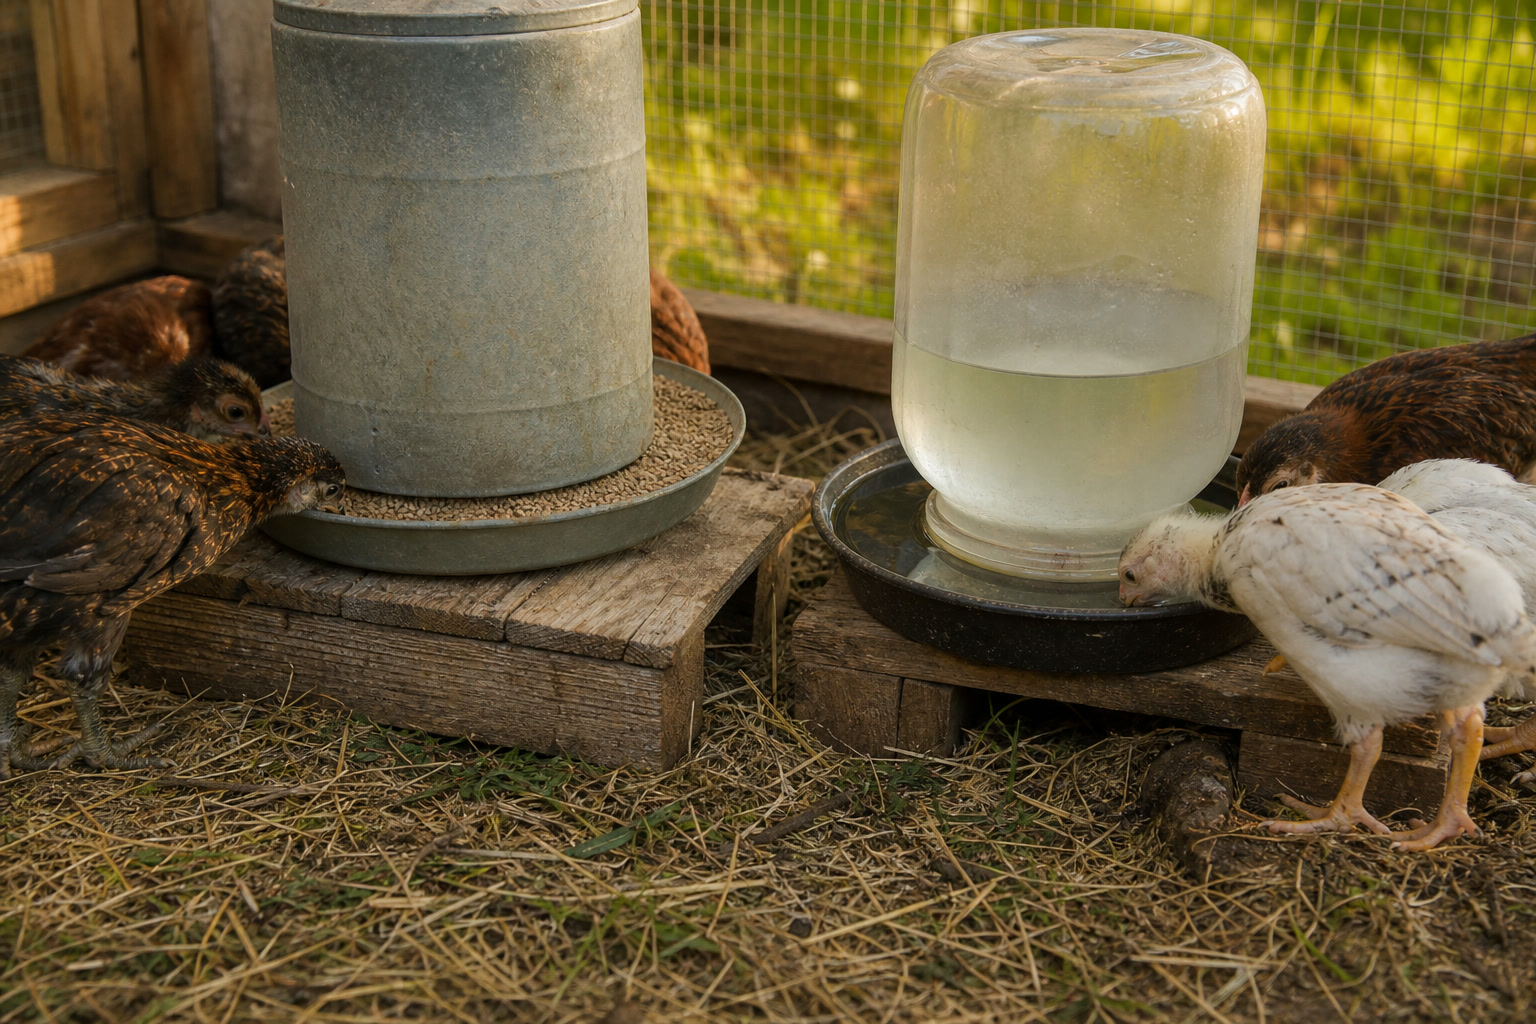
A proper chick feeder and waterer set with small ports keeps the feed and water clean and keeps the chicks from drowning or chilling themselves. The set I use now works for chicks as young as three days and carries them right through to laying age, which means I’m not buying new gear in a month. Set the waterer up on a small block or a couple of bricks once the chicks find their feet, so the bedding stays out of it. And put a few clean marbles or pebbles in any open water for the first couple of days if you’re using a shallow dish — chicks won’t drown trying to reach water around stones.
The right starter feed for the first eight weeks
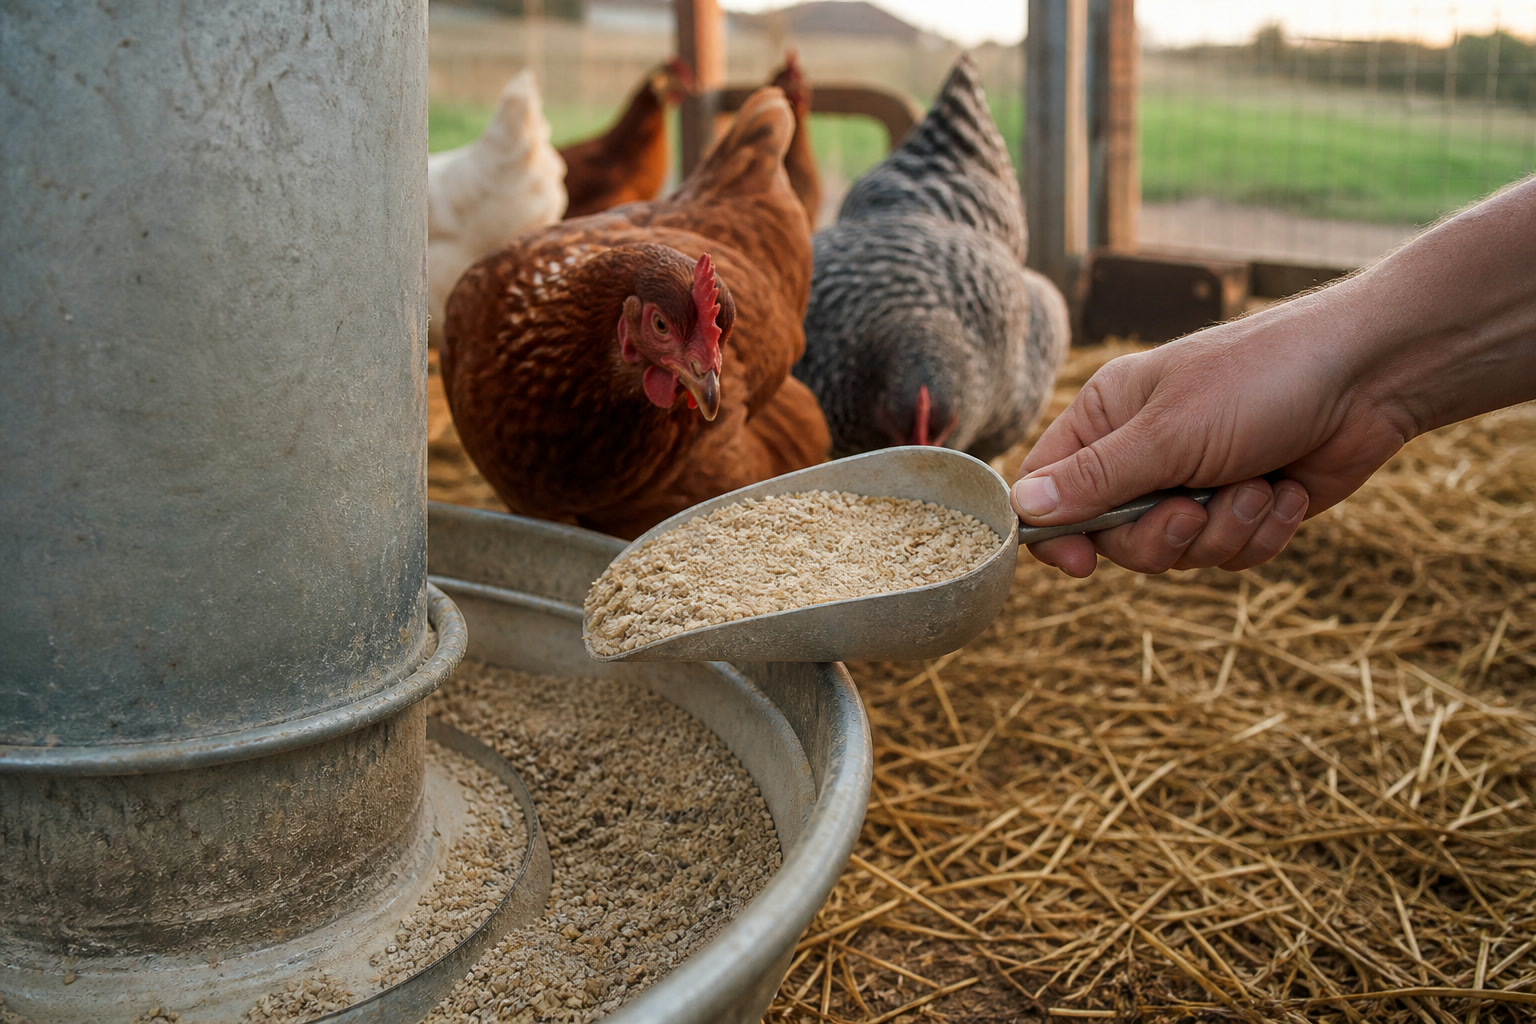
This is where people overthink it, and also where one quiet mistake costs you birds. Chicks need a chick starter — higher protein than layer feed, around 18 percent — for roughly their first eight weeks. Not scratch, not layer pellets, not table scraps. Just starter.
I use a medicated chick starter for chicks I’ve brought home from the feed store or a hatchery. The “medicated” part is amprolium, which helps the chicks build resistance to coccidiosis — a gut parasite that lives in damp bedding and can wipe out a brooder fast. It is not an antibiotic, and it’s the single most common preventable cause of dead chicks I hear about from the neighbors who message me. The one exception: if your chicks came vaccinated for coccidiosis from the hatchery, you skip the medicated feed, because the medication cancels the vaccine. Check your hatchery paperwork. If you don’t know, medicated is the safer default for store chicks.
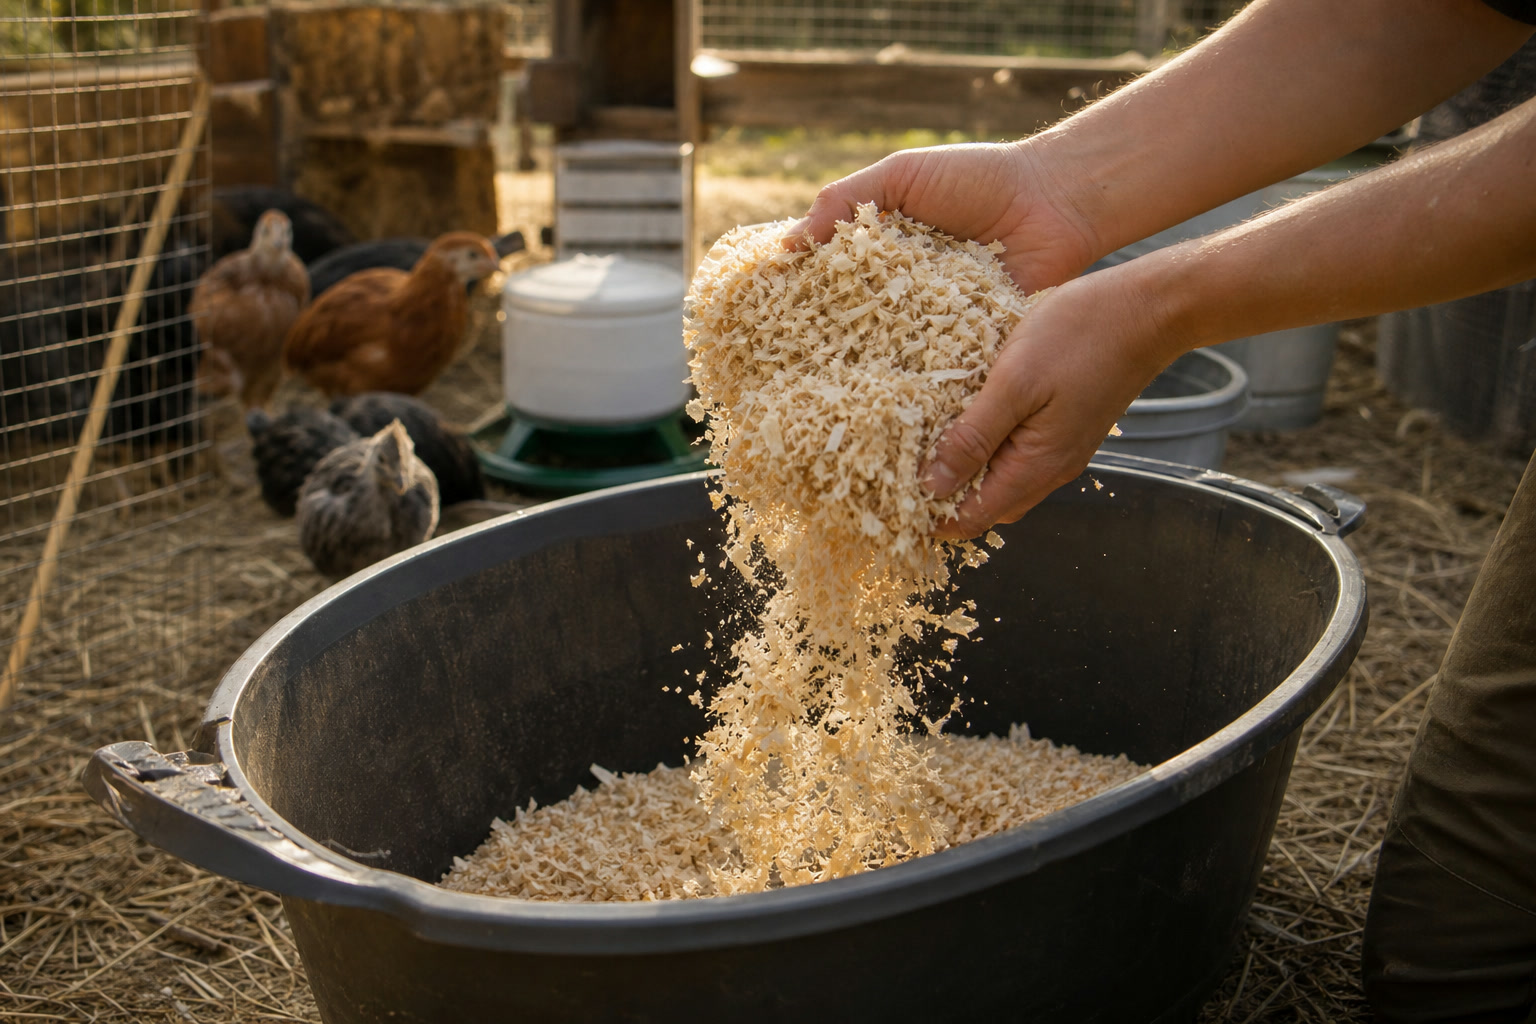
Bedding that keeps the brooder dry
The whole game with chicks is dry and clean. A wet, dirty brooder is how coccidiosis and pasty butt take hold. I’ve tried a few things over the years — paper towels for the first couple of days so the chicks learn what’s food and what isn’t, then pine shavings once they’ve figured it out.
A word on what not to use: never cedar shavings. The aromatic oils that make cedar smell nice are hard on a chick’s respiratory system, and chicks have delicate lungs. And skip slick newspaper as a long-term floor — chicks slipping on a smooth surface in the first week can develop splayed legs. Pine shavings give them grip, absorb the mess, and compost down beautifully when you clean out. I scoop the worst of it daily and do a full change every few days. It is more work than you’d think for such small birds, but a dry brooder is a healthy brooder.
The part I wish I’d known on day one
If I could go back and tell myself one thing standing over that cardboard box, it’d be this: the chicks are tougher than you fear and the setup is simpler than the internet makes it sound. Heat, clean water, the right feed, dry bedding, and your own two eyes checking on them a few times a day. That’s the whole job for the first eight weeks.
I walk through the full first-year timeline — brooder to coop to first eggs, and every mistake I made along the way — in my book, Raising Backyard Chickens for Beginners. The checklist above is the part you can act on this week. The book is the one I wish someone had handed me with those three Orpington chicks.