Beginner Mountain Apothecary Supplies: What You Actually Need
The beginner mountain apothecary supplies I actually reach for after forty years up a cove in Madison County — what earns a shelf spot, and what to skip.
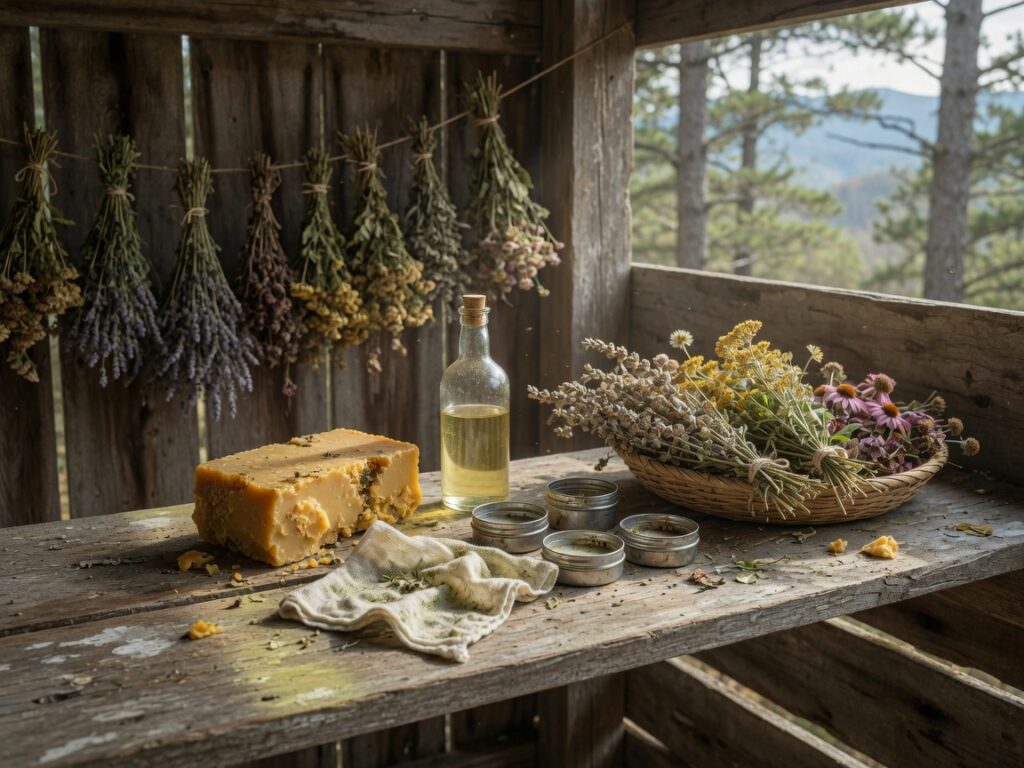
My grandmother’s apothecary was a plank shelf in the drying shed and a dishpan under the kitchen table, and she treated half the hollow out of it for sixty years. When my granddaughter asked me last spring what she needed to buy to start her own, I laughed, because the honest answer is almost nothing. The plants are free for the gathering, and most of what you’ll use to put them up is already in your kitchen.
But there is a short list of supplies that earn their place — the few things I’d tell any beginner to have on the shelf before the first salve or tincture. After more than forty years of drying, straining, and salving up a creek outside Marshall, these are the ones I actually reach for, honestly, with the drawbacks noted. Buy these, skip the rest until you know you’ll use it, and you’ll be set up to make most of what a mountain home apothecary is good for.
Before any of it, the one rule that comes before every supply on that list: never gather and use a wild plant off a single source. Cross-check your identification against two reputable guides and, when you’re new, an experienced local before anything goes on your skin or in a jar. When in doubt, leave it be. Everything below is about putting up the plants safely once you’ve identified them for certain — the supplies don’t do the identifying for you.
Beeswax: the ingredient that makes a salve a salve
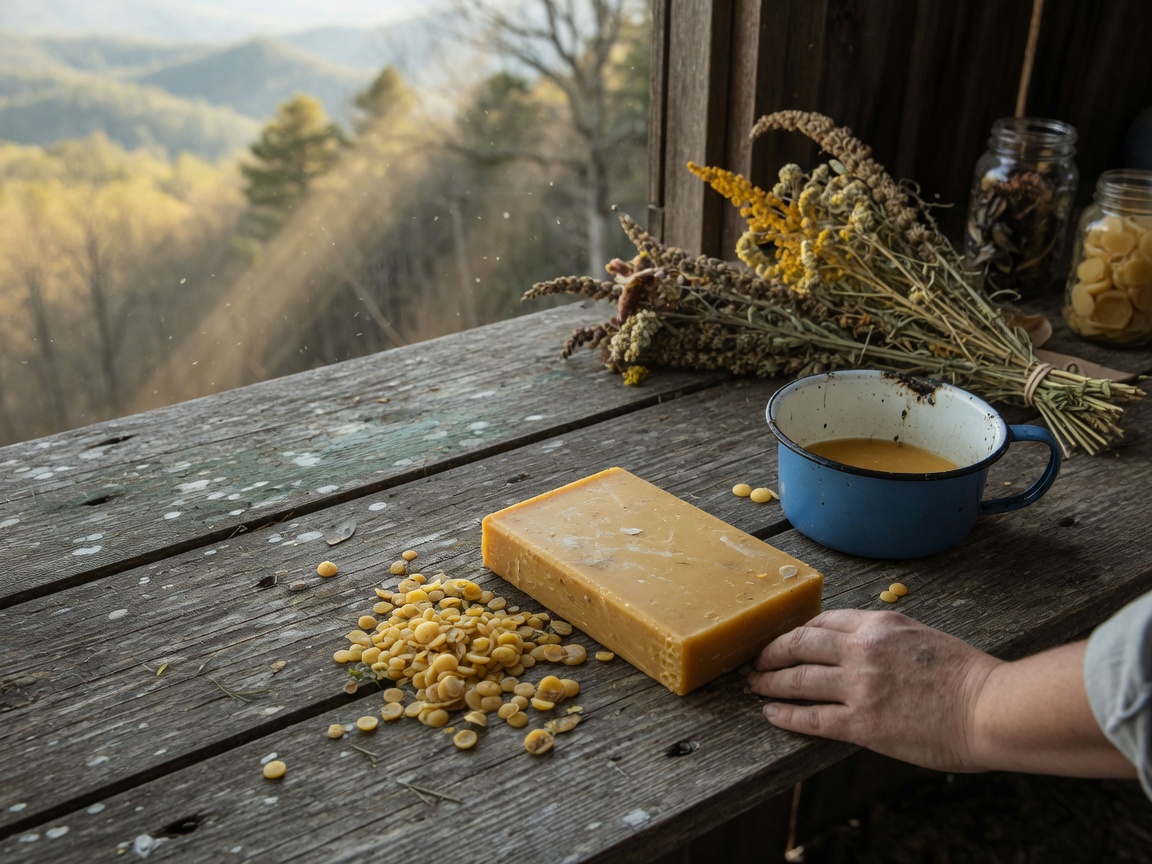
If you buy one thing off this list, buy beeswax. It’s what thickens an herb-infused oil into a salve firm enough to carry in a tin, and there’s no real substitute for it. My grandmother rendered her own from the hive; I buy beeswax pastilles now, and I’ll tell you plainly they’re worth the small extra cost over a solid block. A block you have to grate or chip, and beeswax is stubborn stuff to cut cold. The little pastilles melt even and measure easy — a rough rule I follow is one part beeswax to four or five parts oil by eye, more wax for a firmer salve in summer heat, less for a soft winter balm.
Get the plain, unbleached yellow kind if you can. It smells faintly of honey and warm hives, which is half the pleasure of salve-making on a cold afternoon. The white bleached wax works the same but it’s had the life stripped out of it. One bag will outlast a whole season of salves.
A carrier oil that won’t quit on you
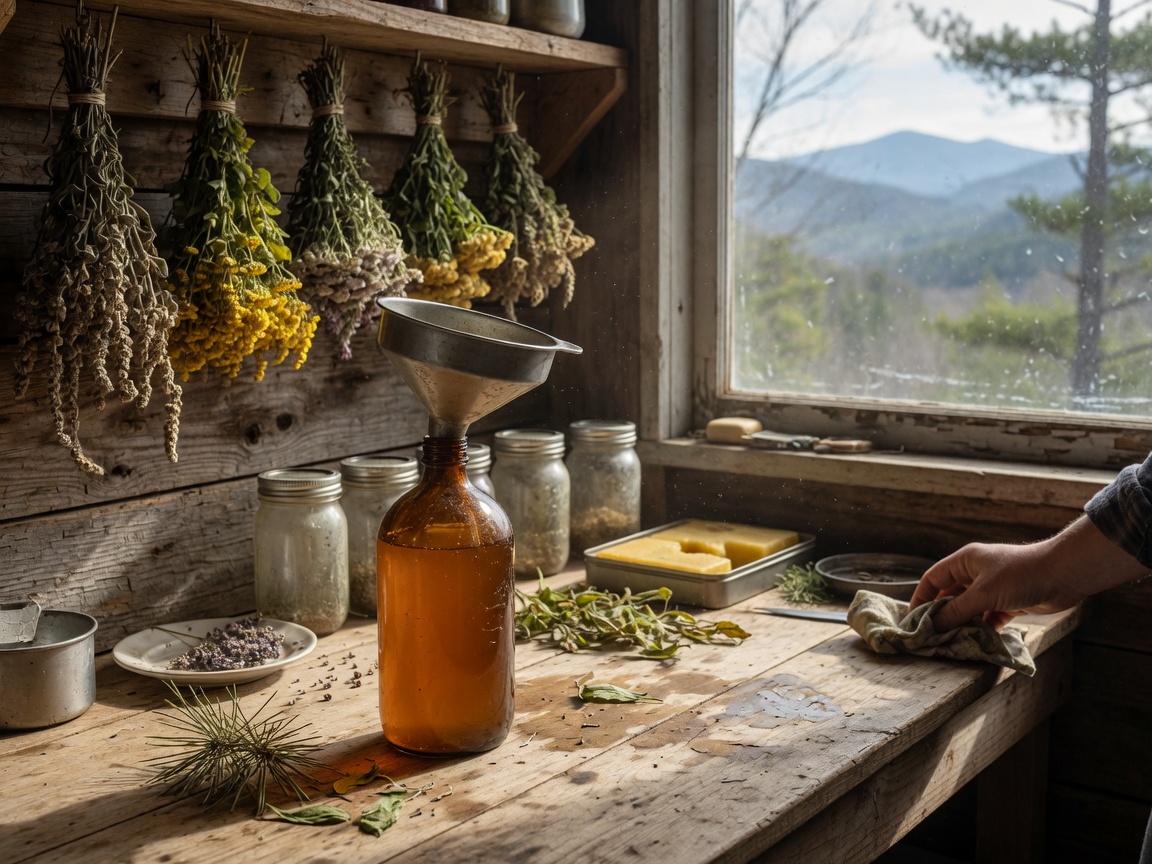
Every salve and infused oil starts with an oil to draw the plant’s properties into. For years I used what was in the pantry — olive oil, mostly, and it works fine. The trouble with kitchen oils is they can go rancid, and there is nothing sadder than opening a jar of yarrow oil you nursed for six weeks and finding it turned.
That’s why I keep jojoba oil on the shelf now. It isn’t truly an oil — it’s a liquid wax, technically — which is exactly why it stays good for years instead of months. On the skin it feels light and it doesn’t leave you greasy. The honest drawback is cost: it runs dearer than olive oil, so if you’re just testing the water, a good fresh olive oil will get you a first salve for less. But for anything I want to keep, or give away, or make in the warm months when oils turn faster, jojoba is what I reach for. Buy a modest bottle to start — a little goes a long way in a 2-ounce tin.
Cheesecloth, and get the good grade
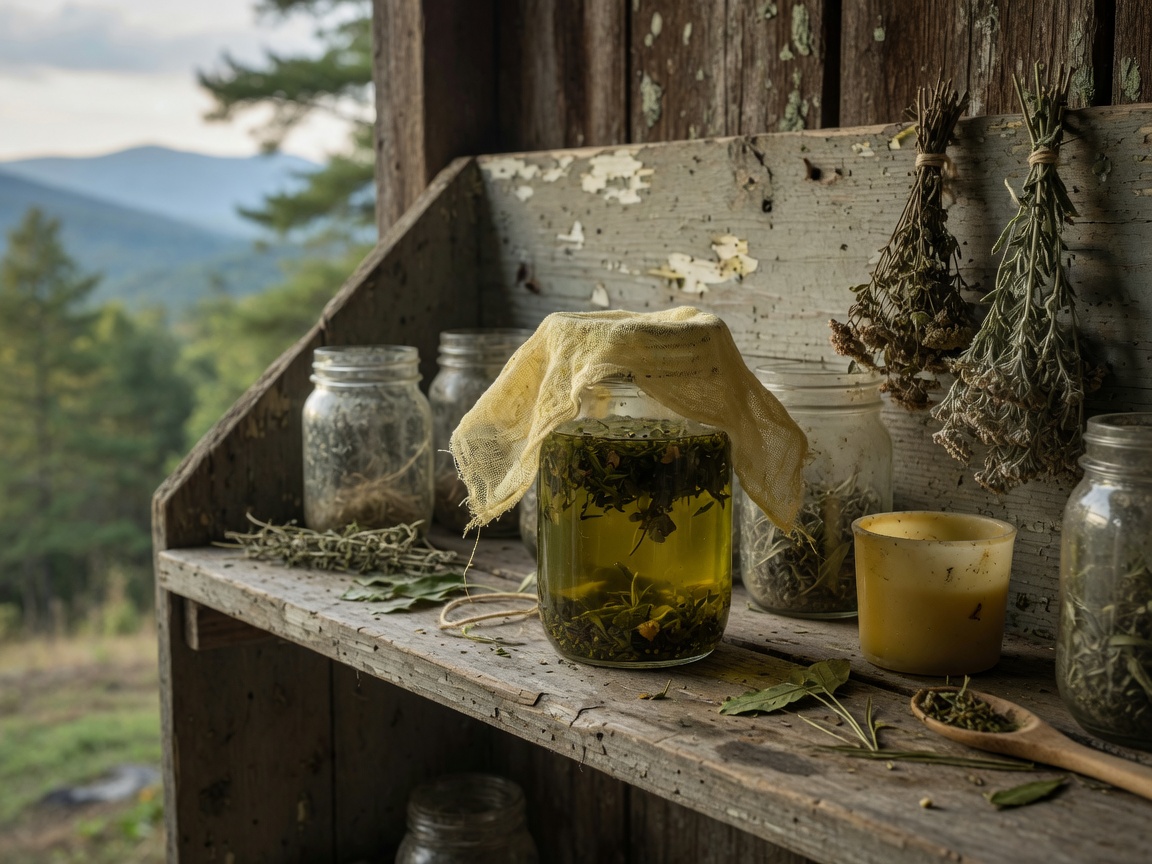
Straining is where a beginner’s batch goes wrong most often. Once your plant material has steeped in the oil — I like a slow infusion on a warm windowsill for a few weeks, not the hurried heat method — you have to get every last bit of leaf and grit out, or the salve spoils faster and feels gritty going on.
Loose, cheap cheesecloth from the grocery is near useless for this; the weave is so open the fine bits slide right through. Look for a tight grade-90 cheesecloth instead. Doubled over a bowl, it catches the plant fine and lets you gather the cloth up and wring the last of the good oil out with your hands. I rinse and reuse a piece several times before it goes in the rag bin. It does the same honest work straining a tincture as it does an oil, so one buy covers both.
Tins for the finished salve
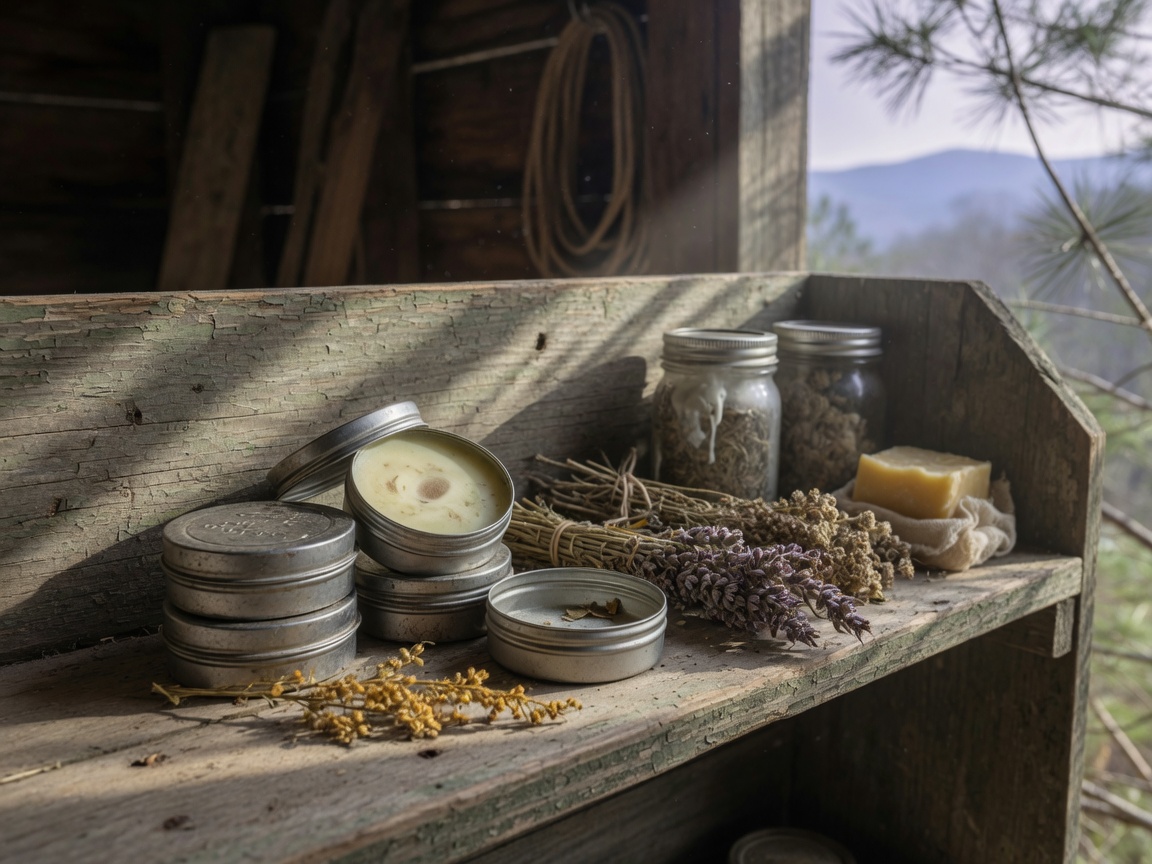
You need somewhere for the salve to set up and live, and a shallow 2-ounce tin is the size I’ve settled on after trying everything. It’s enough salve to last a household a good while, small enough to tuck in a coat pocket or a barn coat, and it’s the right size to hand across the fence to a neighbor — which is how half of what I make leaves the house anyway.
You pour the salve in warm and liquid and it sets as it cools. The screw-top and slip-lid tins both work; the slip-lid ones open easier with cold or working hands, which matters more than you’d think. Do keep them out of a hot windowsill once they’re filled, or a summer-soft salve will weep. A dozen tins is plenty to start.
What you already have — and what to skip for now
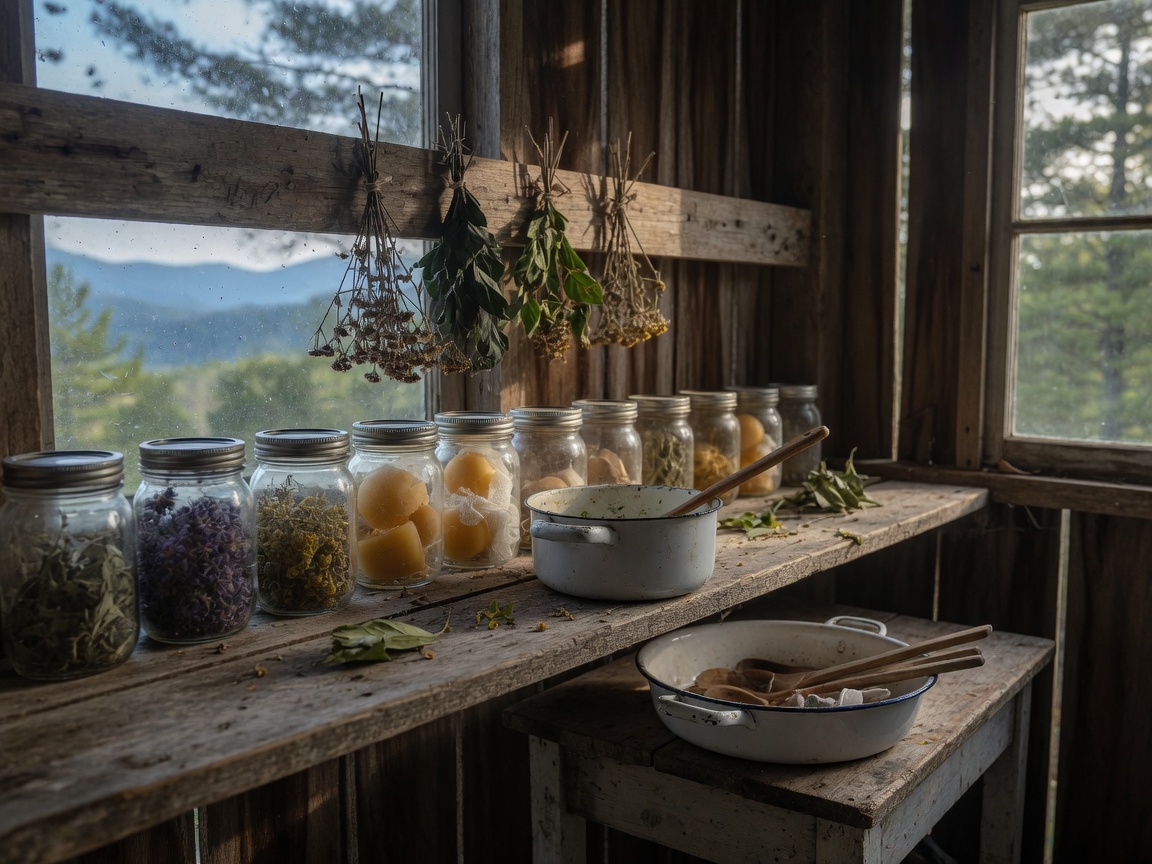
Here’s where I save you some money. For tincturing, infusing oil, and storing dried herbs, you want wide-mouth glass canning jars — and if you’ve put up a single jar of beans in your life, you already own them. Any clean pint or quart jar with a good lid does the work. Don’t go buying special vessels; the mason jars in the cellar are exactly right, and the wide mouth makes packing plant material and straining it back out far easier than a narrow neck.
The same goes for the fancier gear the catalogs will try to sell a beginner. An amber dropper bottle is a nice thing to have for a finished tincture, but a clean jar in a dark cupboard keeps it just as well to start. A food dehydrator dries herbs beautifully and I’ll not talk anyone out of one — but a screen in a warm, airy room, or a bundle tied and hung from the rafters the way the mountain people always did it, costs nothing and works. Buy those things later, once you know herb work has taken hold of you. It usually does.
Start with the four on the shelf above, a few jars you already own, and a plant you’ve identified for certain. That’s a mountain apothecary. Everything else is just refinement.
Where to go from here
Supplies are the easy part. The knowing — which plant, gathered when, dried how, and used for what in the tradition — is the work of a lifetime, and it’s the part I care most about passing on. That’s the whole of my book, Appalachian Medicinal Plants: the plants that grow in these southern mountains, how to identify each one without guessing, when to gather it, and how the women before me put it up and used it. Read it alongside a good regional field guide, never in place of one — the more careful sources you check, the safer you work. Set up the shelf, learn one plant at a time, and you’ll be further along than I was at twice your start.
