How to Rig a Bobber for Bluegill and Crappie
How to rig a bobber for bluegill and crappie — the simple fixed rig, the slip-bobber for deeper fish, and how to set the depth right, from an old pond hand.
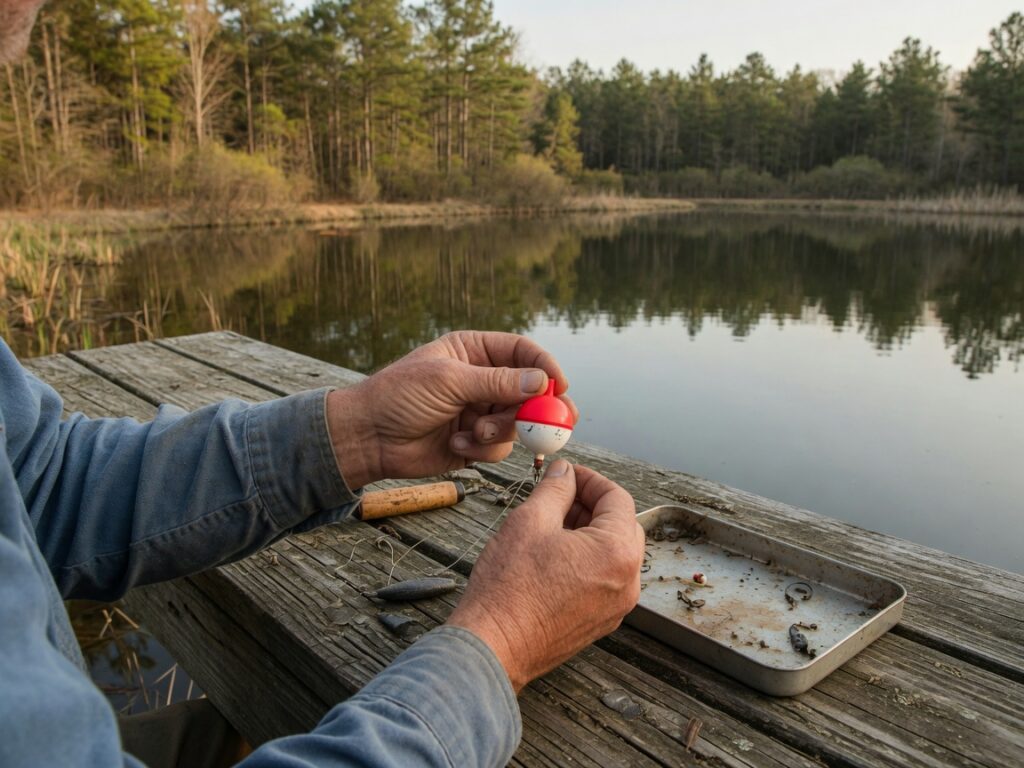
A bobber is the first piece of fishing most of us ever understood. You watch it ride on the water, and when it goes down, there’s a fish. My granddaddy set me under one before I was tall enough to see over the dock rail, and I’ve set every grandchild I have under one since. For bluegill and crappie — the two panfish a beginner is most likely to catch off the bank here in eastern North Carolina — a bobber rig is still the simplest, surest way to fish. But there’s a right way to build one and a right way to set it, and getting the depth correct is most of the game.
Folks call bluegill “bream” around here, and crappie “specks” or “papermouths.” They’re close cousins in the pan and on the table, but they hold at different depths in the water, and that one difference is what decides how you rig for them. Let me walk you through both, plain, from the top of the line down.
The simple fixed-bobber rig, from the top down
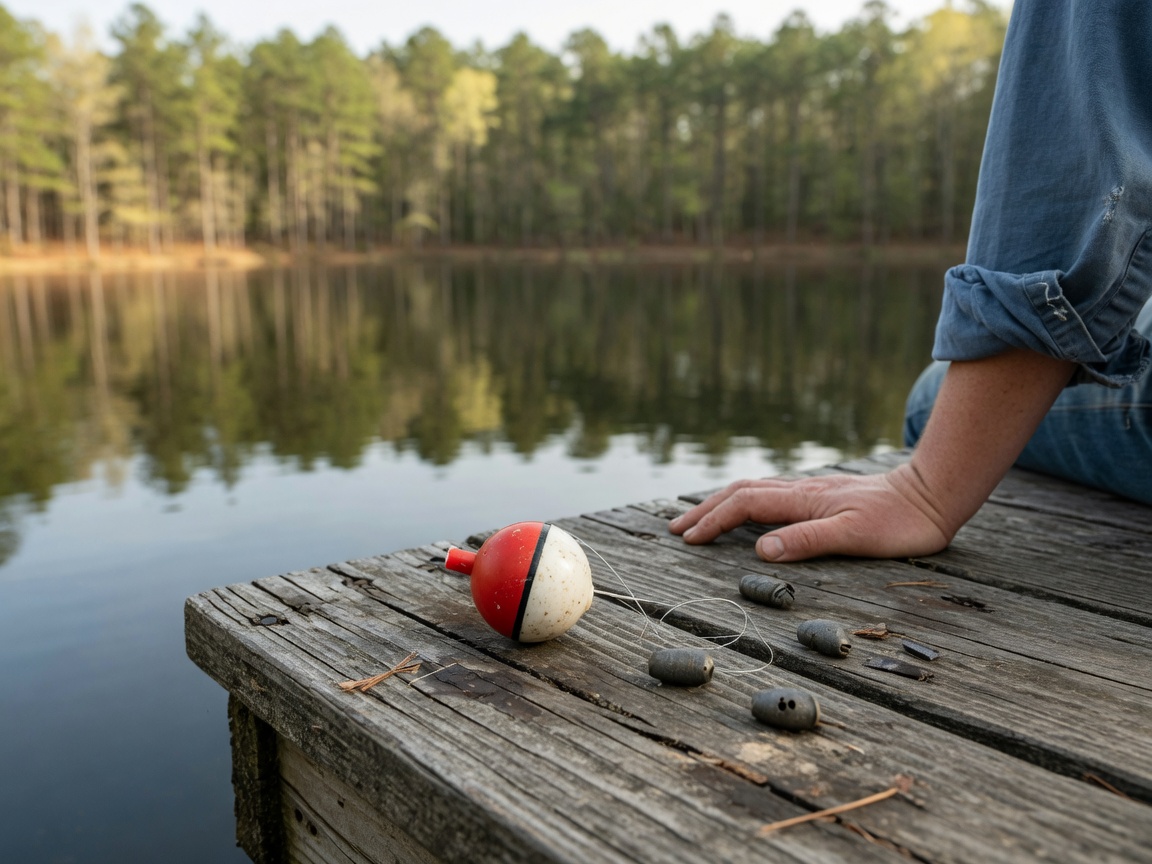
Start with the rig that catches most of the bluegill in this country. It’s four things: a bobber, a small weight, a hook, and bait. That’s all.
Tie your line to a small hook first — a size 6 to a size 10. A panfish has a small mouth, and a big hook just gets the bait stolen off it, so err small. About a foot above the hook, pinch on one small split-shot weight; that’s what carries the bait down and steadies the bobber so it sits upright. Then clip your bobber onto the line up above that. A little round clip-on bobber or a slim pencil float both work — the smaller and lighter you can go, the easier it is to see a shy fish take the bait.
For bait, nothing beats a live cricket or a red worm for bluegill, and a small minnow for crappie. Thread it so the point of the hook stays just hidden. Now the whole rig hangs below the bobber, and where you clip that bobber decides how deep the bait rides. That’s the part to get right.
Set the depth for the fish you’re after
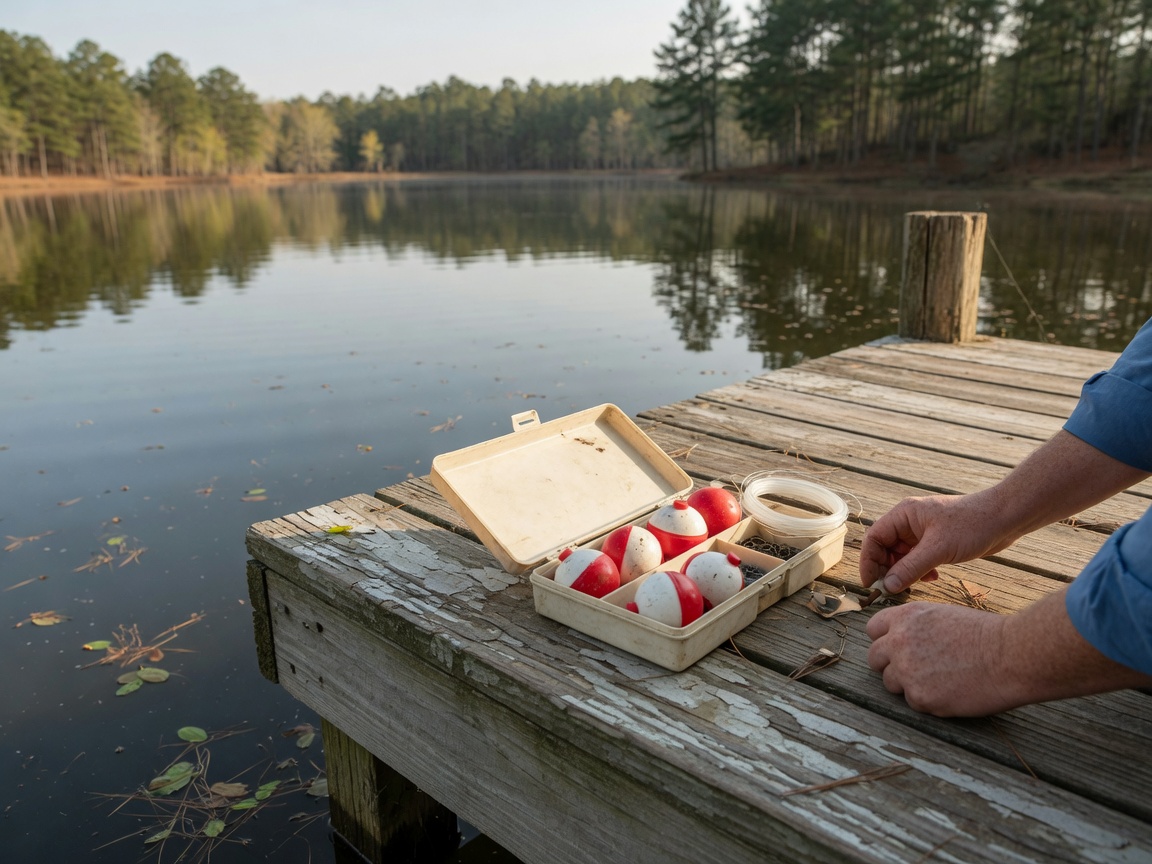
Here is the difference that matters. Bluegill feed shallow and up in the water; crappie hold deeper, and they look up. So you set the two fish differently.
For bluegill, set the bobber so the bait rides about a foot, foot and a half, under the surface — up in the warm shade near cover where they cruise. In late spring when they move onto their beds in a foot or two of water along the bank, you fish shallower still, right down close to the bottom where those round beds are fanned out. If you want the whole of how I find and fish them, I laid it out in how to catch bluegill for beginners.
Crappie are a deeper fish. They stack up around brush piles, dock pilings, and standing timber, often four, six, eight feet down, and they feed by looking up at a bait above them. So you set your bobber deeper — you want that minnow hanging just above the level the crappie are holding, never below them. When they move shallow to spawn in the spring, they come up within reach of a shallow rig; the rest of the year, you’re fishing them deeper. I get into their seasons in how to catch crappie in the spring.
The trouble is, past three or four feet a fixed bobber gets hard to cast — you can’t sling a rig with six feet of line dangling under the float. That’s what the slip bobber was made to solve.
The slip-bobber rig for deeper crappie
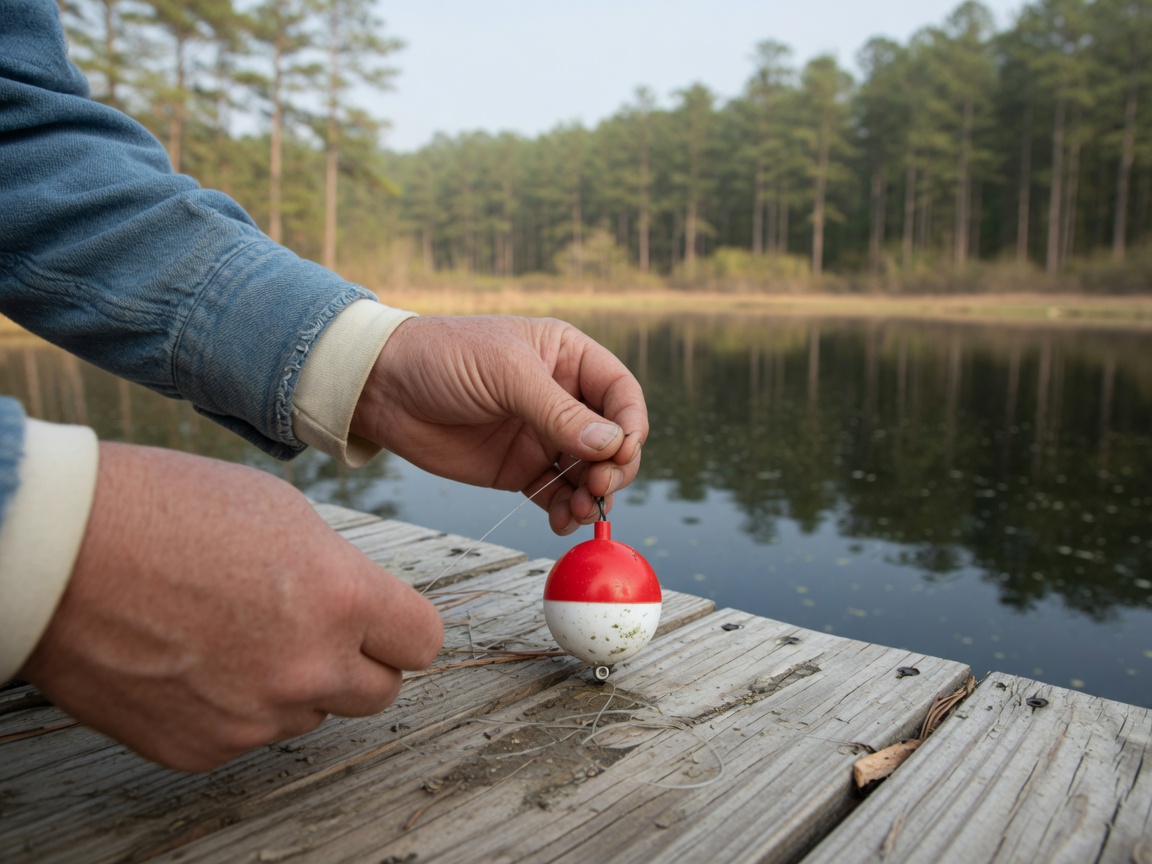
When you need to fish deeper than you can comfortably cast, you switch to a slip bobber, and it’s worth learning because it opens up all the deep-holding crappie a fixed rig can’t reach.
The idea is simple once you see it. A slip bobber slides freely on the line instead of clipping fast to it. You tie a small bobber stopper — a little knot or a rubber bead-and-knot — up the line at exactly the depth you want to fish. Below the bobber you add a small weight and your hook the same as before. When you cast, the bobber slides all the way down to the weight, so the rig casts short and easy. When it hits the water, the line slides up through the bobber until the stopper catches it — and now your bait settles to the exact depth you set, be it four feet or ten. Move the stopper up or down and you’ve changed your depth without rebuilding a thing.
That adjustability is the whole point. Crappie will hold at one depth on a given day, and the angler who finds that depth catches fish while the one fishing over their heads goes home wondering. Start deep near the brush, slide the stopper a foot at a time until the bobber starts going under, and then stay right there.
When the bobber goes under, don’t snatch
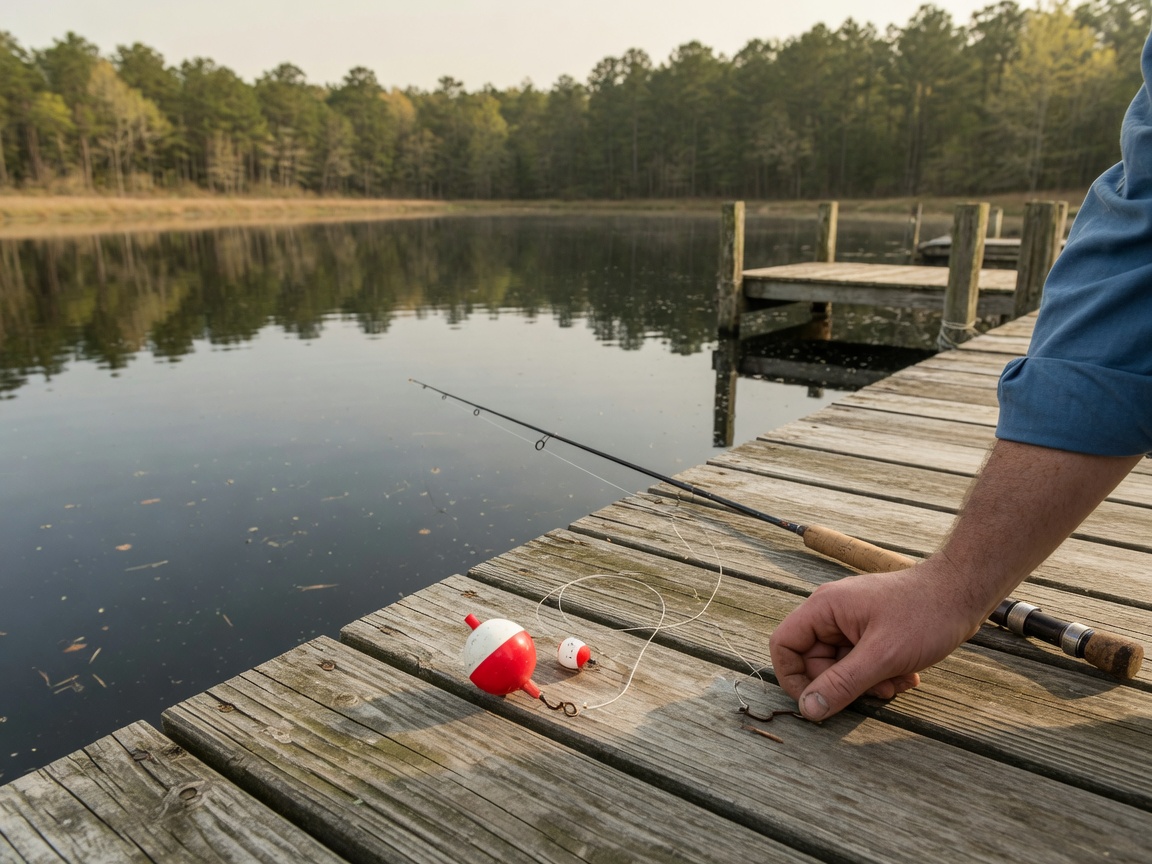
However you’ve rigged it, the take is the same, and it’s the one thing new folks get wrong. When that bobber twitches, dips, and finally slides under, the whole body wants to yank the pole back hard. Don’t.
A panfish takes a bait in little pulls before he commits. Snatch on the first twitch and you pull it clean out of his mouth. Let the bobber go all the way under and stay under a beat — let him take it — then just lift, a smooth firm lift, no violence in it. The fish will be there. Crappie especially have thin, papery mouths, which is how they earned the name papermouth, so a gentle lift matters even more; horse one in and you’ll tear the hook loose. Watch, wait, lift. My granddaughter Ruby learned that rhythm in an afternoon, and she’ll out-fish me off a good brush pile now if I’m not paying attention.
Read the signs, and set a child under a bobber
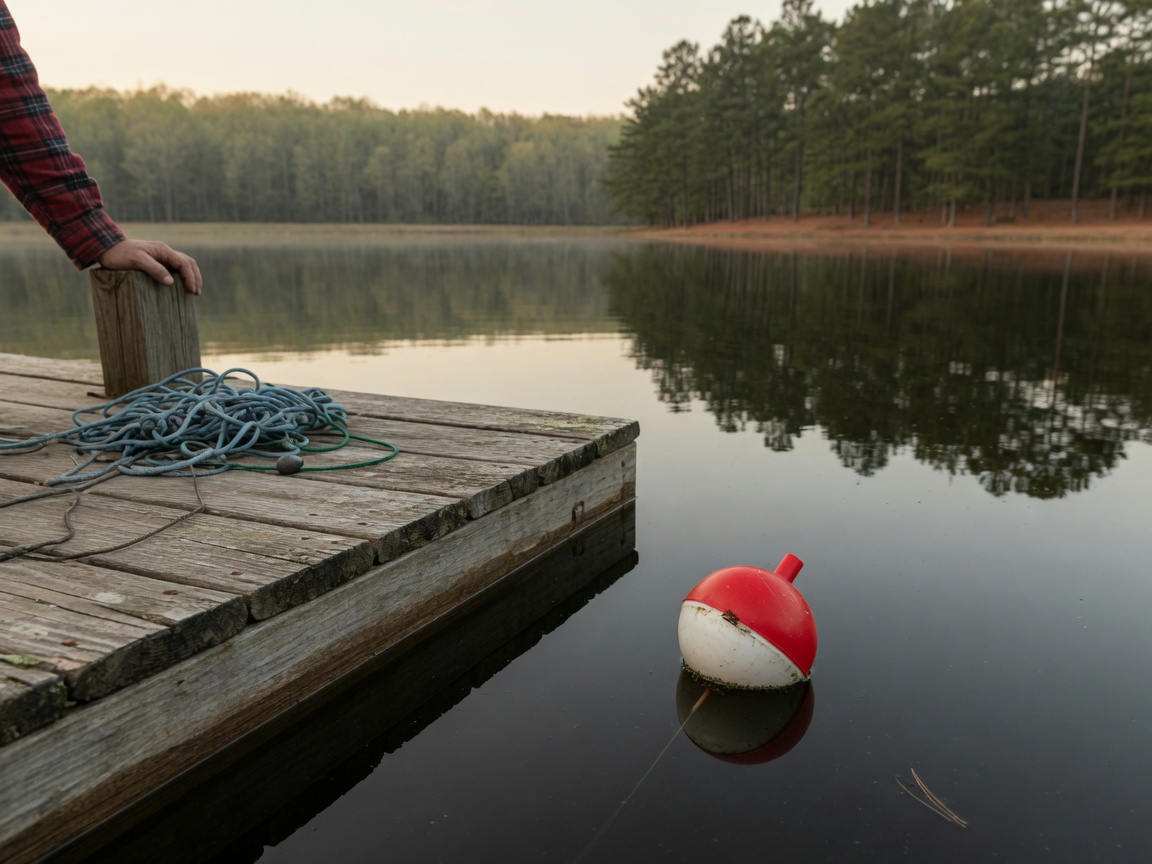
The rig is only half of it. The other half is fishing it at the right hour, and that’s where the old signs earn their keep. Warm water past sixty degrees, low light at the edges of the day, and your bait set to the right depth beside good cover — line those three up and you’ll be busy instead of standing there wondering if the pond holds fish. I keep a little almanac of my own water for exactly that, and I put together a free one you can use for yours; it marks the best days by the moon with a plain checklist for the water and the weather. You can read the method in my post on reading the three signs, and pick up the free Best Days to Fish starter kit here.
There’s a reason a bobber is how nearly all of us started. A child can watch a float go under and understand exactly what just happened, and that plain, patient lesson — watch the water, wait, lift — is the same one that carries a body through a lifetime of fishing. If you’ve got a young one coming along, let them keep a record of it. I helped make a simple journal for just that, My First Catch — A Fishing Journal for Young Anglers, so a child can write down and draw the first fish, the pond, the day, and carry the memory of it.
A bobber, a small hook, and the patience to wait for the float to go under. It’s how most of us learned, and it still catches more panfish off the bank than anything fancier ever will.
Read the signs. Tight lines — and I’ll see you at the water.
