How to Harden Off Seedlings on a Balcony
How to harden off seedlings on a balcony — the wind-aware, container-scaled way to move indoor-started seedlings outside without shocking them to death.
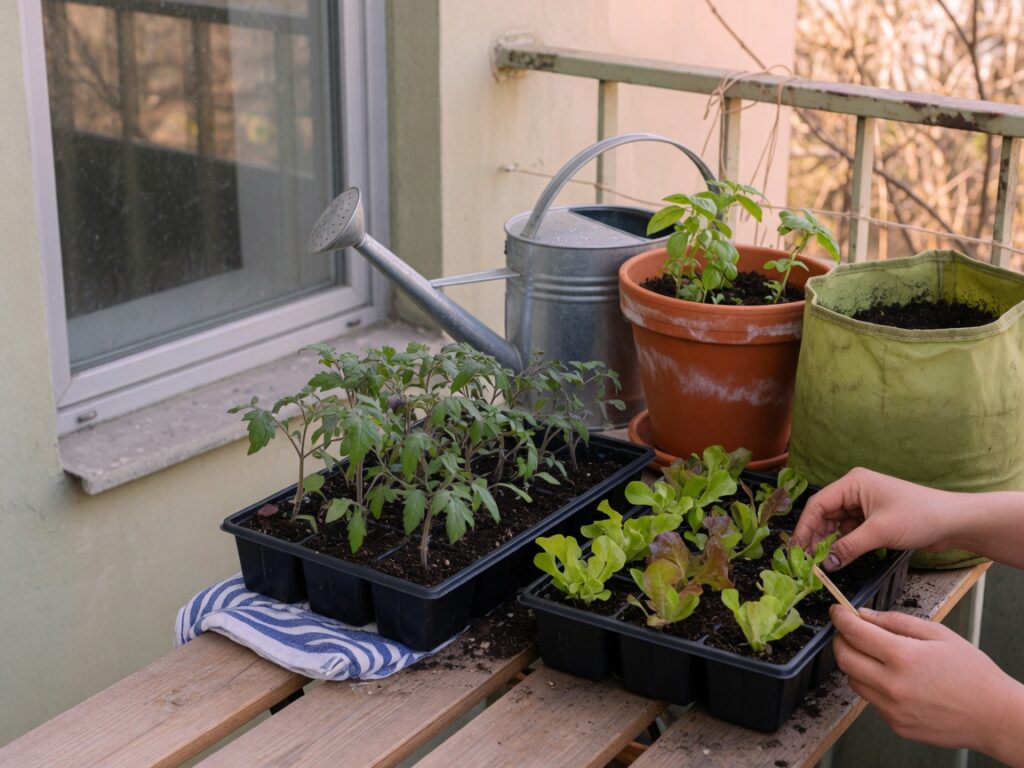
You started your seeds on the windowsill in February, and now it’s spring and they’re getting leggy and reaching for the glass. Time to move them outside. Here’s the part that trips up almost every balcony gardener I’ve talked to: you can’t just carry the tray out and set it in the sun.
I learned this the expensive way. My second spring on the balcony, I moved a whole flat of tomato seedlings straight from the windowsill to the railing on a bright, breezy April afternoon, felt very accomplished, and came back four hours later to a tray of pale, wilted, sun-scorched little corpses. They didn’t die of cold. They died of a Tuesday.
That process of easing seedlings into the real world is called hardening off, and on a balcony it comes with one factor a backyard gardener barely thinks about: wind. Get it right and your transplants shrug off their first storm. Skip it and you lose weeks of work in an afternoon. Here’s how I do it now.
What hardening off actually does
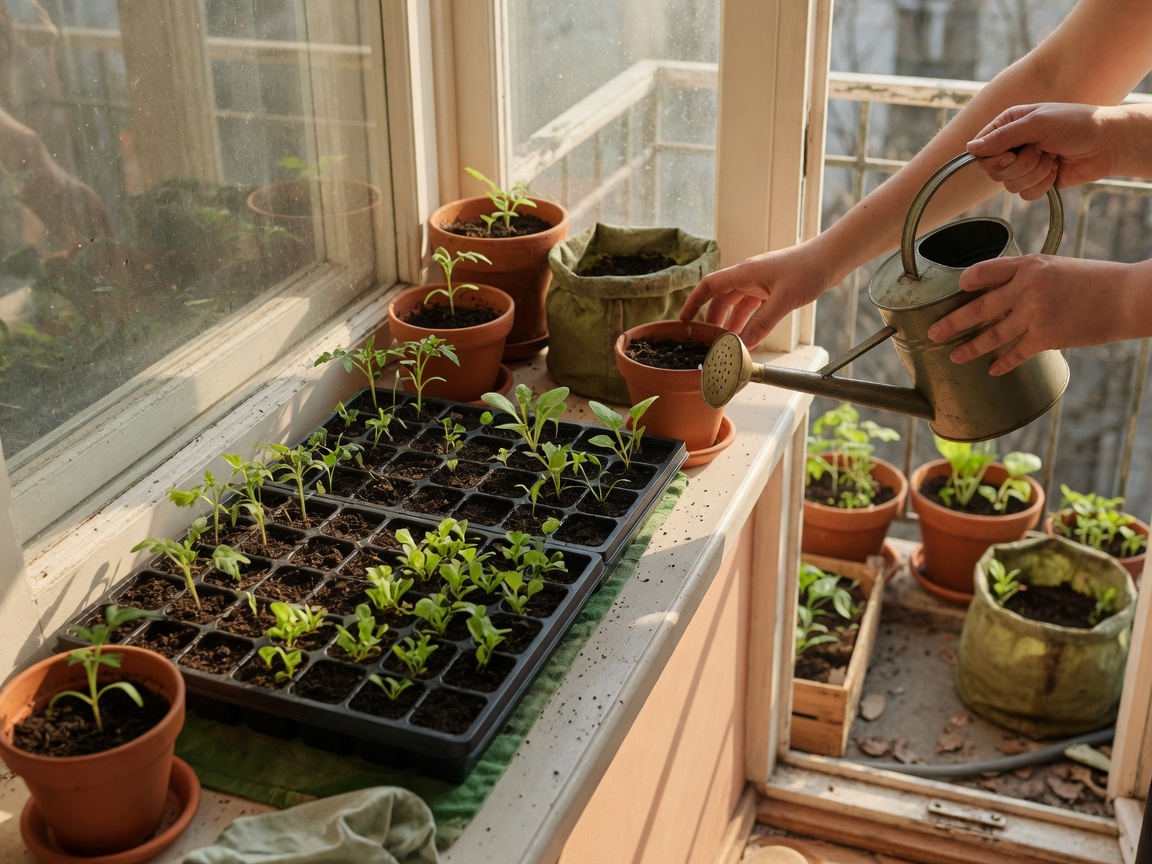
A seedling raised indoors has had it easy. Steady 68 degrees, no wind, filtered light through glass, water on schedule. Its leaves are thin and its stem is soft because it never needed to be otherwise. Set that plant in direct sun and moving air and it can’t cope — it loses water through its leaves faster than its roots can pull it up, and it wilts and scorches within hours.
Hardening off is just a slow introduction. Over a week or so, you give the plant a little more sun, wind, and temperature swing each day, and it responds by thickening its leaves, toughening its stem, and building up the waxy coating that holds water in. You’re not toughening it up by punishing it. You’re letting it build the equipment it’ll need, one manageable day at a time.
The balcony wind factor nobody plans for
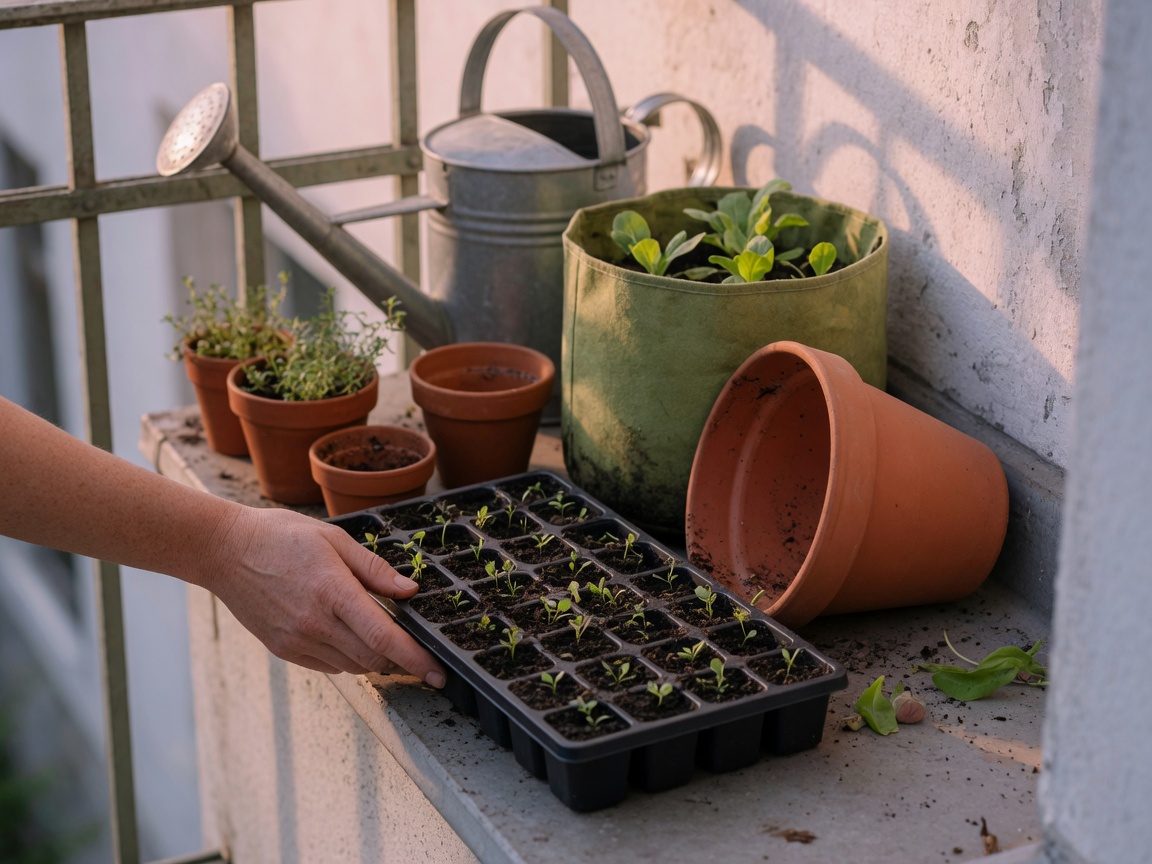
On a balcony, wind is the thing that will get you. Air moves differently ten or thirty floors up than it does in a sheltered yard, and it can whip along a railing even on a calm-seeming day. Wind dries a small pot out startlingly fast and can snap a soft seedling stem outright.
So when you set seedlings out to harden, start them in the most sheltered corner you have — tucked against the building wall, behind a planter, out of the direct gusts. A little airflow is exactly what strengthens the stems, which is why a gentle breeze indoors from a fan is a good pre-harden trick. But the open, exposed railing is the last place they graduate to, not the first. If your balcony catches real wind, a simple screen — a propped tray, a bit of shade cloth clipped to the railing — buys your seedlings a gentler start.
A seven-to-ten day schedule that works
Here’s the rhythm I follow. Adjust it to your weather, but keep the shape: more exposure each day, and never a jump.
– Days 1–2: Set them outside in full shade or bright indirect light for two to three hours, in that sheltered corner, then bring them back in.
– Days 3–4: Give them a few hours with an hour of gentle morning sun, still out of the wind. Stretch the total time to four or five hours.
– Days 5–6: Work up to half a day, including some midday sun. Let them feel a light breeze now.
– Days 7–8: Most of the day outside, more direct sun, a little more exposure to the open air. If nights are staying above about 50 degrees, you can start leaving hardy plants out overnight.
– Days 9–10: Full days and nights outside, in their eventual spot. If they still look happy, they’re ready to transplant for good.
Carrying trays in and out for a week is tedious. I won’t pretend otherwise. But it’s fifteen minutes a day for two weeks against a whole season’s head start, and that math has never once come out the other way.
Watering while they harden
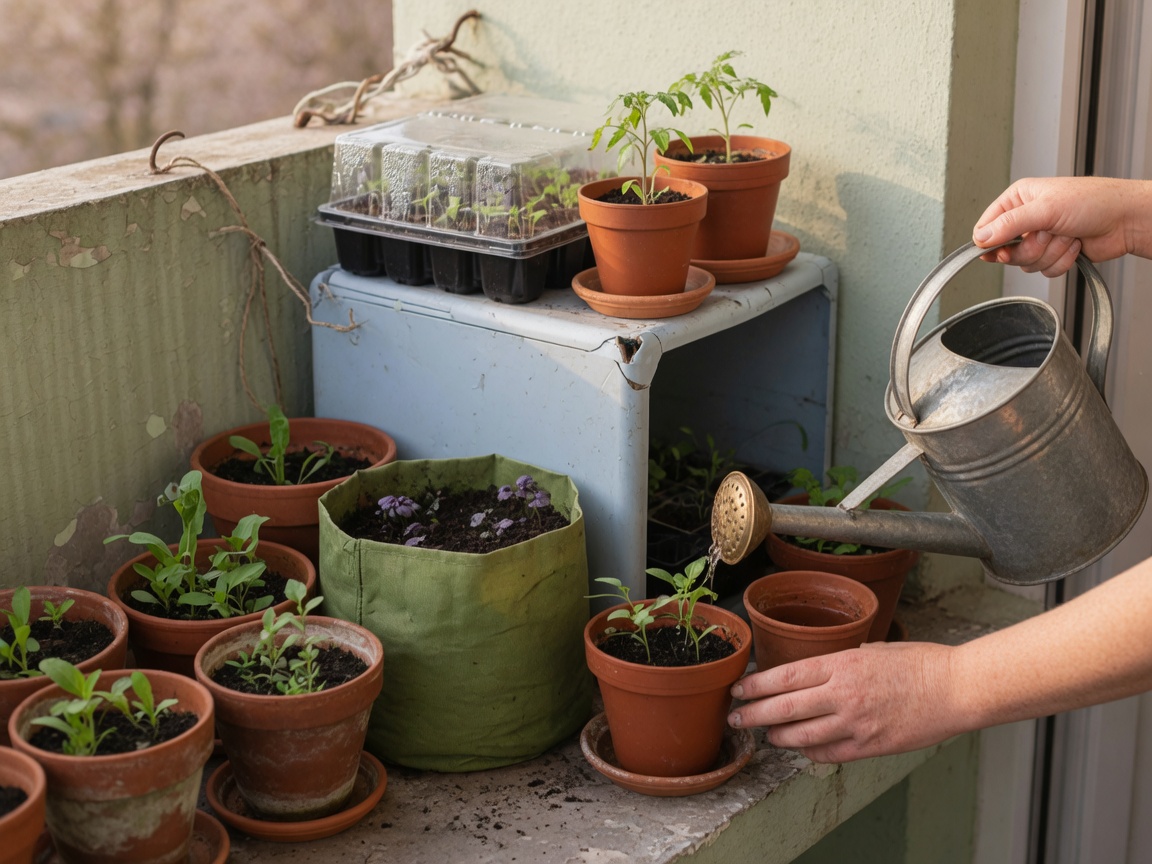
This is where most balcony seedlings actually die, and it isn’t from the sun — it’s from drying out. A little cell or a four-inch pot holds almost no water, and a windy, sunny afternoon can bake it dry by lunch while you’re at work. But the opposite kills too: a tray sitting in soggy mix rots at the stem.
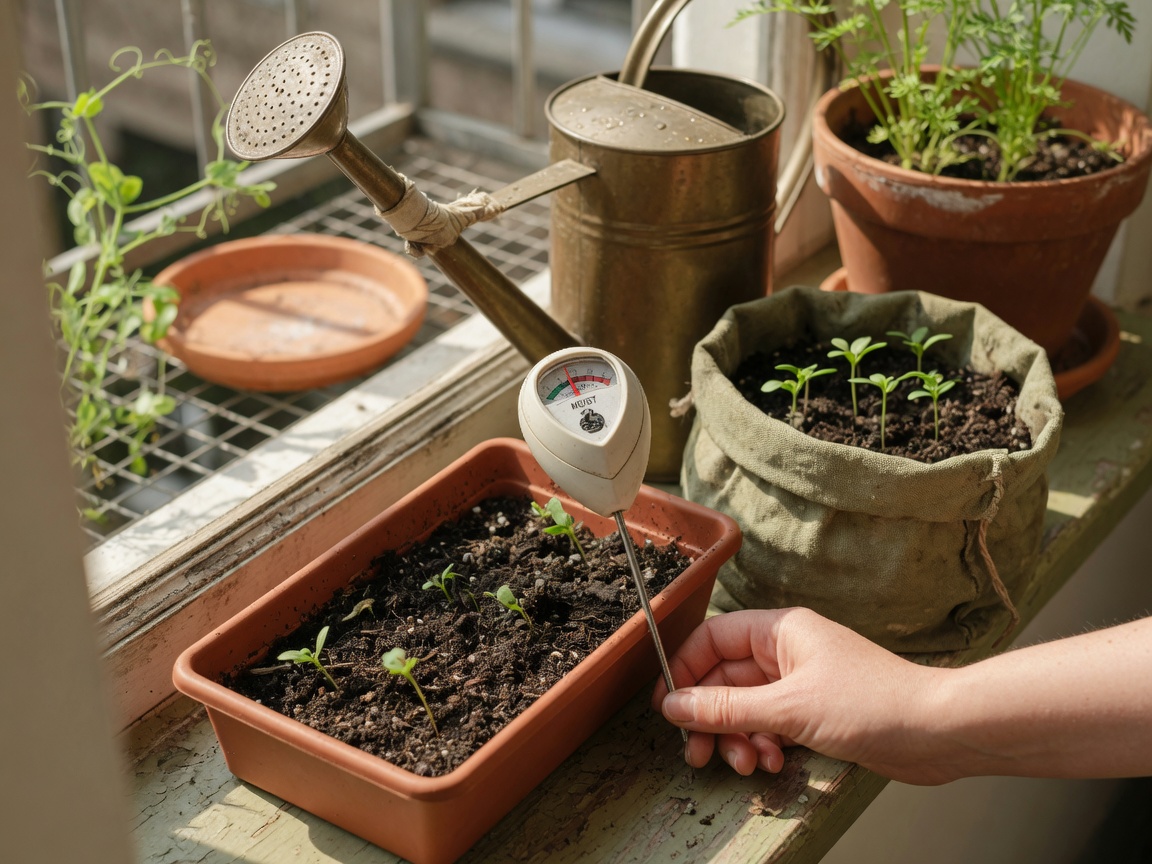
I stopped guessing and started checking. A soil moisture meter pushed into the mix tells me whether a pot that looks dry on top is actually dry two inches down, and it’s saved me from both drowning and parching more seedlings than I can count. When they do need water, I use a long-spout watering can and pour slowly at the soil line — a hard splash from a heavy jug will flatten a tender seedling as surely as any wind. Check every morning during the hardening week. On the hot, breezy days you may need to check again at midday.
Transplant into their real home
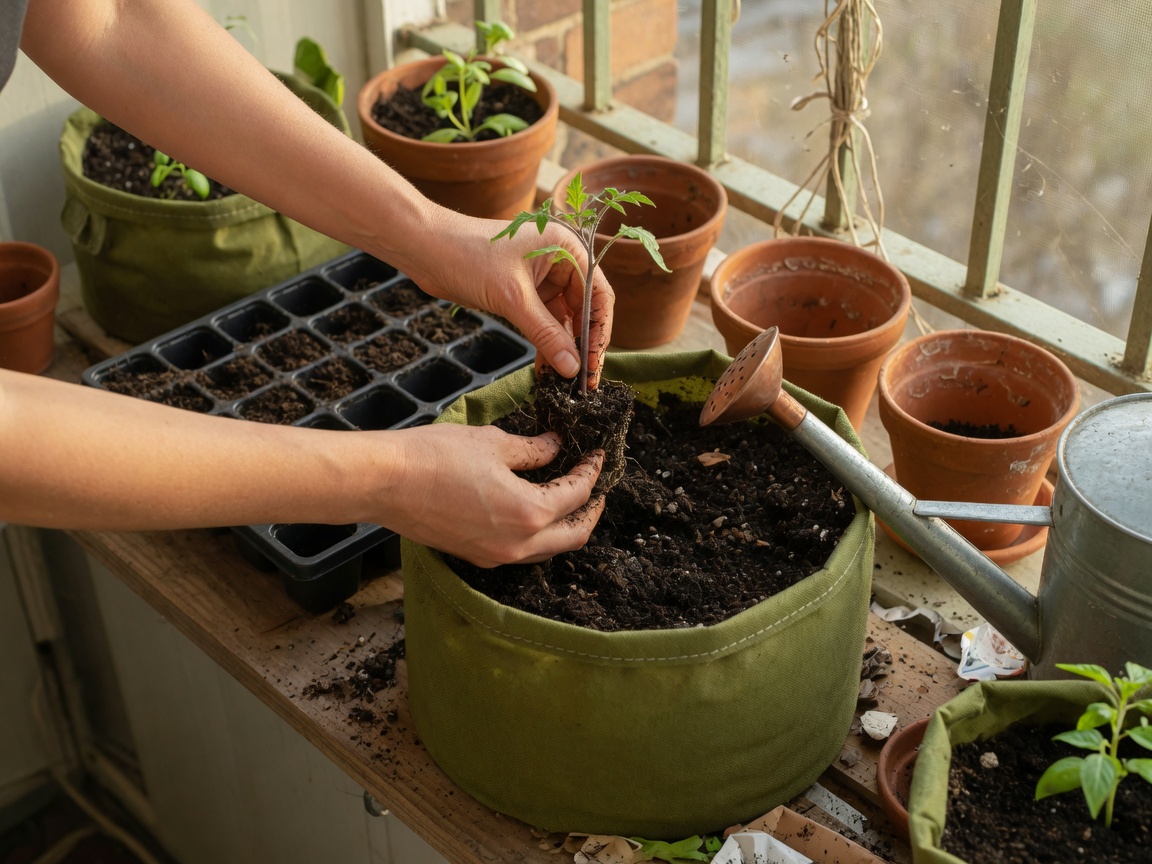
Once your seedlings have had their full days and nights outside and still look sturdy, move them into their final container. On a balcony I love fabric grow bags for this: they’re light enough that I could still shuffle them out of a nasty late-cold-snap forecast during the hardening week, they drain well so I’m less likely to drown a fresh transplant, and the fabric air-prunes the roots into a stronger plant. A five-gallon bag holds a tomato or a pepper; a shallow one takes a row of lettuce or a clutch of herbs.
Transplant on a cloudy afternoon or in the evening if you can, so the plant gets a gentle night to settle before it faces a full sun day. Water it in well, and don’t be alarmed if it sulks for a day — a hardened-off seedling recovers fast, which is the whole point of the trouble you just went to. (Mine get a day or two of Otto supervising from the doorway, personally offended he isn’t allowed to help dig.)
Timing every step of this to your own climate — when to start seeds, when to harden, when it’s truly safe to transplant on a balcony that runs warmer or colder than the ground does — is the part worth getting right. I lay it all out, season by season and pot by pot, in my book, Small-Space Big Harvest: how to grow real food in containers when a yard was never part of the deal. A little patience in April is what buys you a balcony full of tomatoes in July.
