Beginner Herbal Apothecary Supplies: What You Actually Need
The beginner herbal apothecary supplies I actually use — jars, a carrier oil, beeswax, cheesecloth, and tins. What to buy first, and the gear you can skip.
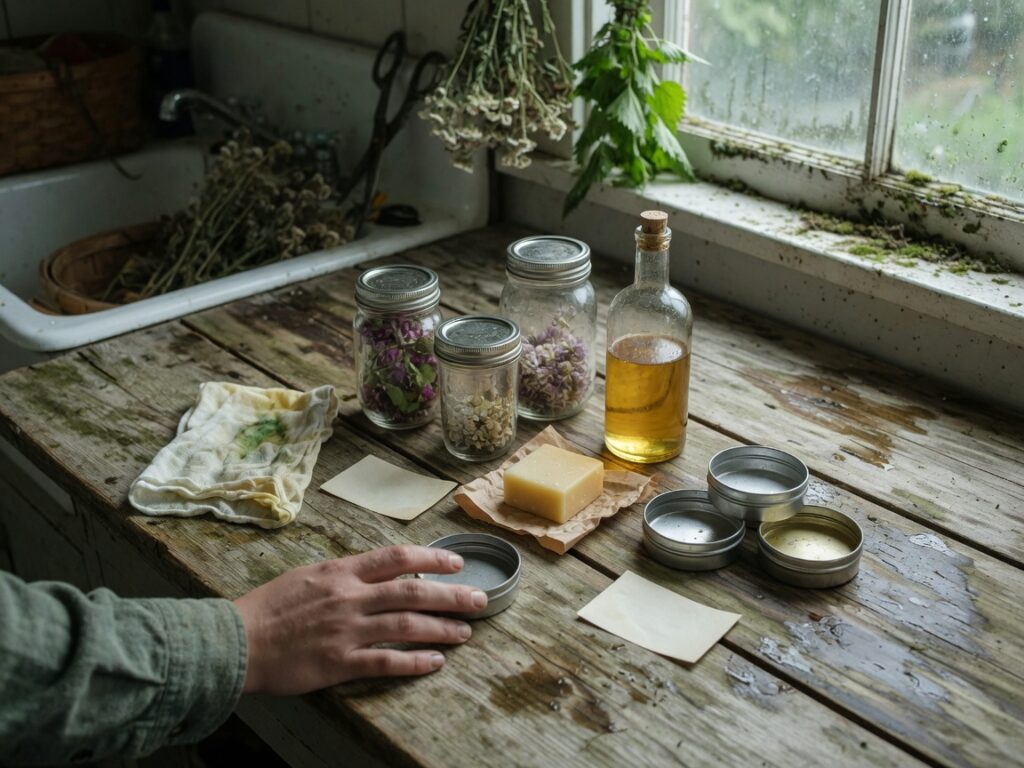
People come to my kitchen expecting an apothecary to look like an old herbalist’s cabinet in a photograph — amber bottles in rows, a tincture press, a wall of labeled tins. Mine started with four things and a shoebox. Thirty years on it’s grown, but not by much, and not in the direction people expect. The truth I tell every beginner is that a working home apothecary is a handful of honest tools you’ll use over and over, not a shelf of gadgets that make you feel like you’ve arrived.
So this is the list I’d hand a friend on the Peninsula who’s dried her first batch of nettle and wants to actually do something with it. Not the aspirational version. The real one — the few supplies that earn their place, what each one is for, and the two or three things you can skip without missing them. I’ve bought the wrong versions of most of these at least once, so I’ll tell you which mistakes cost me a batch.
Before anything else, one line I won’t move off of: never eat or prepare any wild plant on a book, an app, or a single source alone. Confirm your identification with multiple reputable guides and, better, an experienced local forager. When in doubt, throw it out. The supplies below don’t matter until the plant in your hand is one you’re certain of.
Start with jars — and this is where the money trap is
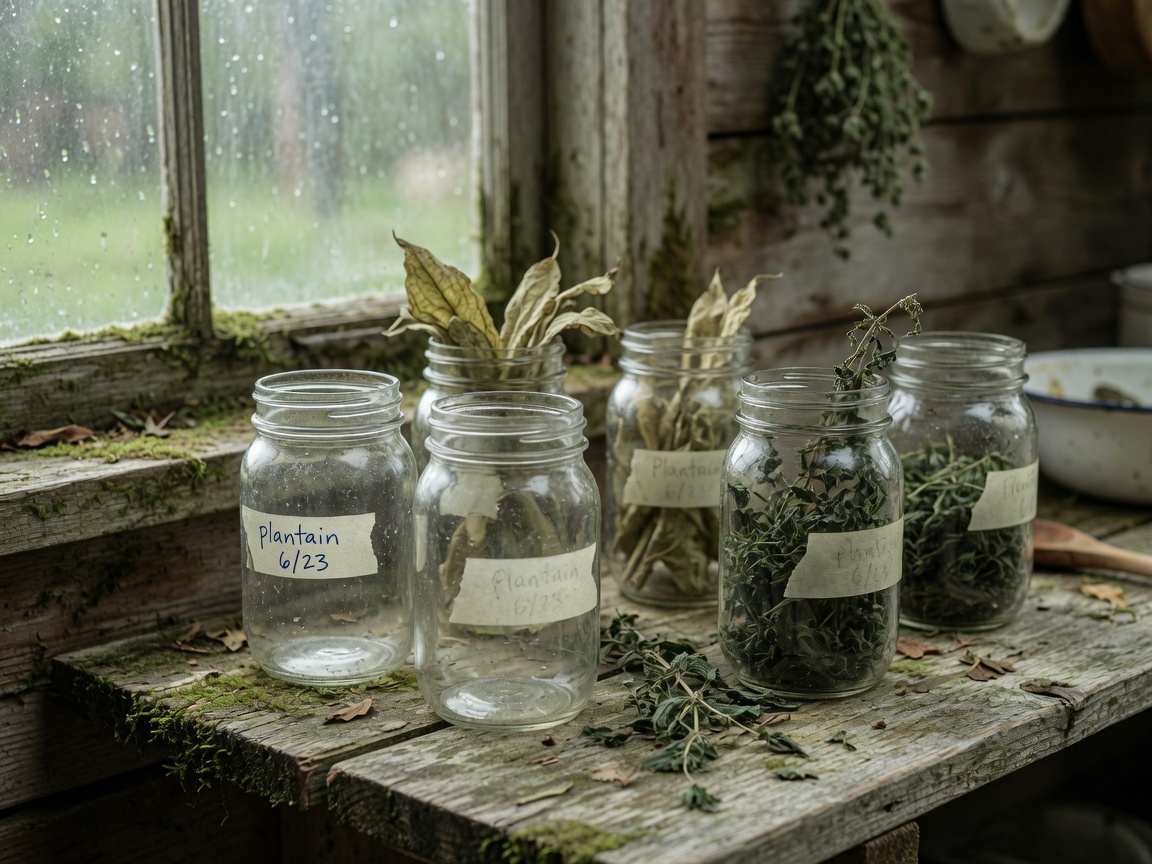
Everything in an apothecary either lives in a jar or passes through one. Dried herbs, an oil infusing on the windowsill, a tincture working in the dark of a cabinet — all jars. So this is the first thing to sort out, and it’s also where I’ll be honest that I can’t hand you a link I’d stake my name on yet.
I use wide-mouth mason jars for nearly everything, in pint and quart. Wide-mouth matters more than people think: you can get a hand in to pack dried herb down or scrape the last of an oil out, and the flat lids seal clean for long storage. Weck jars are lovely and I own a few, but a case of standard wide-mouth mason jars will outlast you and costs a fraction. I’m still running down a specific listing I’d point you to — the ones I keep finding are shelved under the grocery node, and I won’t send you to a link I haven’t vetted. Buy a case locally if you can read the box with your own eyes; any hardware store or grocery in canning season has them.
What jars are for, once you have them, is the whole rest of this list. Dry storage, infusing, straining into, decanting. If you only buy one thing this month, buy jars.
One good carrier oil beats a cabinet of them
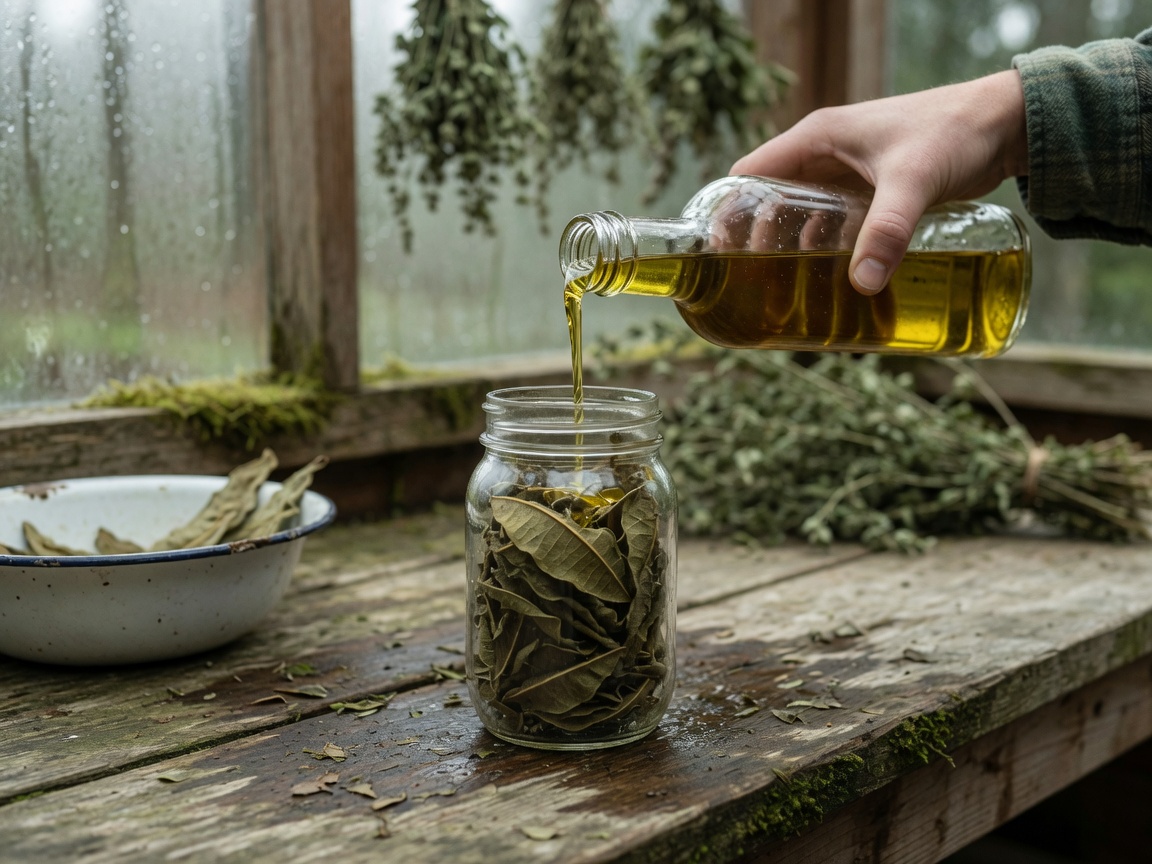
When you infuse a plant into fat — calendula, plantain, self-heal — the oil you choose is the whole shelf life of the thing. Beginners reach for olive or coconut because they’re in the kitchen already, and those work, but they can turn on you in a few months and take the batch with them.
I default to jojoba oil, and I have for years. It isn’t technically an oil — it’s a liquid wax — which is exactly why it resists going rancid the way a soft kitchen oil does. An infused jojoba oil holds up on the shelf, sinks into skin without sitting greasy, and behaves the same every time I make a salve with it. One bottle covers most of what a beginner wants to do. Start there before you build out a rack of specialty oils you’ll watch go off before you finish them. I walk through the actual infusing in my post on making an herbal-infused oil, and jojoba is the base I’d use for your first one.
Beeswax is the piece that makes a salve a salve
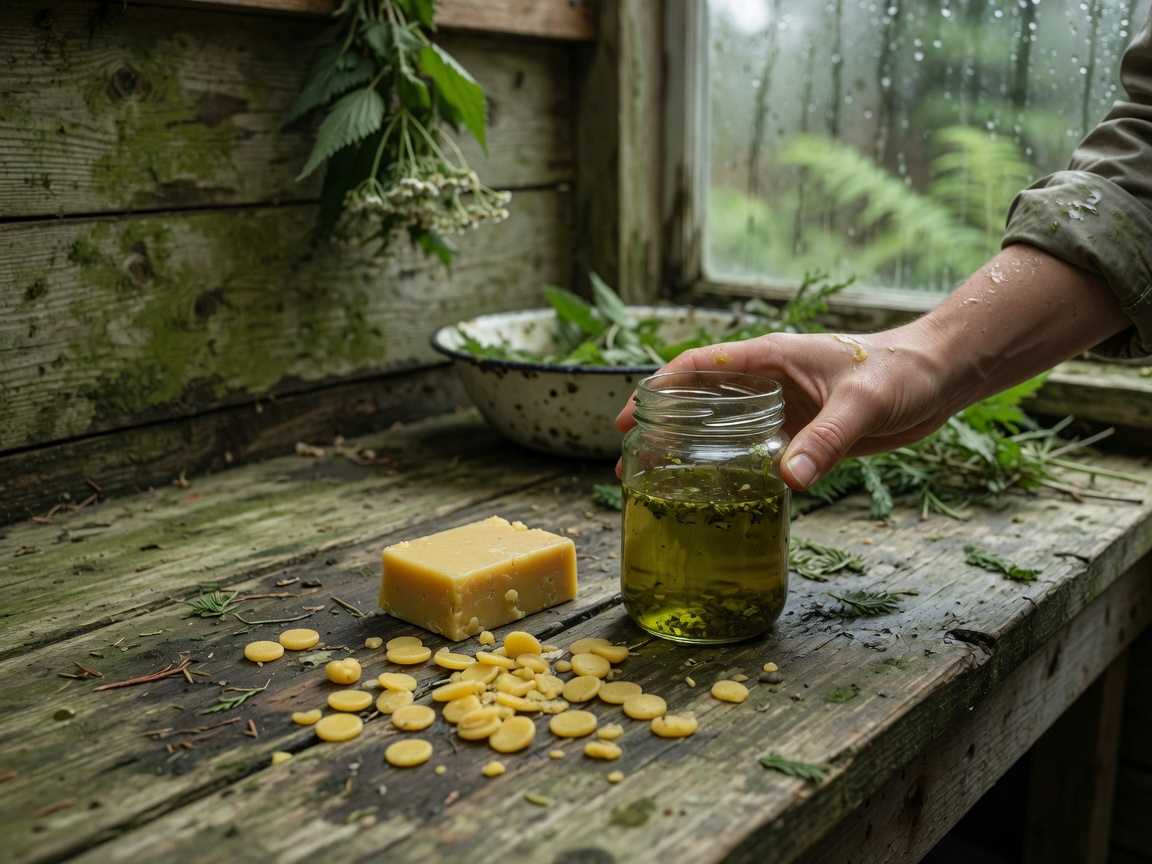
An infused oil is useful on its own. But the moment you want it to stay where you put it — on a cracked heel, on a scrape before you head back to the trailhead — you need to firm it up, and that’s beeswax and nothing else.
I keep beeswax pellets rather than a bar. The pellets melt evenly and let you measure by eye once you’ve done it a few times, where a solid block means grating your knuckles into the bowl. The ratio is forgiving — more wax for a firmer salve, less for a softer balm — and you’ll dial in your own over a batch or two. This is the ingredient that took me from “I have some nice oil” to “I have a tin of salve in every coat pocket and the truck.” If you want the full method, it’s in my first-salve walkthrough; beeswax is step one of the finishing.
A note on the tradition, since it always comes up: a yarrow or plantain salve is what my grandmother put on a cut before we left the house, and what I still keep by the door. That’s a traditional use, told plainly — not a treatment, and no replacement for stitches or a doctor when you need one.
Cheesecloth and a few tins finish the loop
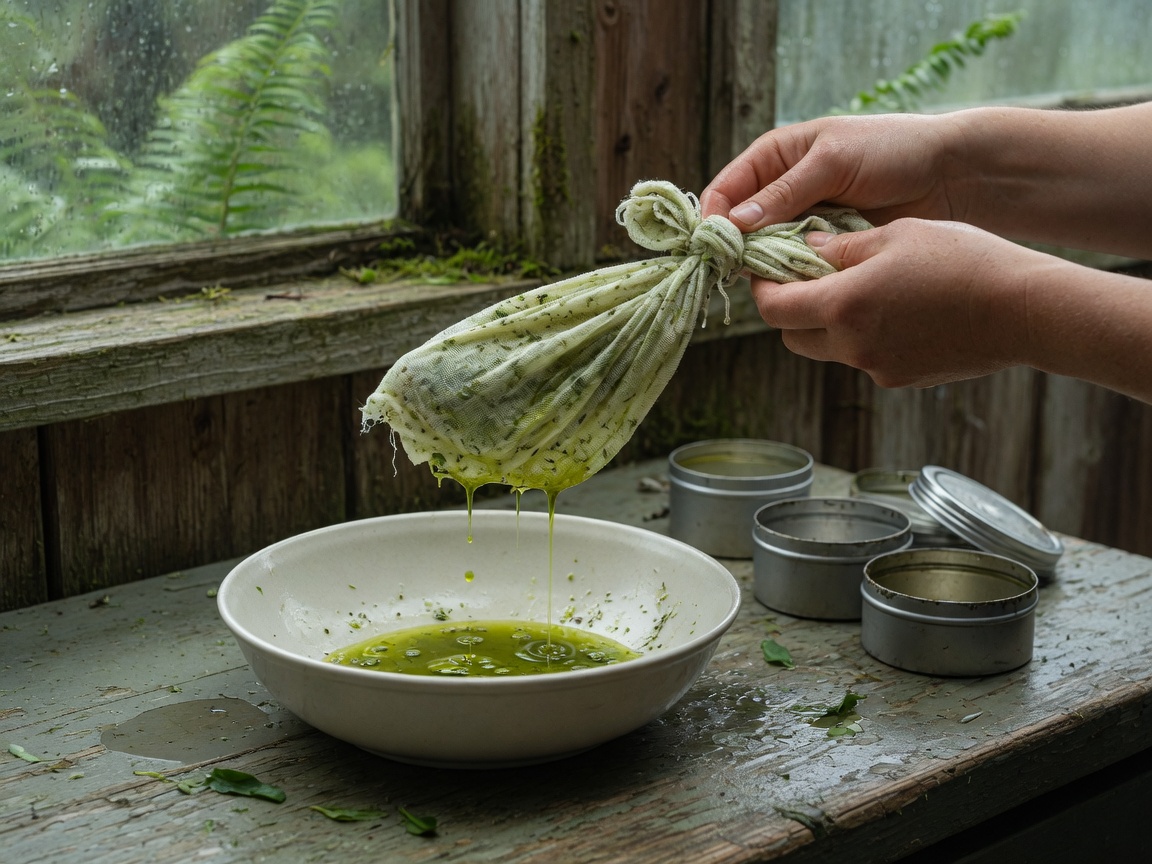
Two small things that punch above their price. When an oil has infused or a tincture has worked, you have to get the plant matter out, and grade-90 cheesecloth is what does it cleanly. The lower grades sold near the turkey pans are loose enough to let sediment straight through; grade 90 has a tight enough weave to actually strain. I line a funnel with a doubled square and let it drip rather than wringing it — wringing pushes the fine grit through and clouds the batch. It’s washable and reusable a good many times if you rinse it before it dries.
Then the finished salve needs somewhere to live, and that’s a 2 oz screw-top tin. Two ounces is the right size for a reason — big enough to be worth making, small enough that you’ll hand them out, and you will. A shallow tin also fits a pocket better than a jar. I keep a dozen on hand because a salve batch always makes more than one, and a labeled tin is the easiest gift a forager gives.
What to skip, at least for now
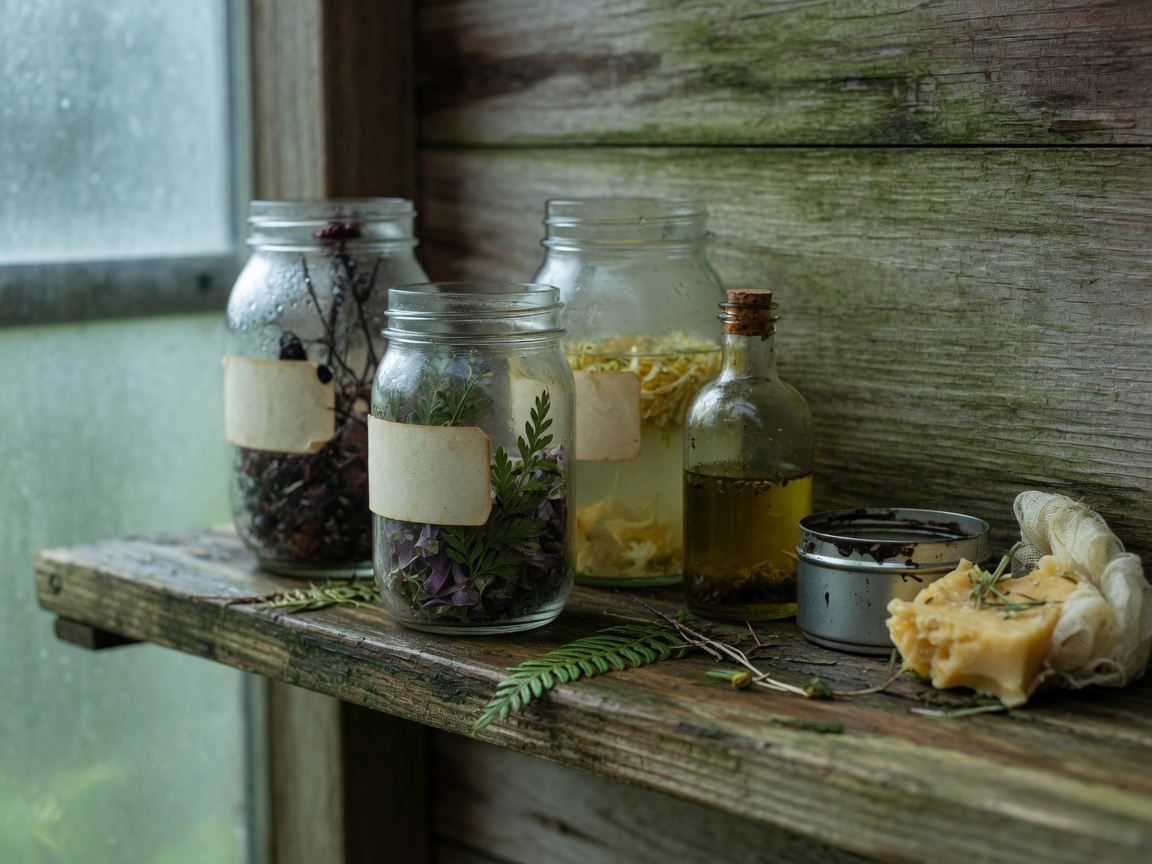
Here’s where I save you some money. You do not need a tincture press — a jar and cheesecloth do the same work for a home batch, and the press just takes up counter space until you’re making tinctures by the gallon. Skip the amber dropper bottles until you’ve actually made a tincture worth bottling; a clean jar in a dark cupboard protects it just as well while you learn. Skip the mortar and pestle if it’s granite and heavy and expensive — a clean coffee grinder you keep for herbs does most of it. And skip the labeled-vintage-apothecary starter kits entirely. They’re built to photograph, not to work.
The pattern, if you’ve read this far: buy the few things you’ll use every batch, in plain versions, and let the shelf grow from what you actually make. Once your herbs are dried and stored right — which is its own small craft, and one I cover in keeping dried herbs so they last — this handful of supplies is the entire distance between a jar of dried plant and something you can put in a tin.
I go plant by plant through what’s worth harvesting here, and how our grandmothers used each one, in Pacific Northwest Medicinal Plants. The supplies on this shelf are the hands. The book is what tells you which plants to put in them.
