How to Repot a Root-Bound Container Plant on a Balcony
How to repot a root-bound plant when you garden in containers — how to tell it's pot-bound, how to free the roots, and the size-up mistake that drowns small-space plants.
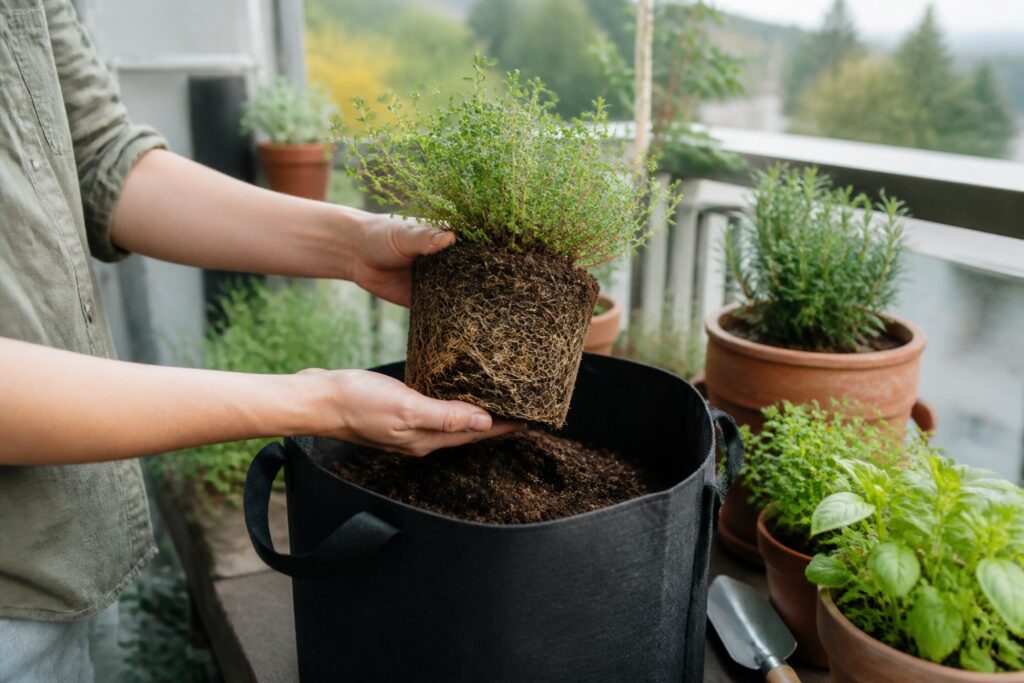
Your plant isn’t sulking. It’s out of room.
Here’s the thing nobody warns a container gardener about: in the ground, a plant’s roots can always go looking for more. In a pot, they hit a wall, circle, and keep circling until the whole pot is a solid coil of root with almost no soil left to hold water. The plant up top looks fine for a while, then quietly stops growing, dries out an hour after you water it, and starts yellowing for no reason you can see. That’s not a feeding problem or a light problem. That’s a root-bound plant asking for a bigger pot.
I’ve grown herbs and edible flowers on the same small Portland balcony for six seasons, and repotting is one of those quiet skills that separates plants that limp along from plants that take off. It takes fifteen minutes and it’s genuinely satisfying. Let me walk you through it.
First, make sure it’s actually root-bound
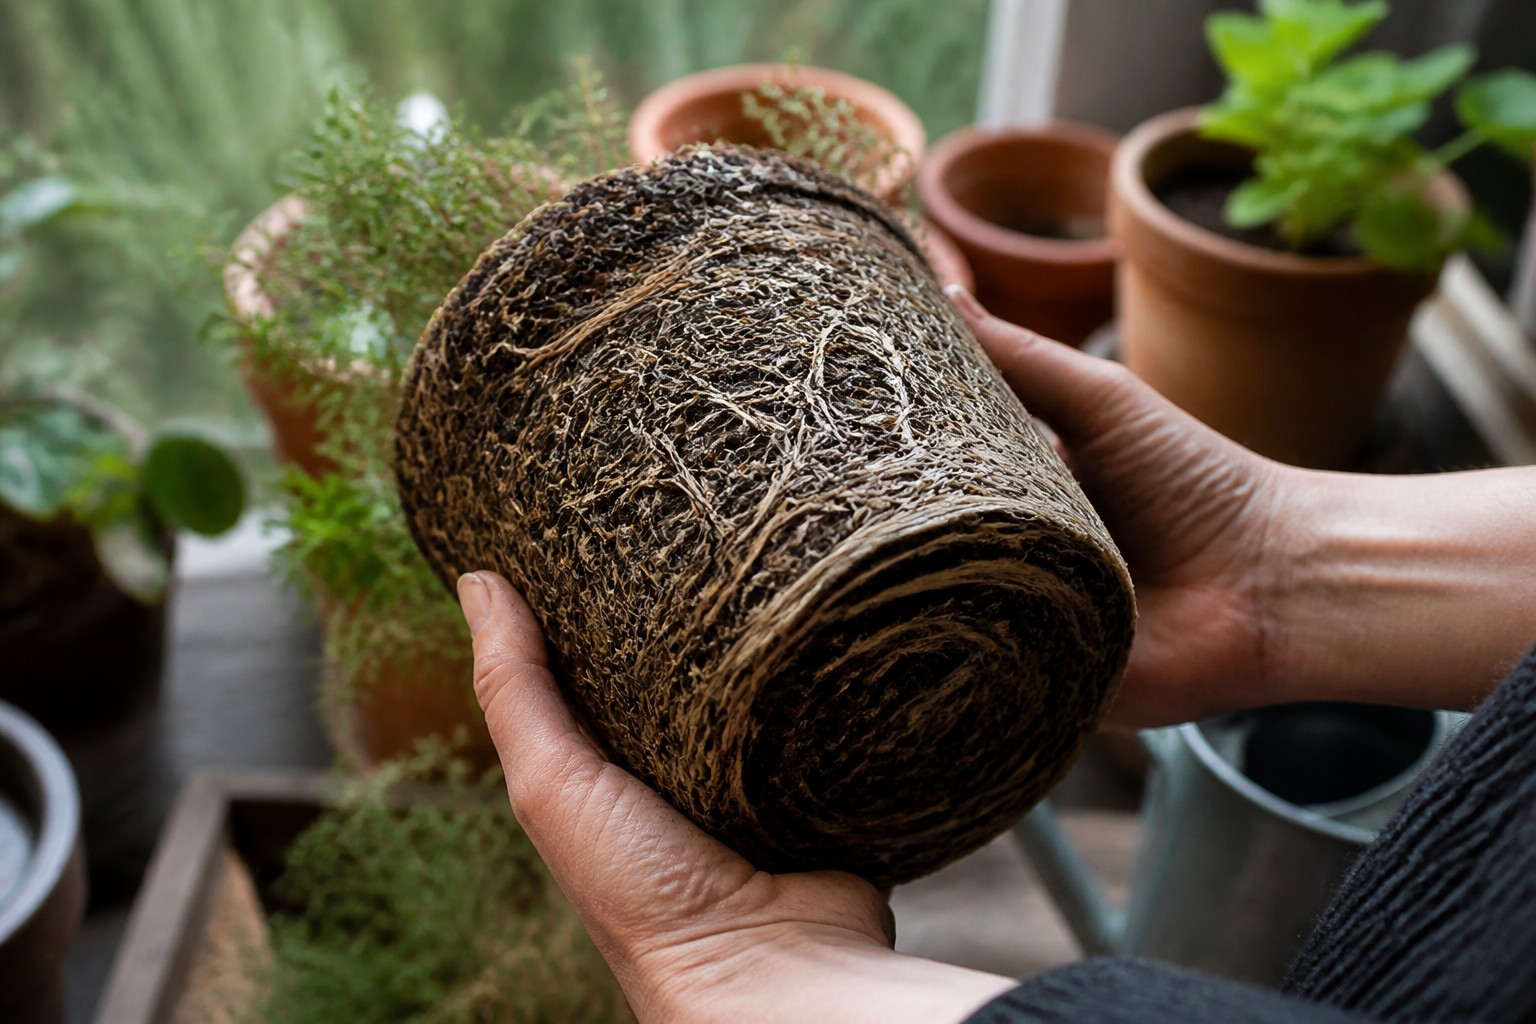
Before you disturb a plant, confirm that’s the real problem. A few reliable tells:
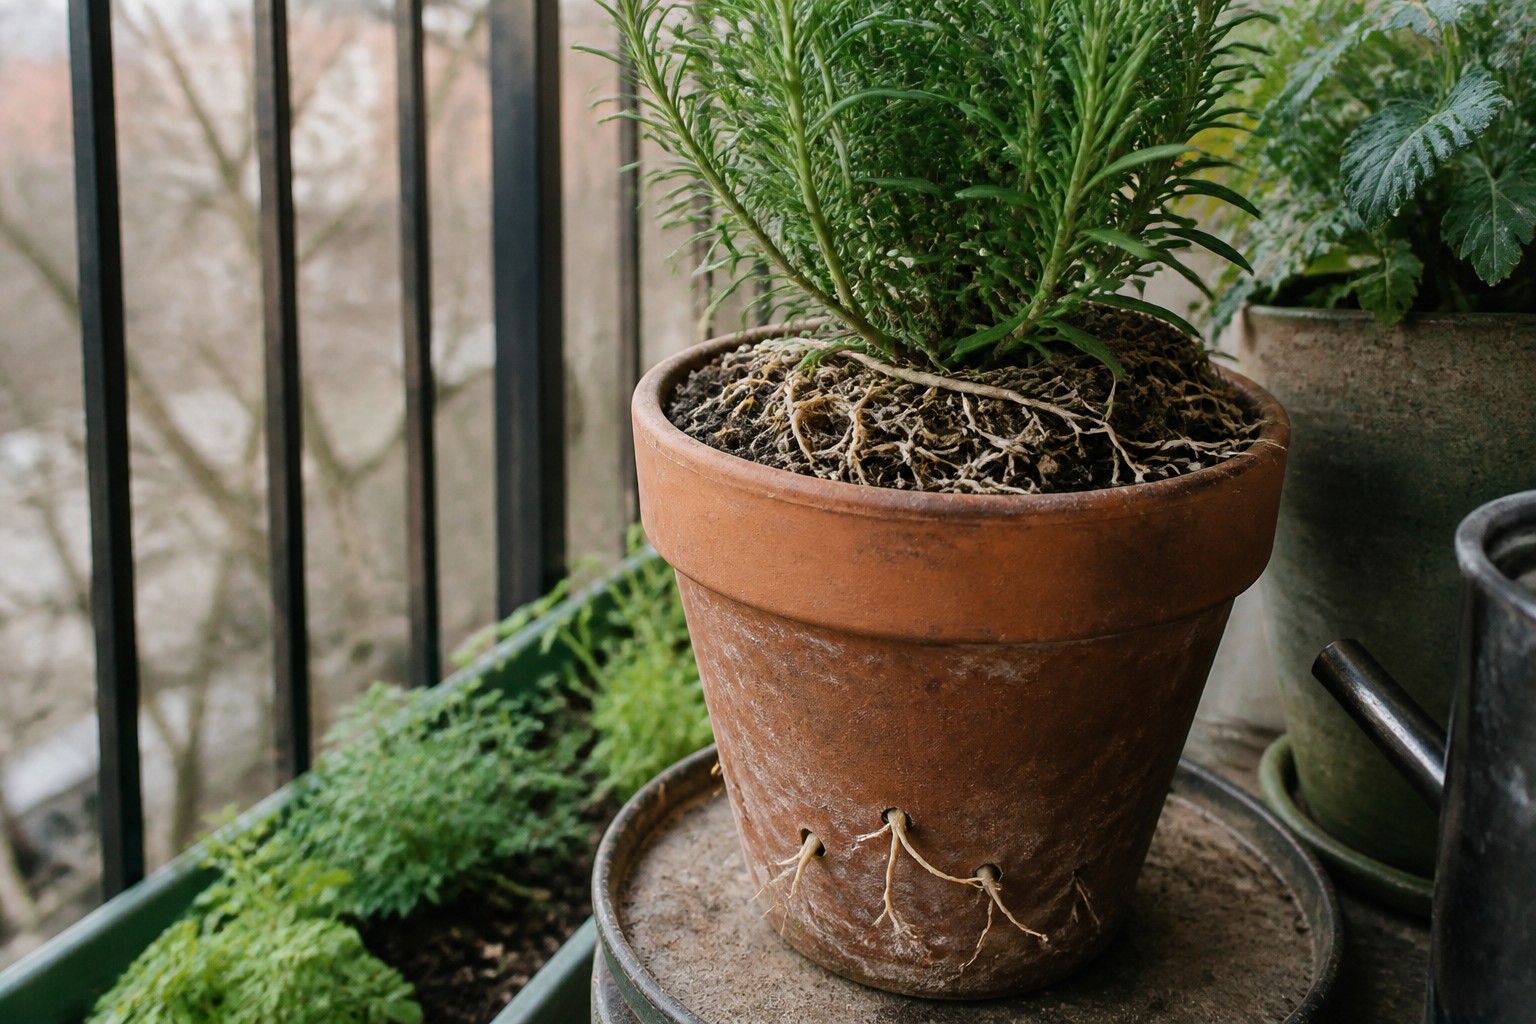
Roots are escaping. If you see roots creeping out the drainage holes or poking up over the soil surface, the pot is full.
Water runs straight through. You water, and it pours out the bottom in seconds without ever seeming to wet the soil. That’s because there’s barely any soil left — just root — so nothing holds the water.
It dries out constantly. A pot that needs water every single day, even out of full sun, is usually more root than soil.
It’s stalled. New growth has slowed or stopped, lower leaves yellow, and feeding doesn’t fix it.
To be sure, slide the plant out of its pot and look. Tip it, support the stem between your fingers, and ease the root ball free. If you see a dense mat of roots circling the outside in the shape of the pot — sometimes so thick you can barely see soil — it’s root-bound and ready to move up. If it comes out as loose, crumbly soil with roots running through it, put it back; it’s fine where it is.
The mistake that drowns small-space plants: sizing up too much
This is the one I most want you to get right, because it’s the opposite of what feels generous. When a plant is cramped, the instinct is to give it a much bigger pot so you never have to do this again. In a container, that backfires.
A plant sitting in a pot far bigger than its roots is surrounded by wet soil the roots can’t reach or drink. That soil stays soggy, and soggy soil rots roots. Overwatering — really over-potting — kills more container plants than neglect ever will. So size up one to two inches of pot diameter at a time, no more. A plant in a 6-inch pot goes to an 8-inch, not straight to a 14. It’s a small step, done more often, and the plant is always growing into soil it can actually use.
This is also where fabric grow bags earn their spot on a balcony. They breathe, so the mix never stays as waterlogged as it does in a slick plastic pot, and when a root hits the fabric edge it stops and branches instead of circling — so the plant takes much longer to get root-bound in the first place. If you’re weighing the two, I laid out the whole trade-off in fabric grow bags vs. plastic pots.
Freeing the roots, step by step
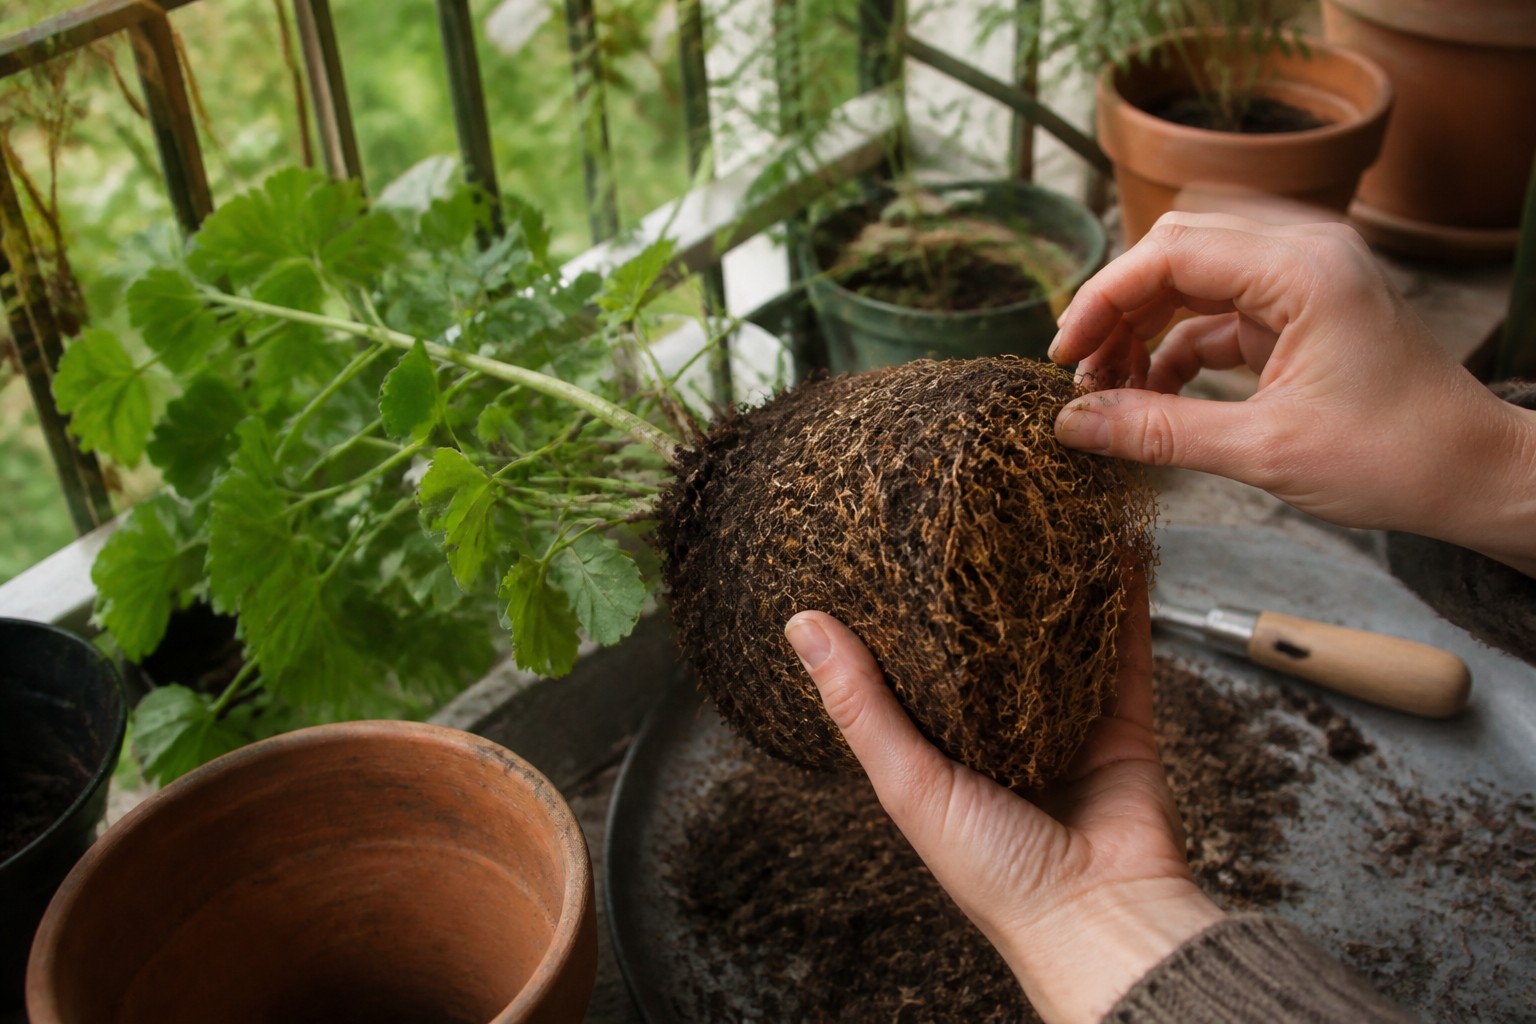
Once it’s out of the pot, here’s the actual repot.
Loosen the coil. If the roots are circling in a tight shell, you have to interrupt that pattern or they’ll keep growing in a circle forever. Gently tease the outer roots free with your fingers. If it’s a really dense mat, don’t be shy — score down the sides in a few places with a clean knife or make a shallow cross-cut across the very bottom. It feels brutal the first time; the plant will thank you with a burst of fresh roots.
Set the depth first. Put a layer of fresh potting mix — not garden soil, actual container mix — in the bottom of the new pot, then set the plant in so it’ll sit at the same soil depth it was before. Most plants want to stay at their original depth; don’t bury the stem.
Fill and firm. Add fresh mix around the sides, pressing lightly as you go so there are no big air pockets, up to about an inch below the rim so you’ve got room to water without it sloshing over.
Water it in. Give it a slow, thorough drink with a long-spout can aimed right at the soil to settle everything and close the gaps. It’s the one time a fresh repot genuinely wants a full watering.
Aftercare: don’t kill it with kindness
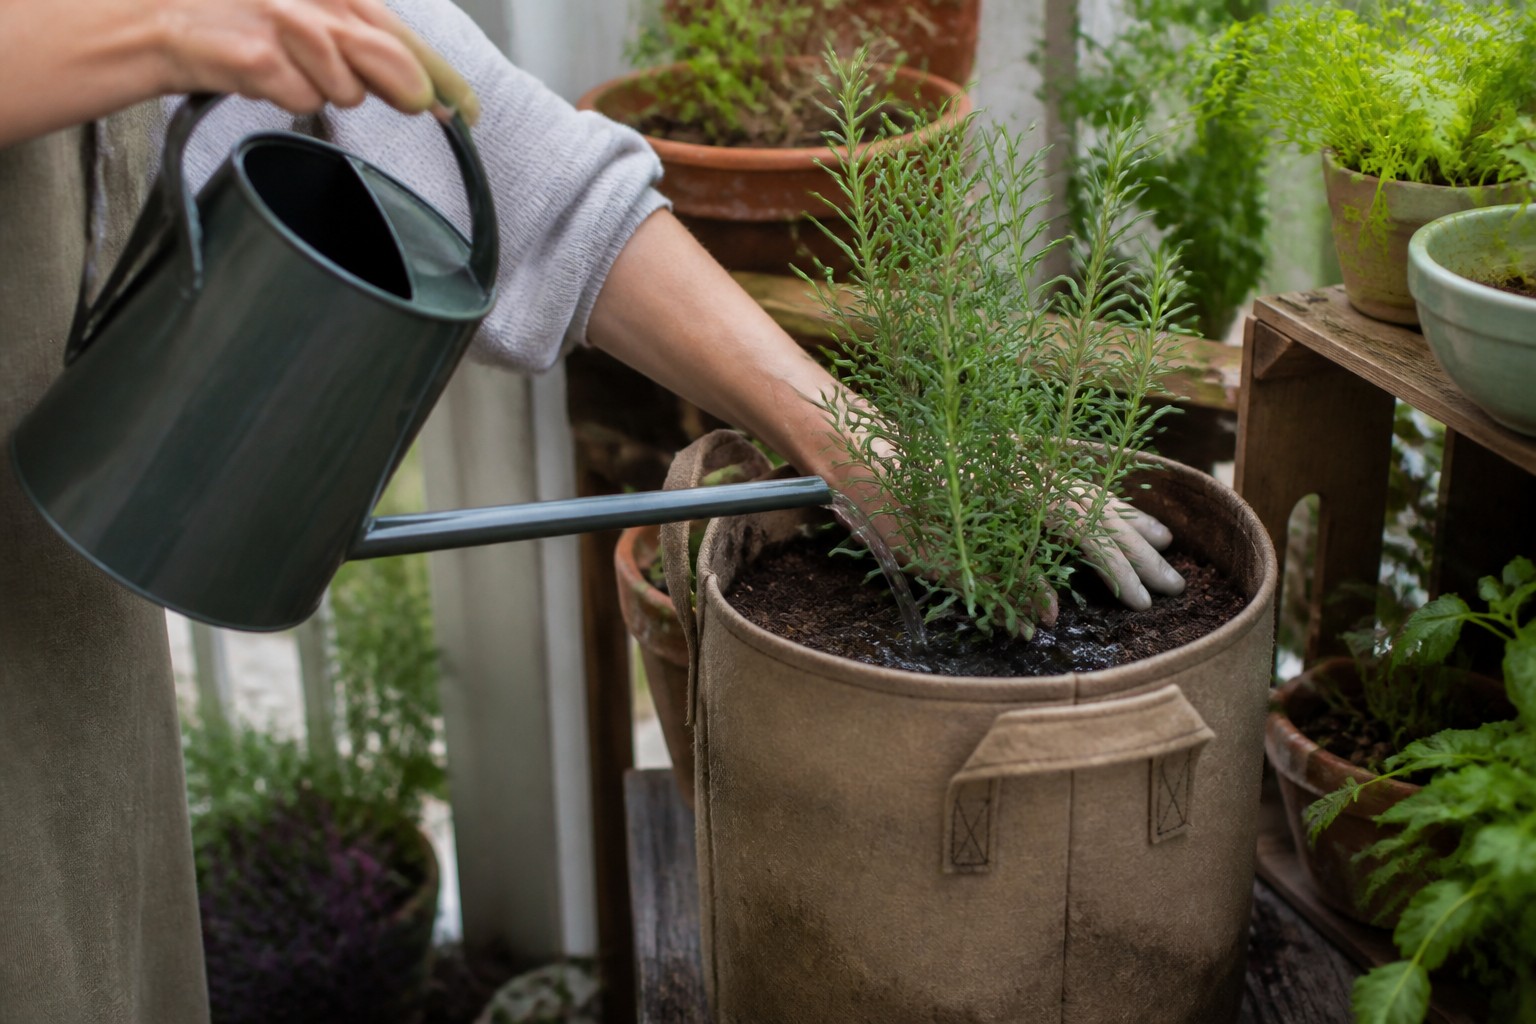
The week after a repot is where good intentions do damage. The roots were disturbed, so the plant drinks less than usual for a bit — and if you keep watering on your old schedule, that fresh, generous mix stays wet and the roots rot right when they’re trying to recover. Before you water, push a moisture meter down to root level and actually check; if it reads damp, wait. Keep the plant out of harsh direct sun for a few days while it settles, and hold off on fertilizer for two or three weeks — fresh mix already has enough to get it started, and feeding stressed roots just burns them. If you do overshoot on water, my guide to fixing an overwatered container plant is the rescue.
Give it that fortnight and you’ll usually see it: a flush of new leaves, a plant that suddenly looks like it means it. Otto, for the record, supervises every repotting from the doorway, convinced the fresh potting mix is being prepared for his benefit.
Repotting is really just one chapter in keeping a small-space garden productive year after year — knowing when to size up, when to divide, when to start over. I go through the whole small-space calendar in Small-Space Big Harvest. And if the plant you’re repotting is a potted herb, my notes on growing herbs in containers are the natural next read.
