How to Switch the Coop From Winter to Spring, Step by Step
When and how to switch the coop from winter to spring: putting away the heated waterer, pulling deep litter, opening vents, and readying the run for warm days.
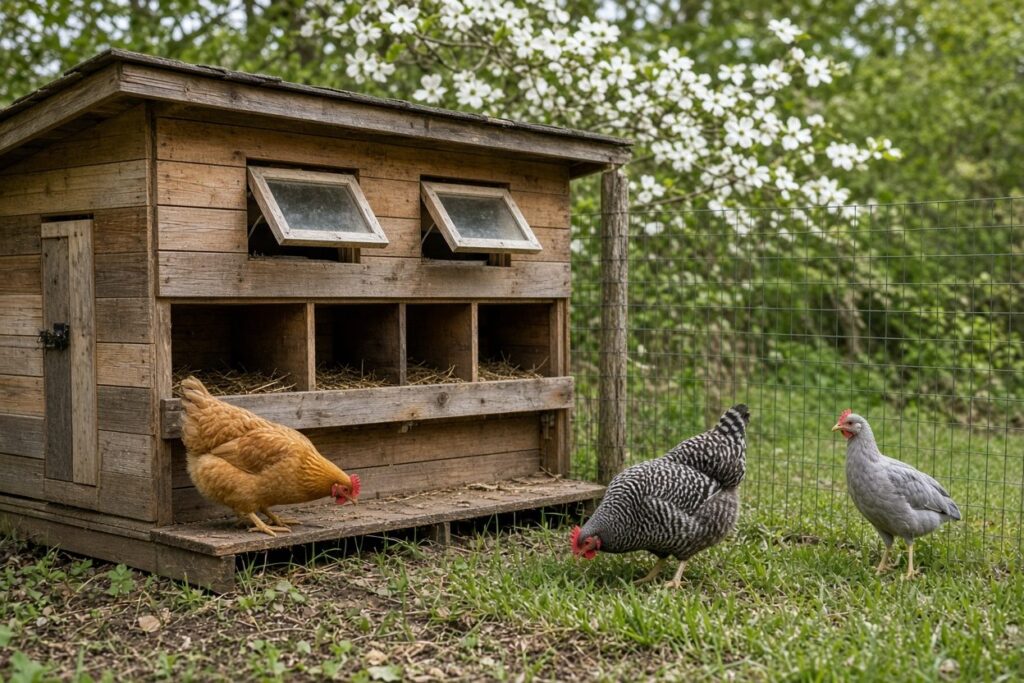
Two springs ago I left the heated waterer base plugged in under the fount until the second week of April, and on the first eighty-degree afternoon I found the girls panting in the shade of the run, ignoring water as warm as a bath. Winter gear is easy to set up and easy to forget.
That’s the whole problem with the spring changeover. Every piece of winter setup made sense in January, and by April half of it is working against your flock. Here in Knox County the swing can happen in a week: frost on the ramp Monday, seventy-eight degrees by Saturday. So I’ve learned to treat the switch as a short checklist I work through over a couple of weekends in March and April, not a single big day.
When to make the switch
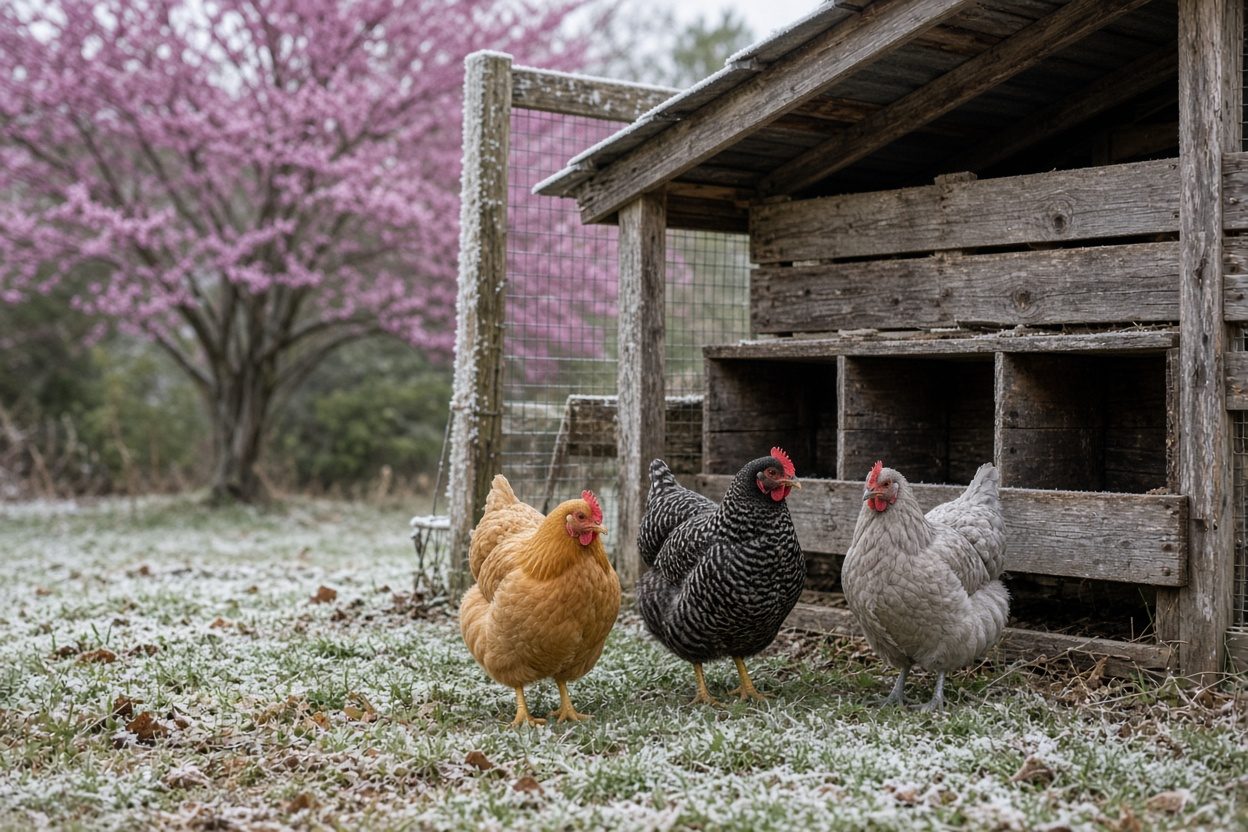
Don’t rush it. A coop stripped for spring in early March is a coop full of cold, wet birds when the next freeze rolls through, and in East Tennessee there’s always a next freeze. We even have a name for the cold snap that hits after everything blooms: blackberry winter.
My rule is overnight lows, not daytime highs. When the nights have stayed above freezing for about a week and the ten-day forecast agrees, I start. Your county extension office can tell you your average last frost date, and that’s a good outer marker. For me that lands somewhere in early to mid April, and I’ll do the easy steps a little before and the heavy ones right after.
Step 1: Unplug and store the heated base
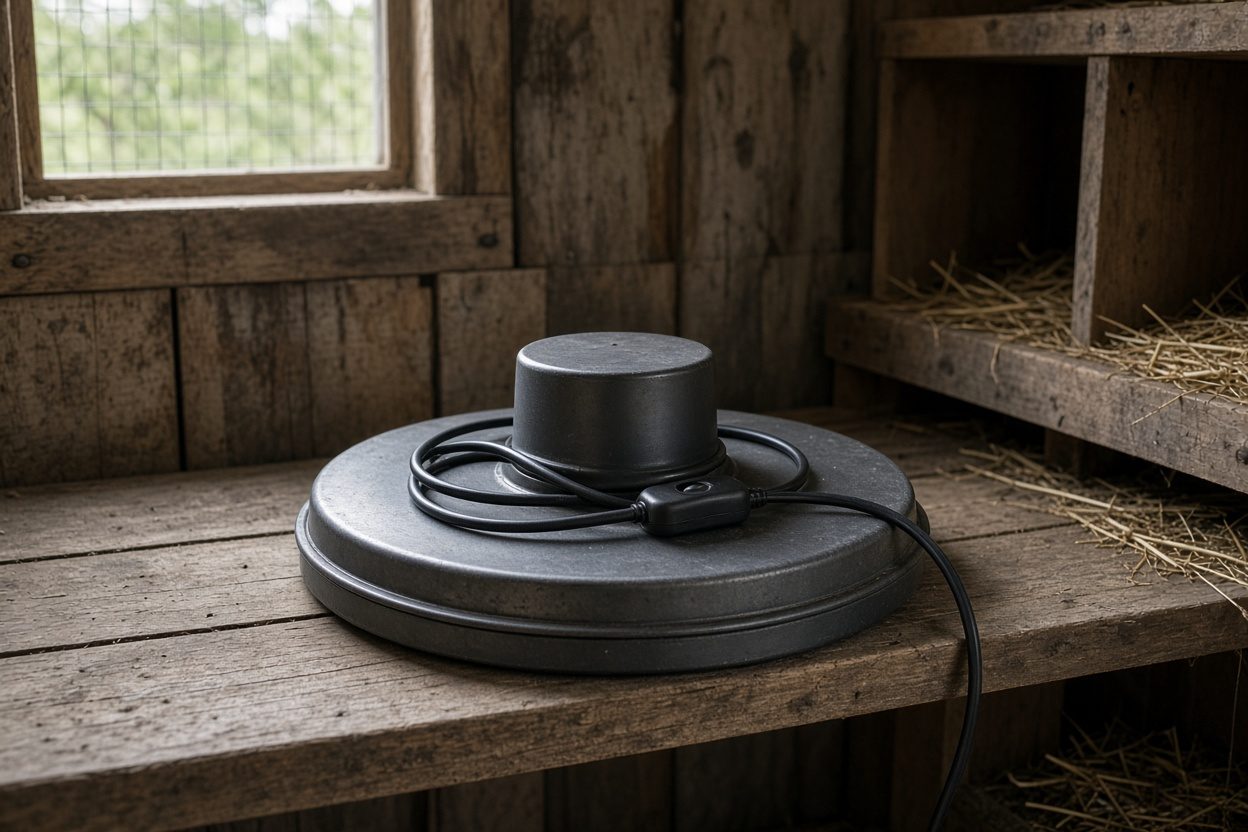
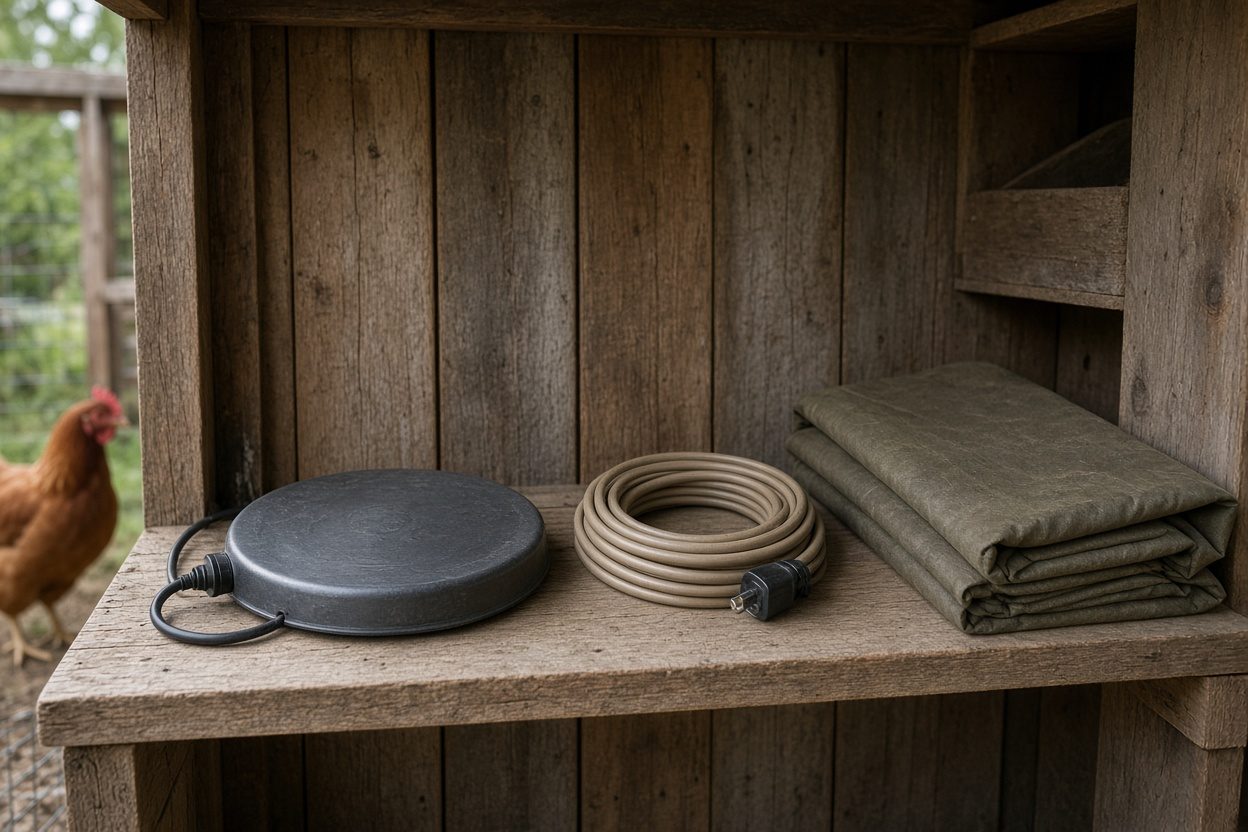
This is the step I got wrong, so it goes first. Once the water isn’t freezing overnight, the heated waterer base has no job left to do, and on a warm afternoon it’s actively making the water less appealing. Chickens drink less when water is warm, and in spring they’re laying hard and need every swallow.
Unplug it, let it cool completely, and wipe off the dust and dried droppings. Then look over the cord inch by inch. Mine had a nick near the plug last year where something had chewed it, probably a mouse that moved in over the winter. A damaged cord on a heated appliance in a dusty coop is a fire risk, so if you find damage, replace the unit before fall rather than taping it.
I store mine in a lidded tote in the garage, dry, with the cord loosely coiled. If you’re curious how it should go back in come November, I walked through it in how to set up a heated base for a metal waterer.
Step 2: Rethink the water setup for warm weather

The galvanized double-wall fount stays in my rotation all year, but in spring it moves. Off the base, out of the coop, and into the shadiest corner of the run on a couple of pavers so it sits level and up out of the dirt. Metal holds heat, so placement matters a lot more in May than it did in January.
Spring is also when I bring the nipple-and-cup waterer back out as the main station. The girls dust-bathe constantly once the ground dries, and an open fount fills with grit and droppings by noon. The cups stay clean. The honest downside: the cups can clog with a bit of feed or debris, and a flock that’s never used one needs a few days of showing. I keep the fount filled alongside it until I’ve watched every hen drink from the new one. If yours are new to it, how to train chickens to use a nipple waterer covers the trick.
Scrub everything before the switch, too. A winter’s worth of film builds up inside a fount, and warm weather turns that film into a slime problem fast. My routine for that is in how to keep chicken waterers clean.
Step 3: Pull the winter litter

If you ran deep litter all winter, spring is when it comes out. That ten or twelve inches of broken-down shavings did its job as insulation, but in warm, humid weather it holds moisture and heat, and that’s when flies and ammonia show up. I fork the whole bed into the wheelbarrow and onto the compost pile, where it finishes into the best garden amendment I make all year.
Then I scrape the floor down, sweep the corners and the roost bars, and let the empty coop air out with the doors open for an afternoon on a dry, breezy day. I don’t do a full sanitize every spring, but if I had any sick birds over winter, I do. The step-by-step for that is in how to clean and sanitize a chicken coop in late winter.
Once the floor is bone dry, I put down a fresh, thinner layer of hemp bedding, two or three inches instead of winter’s deep pile, plus clean bedding in every nest box. Hemp has been my favorite for absorbency and low dust. The tradeoff is that it’s pricier per bag than feed-store pine shavings, and it can be harder to find locally, so some years I mix the two.
Step 4: Open up the airflow

In winter I want high vents open and everything near roost level closed, so damp air leaves without a draft on the birds. By late spring, the goal flips. The coop needs to dump heat, and that means opening the lower windows and any vents I’d blocked off, taking down the feed-sack windbreak I staple over the north side of the run, and propping the people door open on hot days when I’m home.
Keep the hardware cloth on every opening. Spring is when raccoons and possums are feeding young, and they’re bold. Chicken wire over an open window is a gap a raccoon can tear through in minutes. I lost two birds to a raccoon my first year over a bad latch, and I’ve been preaching predator-proofing with hardware cloth ever since.
Step 5: Ready the run for heat and pests
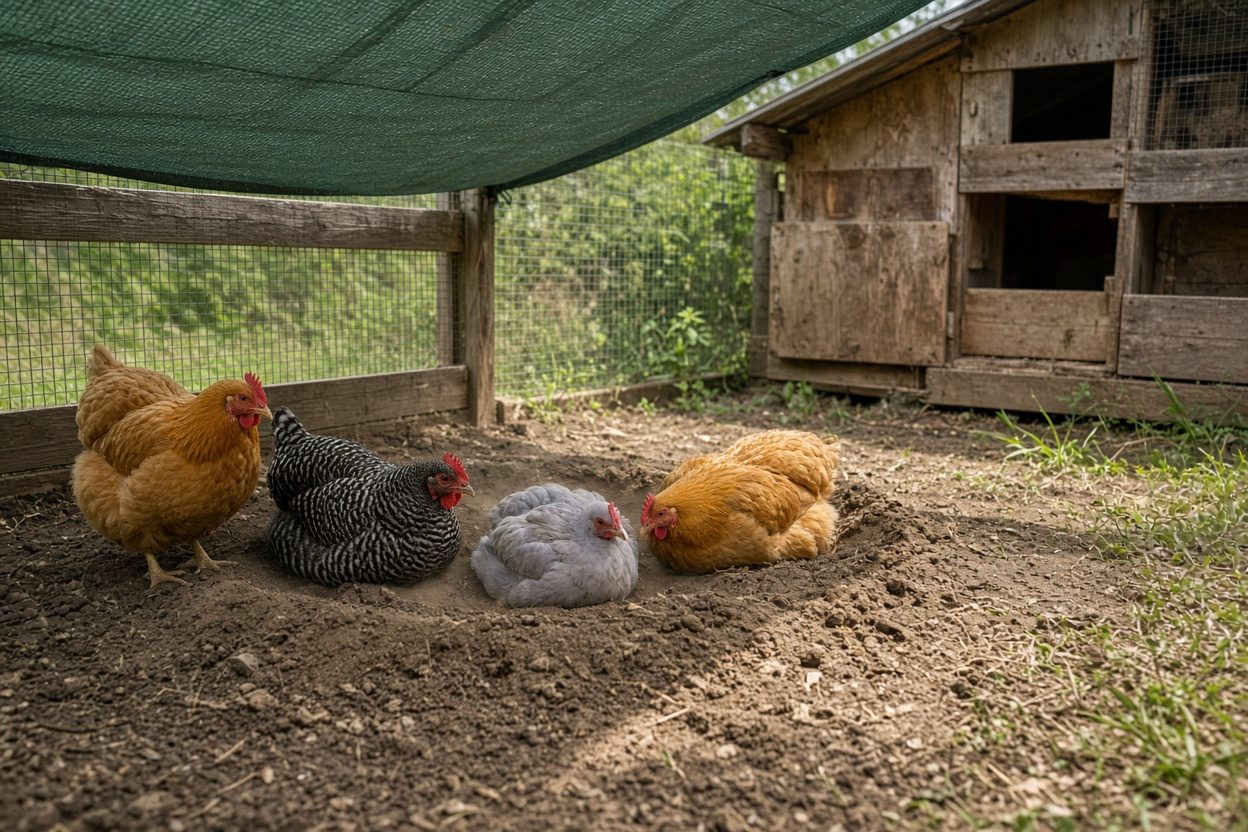
Shade goes up before you need it. By late May our run can sit in full sun at ninety degrees with humidity on top, and a hen can’t sweat. I stretch shade cloth over the sunniest half of the run in April while it’s still pleasant to stand out there with a ladder. The cloth is easy to work with and holds up for several seasons, though it will flap and sag in a strong wind if you skimp on tie-downs, so use more than you think. My other options are in the best ways to shade a chicken run.
While I’m out there, I check the birds themselves. Warm weather is when mites and lice multiply, and they love the cracks in roost bars. I pick up each hen, part the feathers under the vent and wings, and look. A few minutes per bird every spring has caught two infestations early for me. If you find something, how to spot mites and lice on chickens walks through what you’re seeing, and your extension office or a chicken vet can point you to a treatment that fits your flock.
Last, rake out the dust-bath spot and loosen the soil. The girls will tear into it the first warm afternoon, and dust-bathing is their own best mite control.
What I’d tell a first-year keeper
The changeover isn’t complicated, but it is easy to put off, and the cost of putting it off shows up on the first hot day. If I could hand you one habit, it would be this: when you pull a piece of winter gear, clean it, check it, and store it right then. Next November you’ll open that tote and thank yourself.
The whole flock year, season by season, is laid out in my book, Raising Backyard Chickens for Beginners. The spring chapter goes deeper on laying season, broody hens, and getting new chicks settled in alongside an established flock.
