How to Hatch Chicken Eggs in an Incubator, Day by Day
How to hatch chicken eggs in an incubator: picking eggs, temperature and humidity, turning, candling, lockdown on day 18, and moving chicks to the brooder.
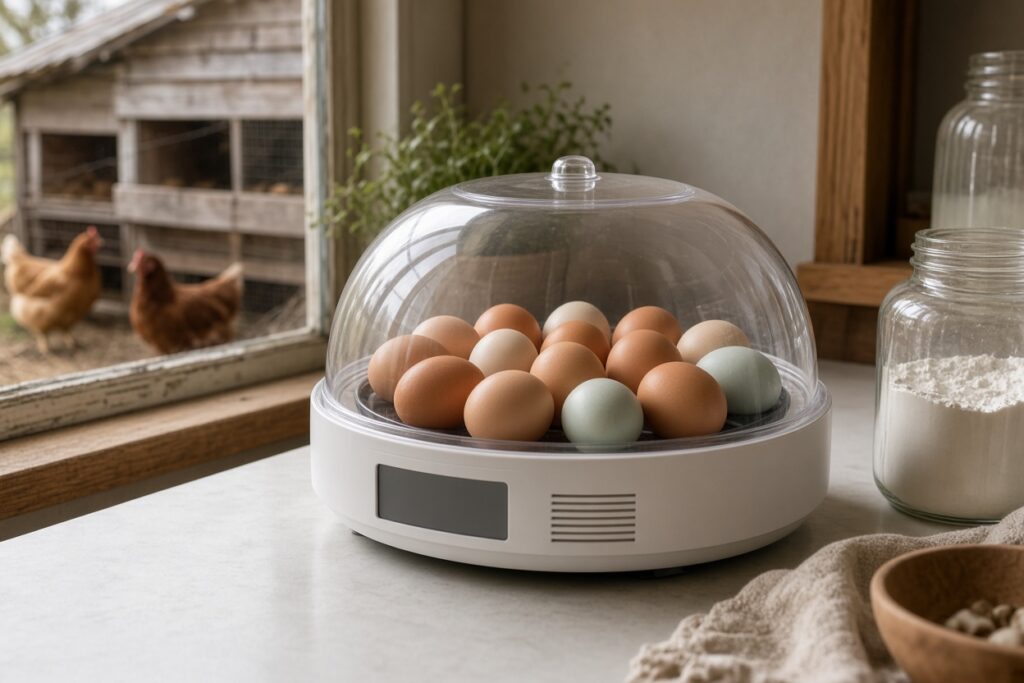
Hannah was eight the first spring we ran an incubator on the kitchen counter, and she lifted the lid so many times the first morning that I taped a note to it in Sharpie: NOT UNTIL DAY 21. We hatched seven chicks out of twelve eggs that year. I’ve learned enough since to do a lot better than seven.
Hatching your own eggs is the cheapest way to grow a flock and the most fun a family can have with a backyard coop in February. It’s also twenty-one days of small decisions that add up. Here is how I run a hatch now, day by day, and the mistakes that cost me chicks before I figured it out.
You’ll also need the incubator itself, a cheap digital thermometer-hygrometer to double-check it, a pencil, and a flashlight for candling. I’m not sending you to a specific incubator. A basic forced-air model with a fan and an automatic egg turner is what I’d buy first, and any of the common ones at Tractor Supply will hatch eggs if you run it right.
Pick eggs that can actually hatch
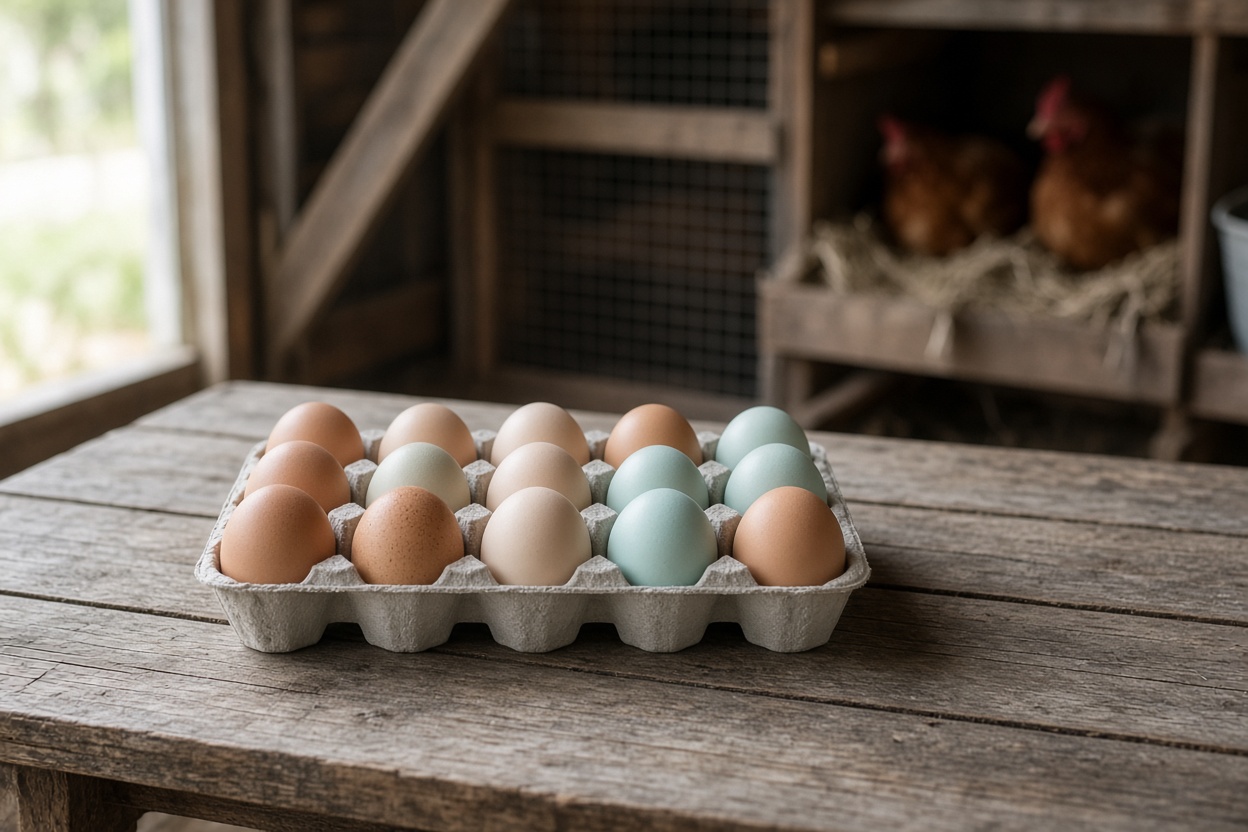
Your hatch rate is decided before the eggs ever go in. You need fertile eggs, which means a rooster in the flock they came from. If you don’t keep one, a neighbor with a rooster or a local breeder is the best source. Shipped hatching eggs from a hatchery work, but the post office is hard on them, and I count on fewer chicks.
What I look for:
– Clean, normal-shaped eggs. Skip the cracked, the very small, the very large, the ridged, and anything thin-shelled. Don’t wash them. Washing strips the coating that keeps bacteria out.
– Fresh. Set eggs within 7 days of being laid. Store them pointy end down, somewhere cool (around 55 to 65°F), not in the refrigerator.
– Rested. Let eggs sit at room temperature for several hours before setting them. Shipped eggs get 12 to 24 hours of rest, air cell up, to settle.
Pencil an X on one side of each egg and an O on the other. If you’re turning by hand, that’s how you know you turned them all.
Set the incubator a day early
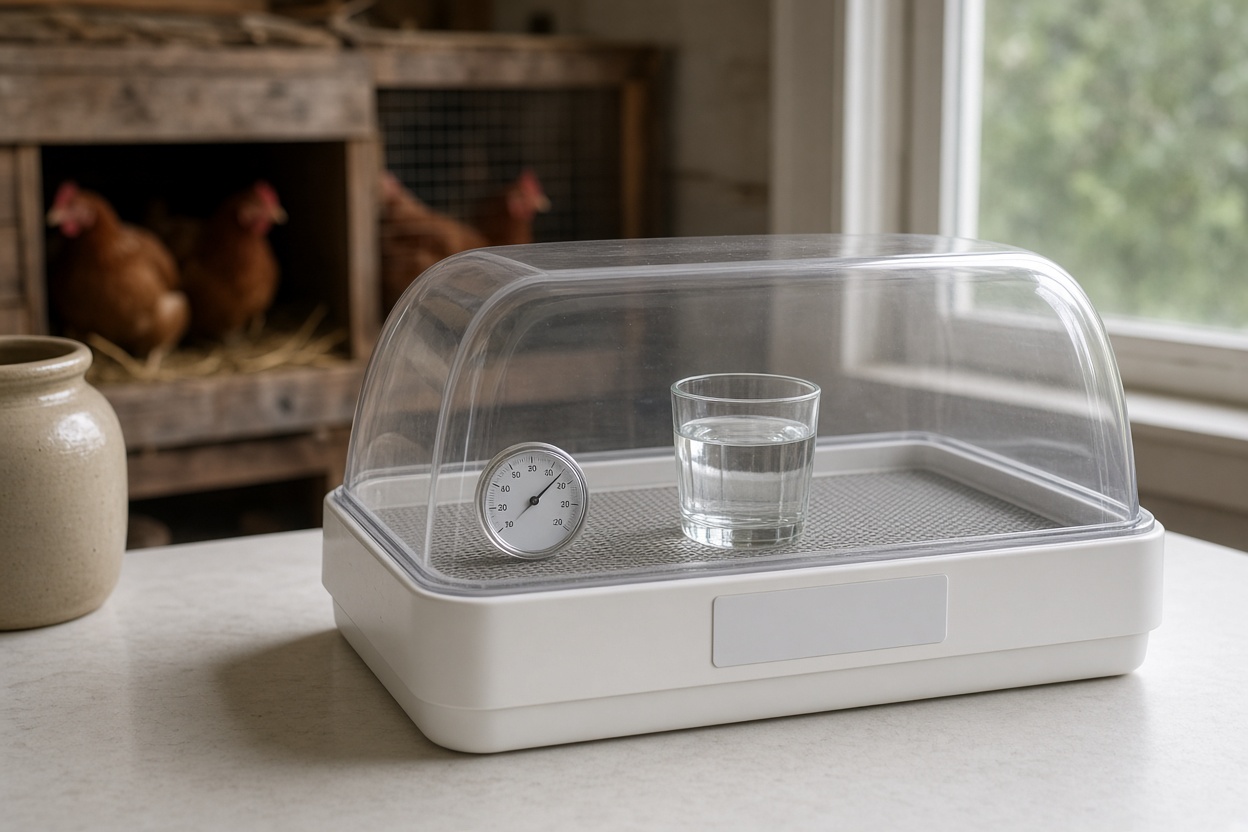
Run the empty incubator for a full 24 hours before the eggs go in. Every incubator I’ve owned was off from its own display by a degree or so, and a degree matters over three weeks.
The target numbers for chicken eggs:
– Temperature: 99.5°F in a forced-air (fan) incubator. A still-air incubator with no fan runs warmer at the top, so measure at the top of the eggs and aim for about 101.5°F there.
– Humidity, days 1 to 18: around 45 to 55 percent.
– Humidity, days 18 to 21 (lockdown): raise it to 65 to 70 percent.
Put the incubator in a room that holds steady. Not next to a window, not by the woodstove, not in a garage that swings 30 degrees between noon and midnight.
Days 1 to 18: turn, and leave it alone
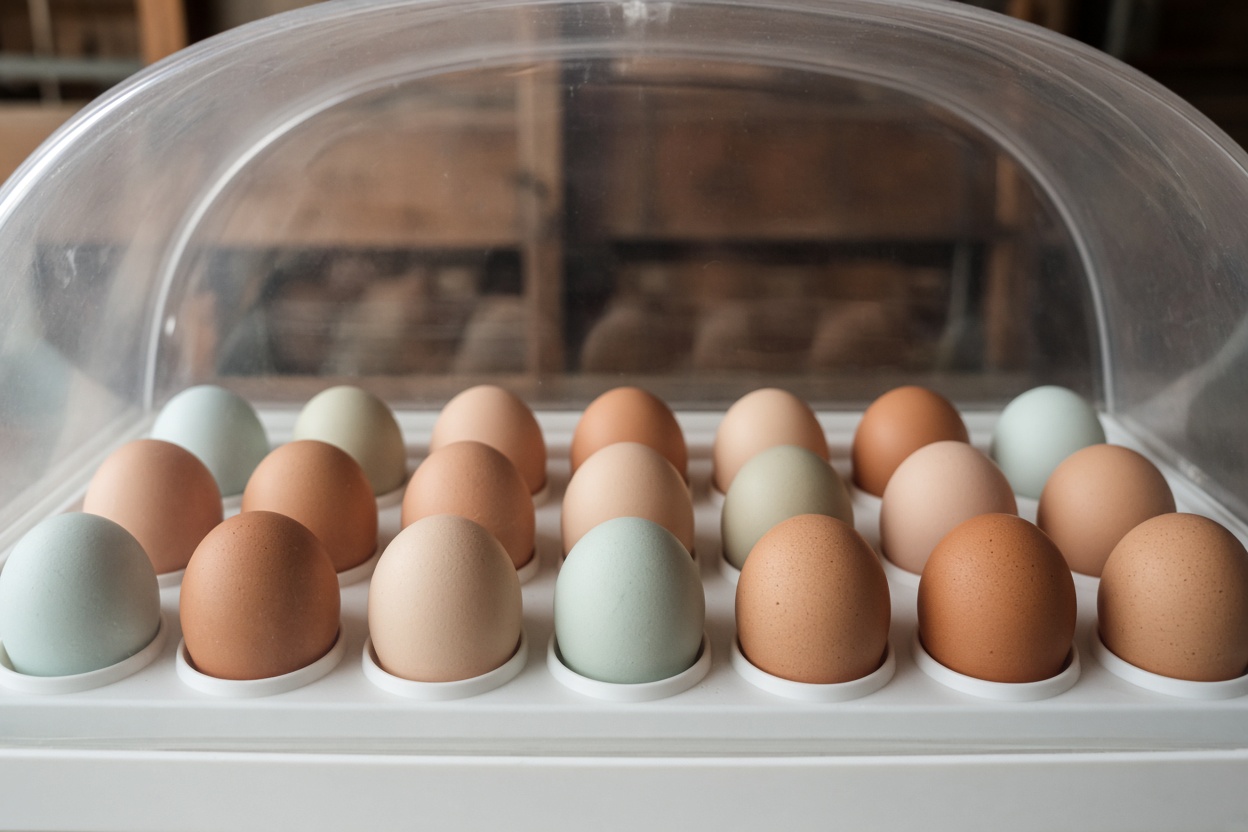
A hen turns her eggs dozens of times a day. Turning keeps the developing chick from sticking to the shell membrane. An automatic turner does this for you. By hand, turn an odd number of times a day, at least three, so the eggs don’t spend every night on the same side.
Then leave it alone. Every time you lift the lid, temperature and humidity drop, and the incubator takes a while to climb back. This was Hannah’s Sharpie note, and it was really for me.
Candling: who’s growing and who isn’t
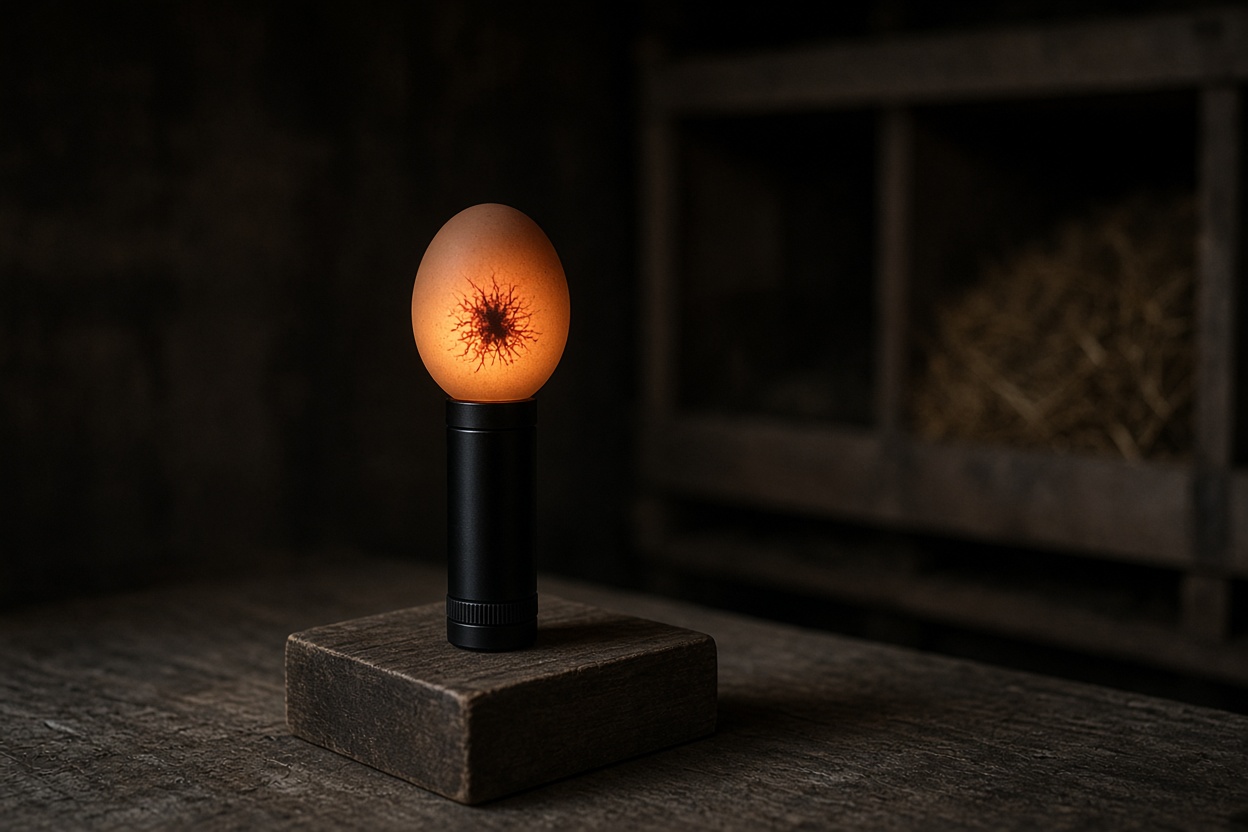
Candling means shining a bright light through the shell in a dark room to see inside. I candle twice, around day 7 and again around day 14, quickly, with a small LED flashlight cupped against the big end of the egg.
– Day 7: a growing egg shows a dark spot with fine red veins spreading out from it, like a spider. A clear egg with nothing in it was never fertile.
– Day 14: the egg is mostly dark, with a clear air cell at the big end.
Take out clear eggs and any egg with a red ring and no veins, which usually means the embryo died early. Anything that smells bad or looks wet comes out right away, before it bursts. Brown and dark-shelled eggs are harder to read. When in doubt, leave it in and look again on day 14.
Day 18: lockdown
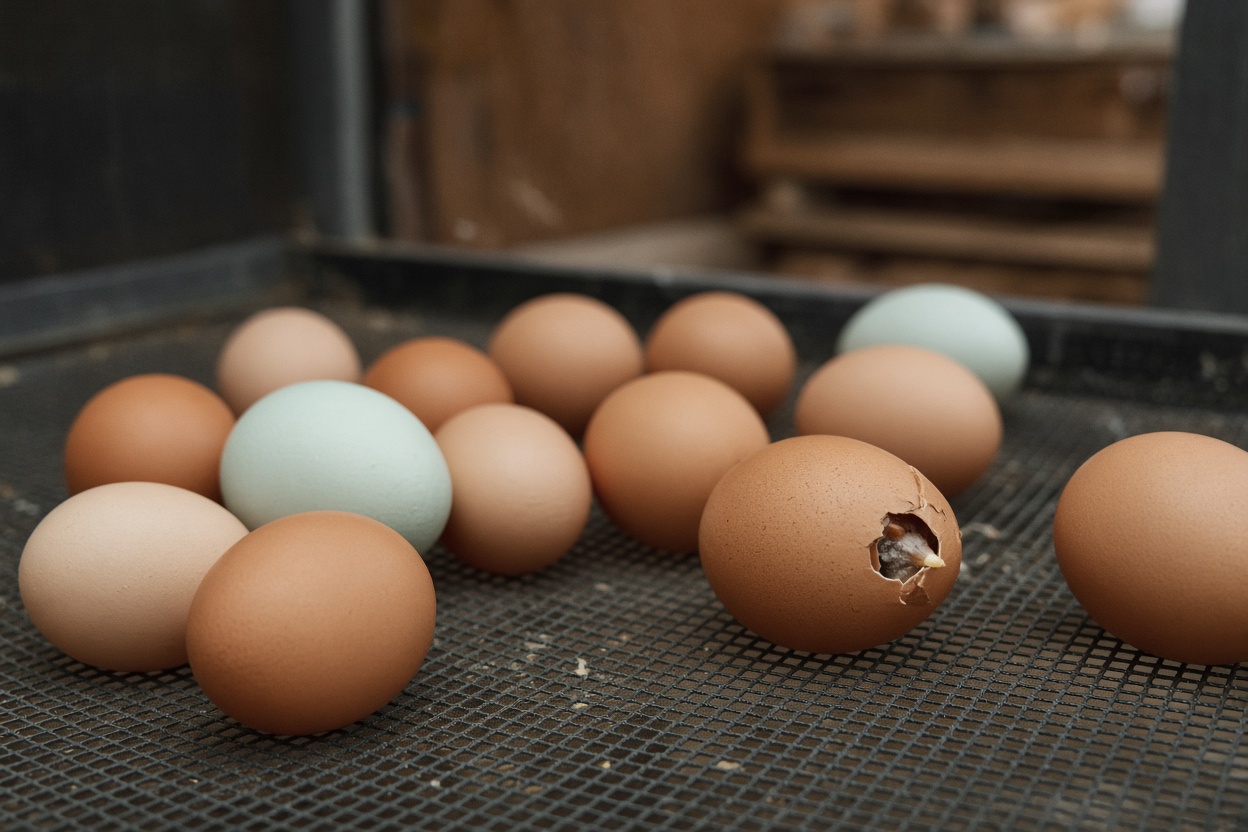
On day 18, stop turning. Take the eggs off the turner and lay them flat on the incubator floor or its mesh, raise the humidity to that 65 to 70 percent, and close the lid.
This is lockdown, and it means the lid stays shut until the hatch is over. The chicks are moving into position to break through, and the higher humidity keeps the membrane from drying and shrink-wrapping a chick inside its shell. I lost two chicks that first year to exactly that, because I opened the lid to “help.”
Around day 20 or 21 you’ll see a pip, a small hole or crack. Then comes zipping, when the chick works its way around the shell. From pip to hatch can take up to a day. It looks like it’s going wrong. It almost never is.
Don’t help a chick out of its shell. I know. I’ve had to sit on my hands. Most chicks who need help have a reason, and pulling the shell off early can tear blood vessels that haven’t finished closing.
From the incubator to the brooder
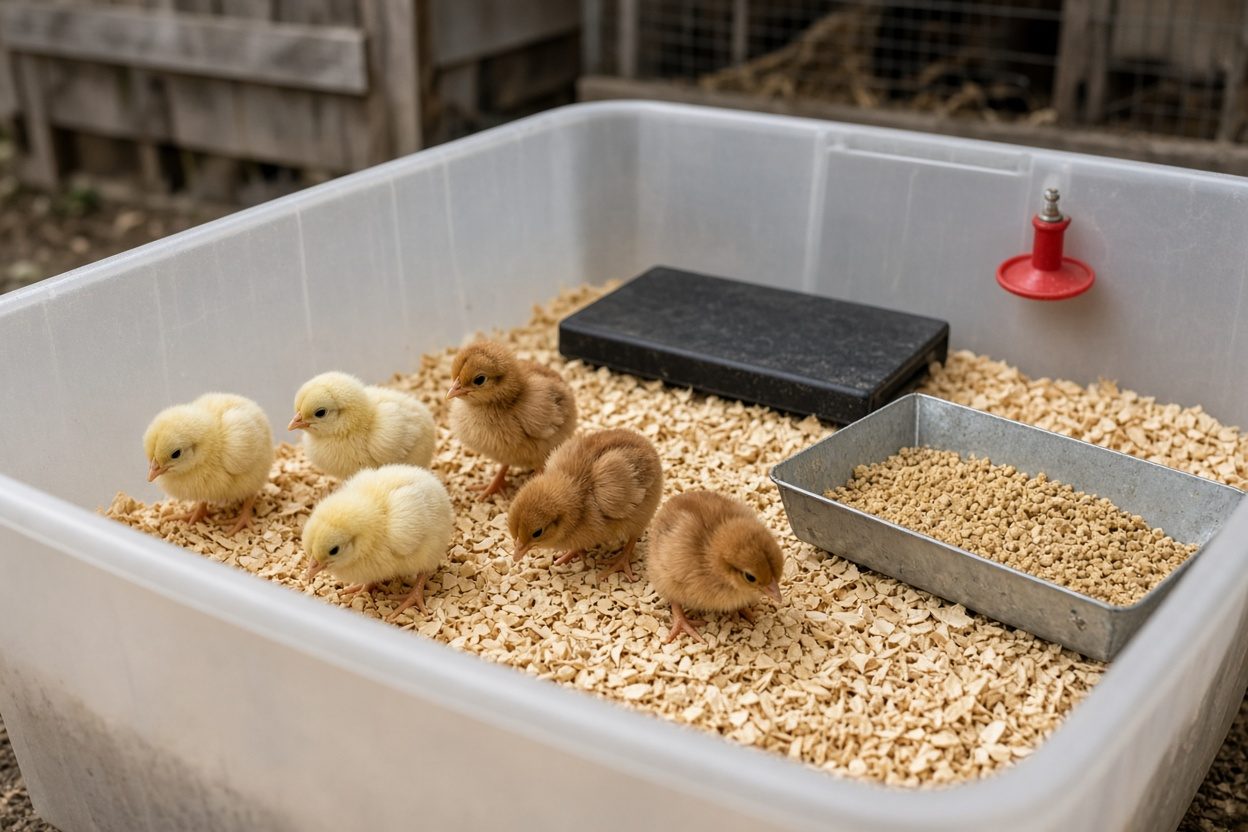
Leave new chicks in the incubator until they’re dry and fluffy, which takes up to 24 hours. They’re living off the yolk they absorbed before hatching, and they can go a day or two without food or water. That’s the same reason hatcheries can ship day-olds.
While they dry, get the brooder ready. My first chick brooder setup checklist covers it in full, but the short version:
1. Heat set to about 95°F at chick level for the first week, then down about 5°F a week.
2. Paper towels over the floor for the first few days, so chicks learn feed from floor and get good footing. Then hemp bedding a couple of inches deep.
3. Chick starter in a shallow feeder.
4. Water they can find. I use a nipple-and-cup waterer set low, and I add electrolytes to the first water, mixed by the label.
Dip each chick’s beak in the water as you put it in. Watch them for the first hour. I go into this more in how to keep chicks hydrated in the first week, and if you see a messy rear end in the first days, here’s how I handle pasty butt.
The honest part

Roughly half of what hatches will be cockerels. That’s not a hatching problem, that’s biology, and you need a plan for roosters before you set a single egg. Check your town and HOA rules, because some won’t allow roosters at all. Some keepers rehome them, some process them. Decide which one you are now, not in week ten when one starts crowing.
And not every egg will hatch. A good home hatch is 75 to 85 percent of fertile eggs. Shipped eggs do worse. If you get half, you didn’t fail. You hatched chicks.
Go deeper
A hatch is the first three weeks of a first year. What comes next, from brooder to coop to the first small wonky egg, is what I wrote my book for. Raising Backyard Chickens for Beginners walks through it month by month, including a chapter on chicks.
Know your girls.
