How to Care for a Pasty Butt Chick (and Stop It Coming Back)
Pasty butt chicks need fast, gentle care. How I spot it, clean it without tearing skin, and fix the brooder and water so it stops coming back in week one.
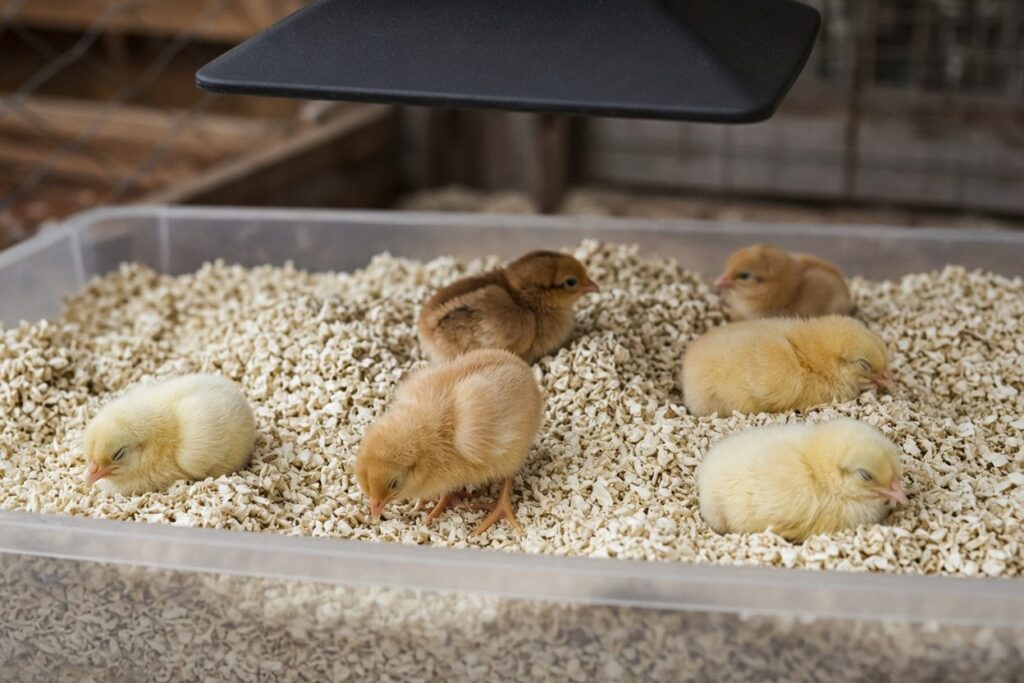
The third spring I kept chickens I came home from Rural King with six Easter Egger chicks, and by suppertime one of them was standing in the corner of the brooder with her eyes half shut and a hard little plug stuck over her vent. I knew what it was because I’d read about it. I still stood there for a full minute holding a paper towel like it might bite me.
That’s pasty butt, and if you raise chicks, you will see it. It’s common, it’s fixable, and it can kill a chick in a day or two if you don’t catch it. Here’s how I check for it, how I clean it, and what I change in the brooder so it doesn’t come back.
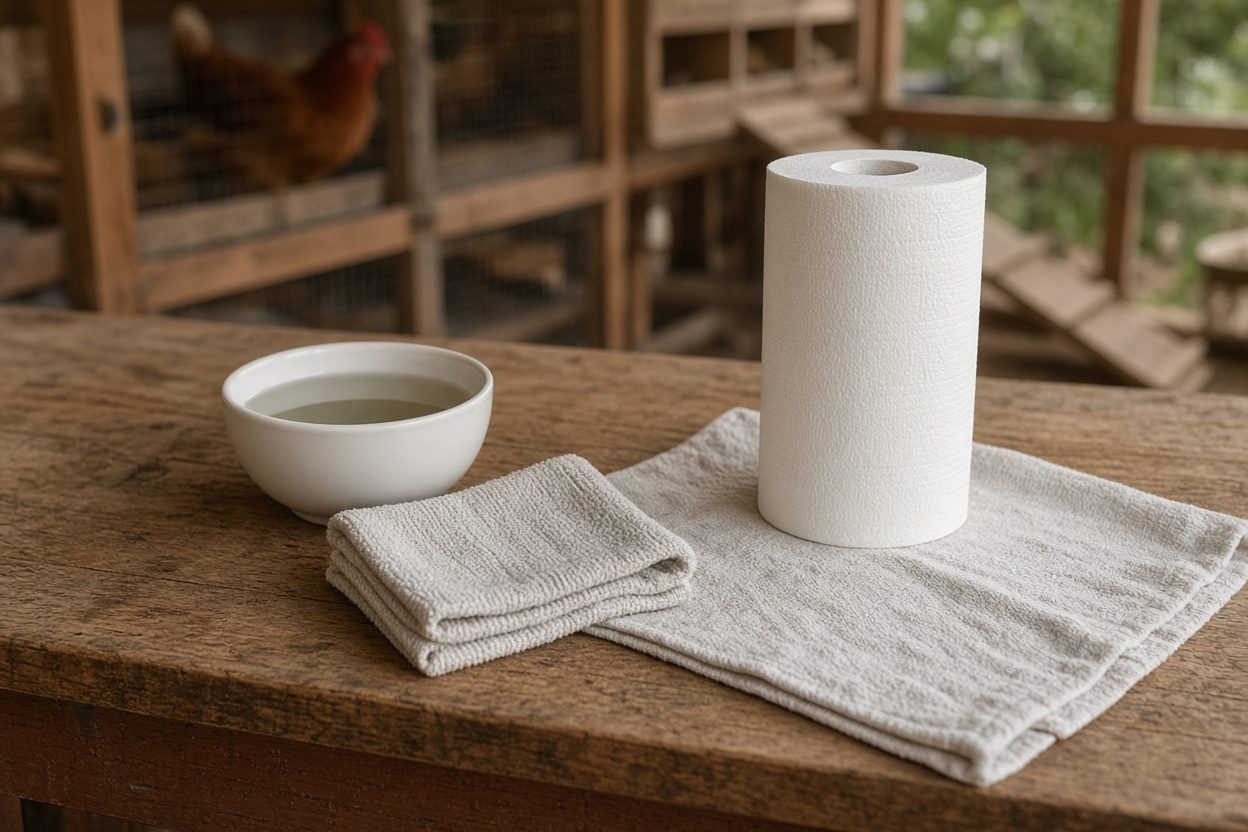
You’ll also want a roll of paper towels, a small bowl of warm water, and a clean old washcloth. That’s the whole kit.
What pasty butt actually is

Pasty butt (some keepers call it pasted vent) is when a chick’s droppings dry and stick to the fluff around her vent, the opening under the tail where everything comes out. One sticky dropping catches the next, it hardens, and before long it seals the vent closed. A chick that can’t pass droppings gets sick fast.
It shows up most in the first week to ten days. Shipped chicks get it more than feed-store chicks, and chicks in a brooder that’s too hot or too cold get it more than chicks who are comfortable. Stress is the common thread. I’ve seen it in every breed I’ve raised, so don’t let anyone tell you it’s a “bad breed” problem.
How to check for it
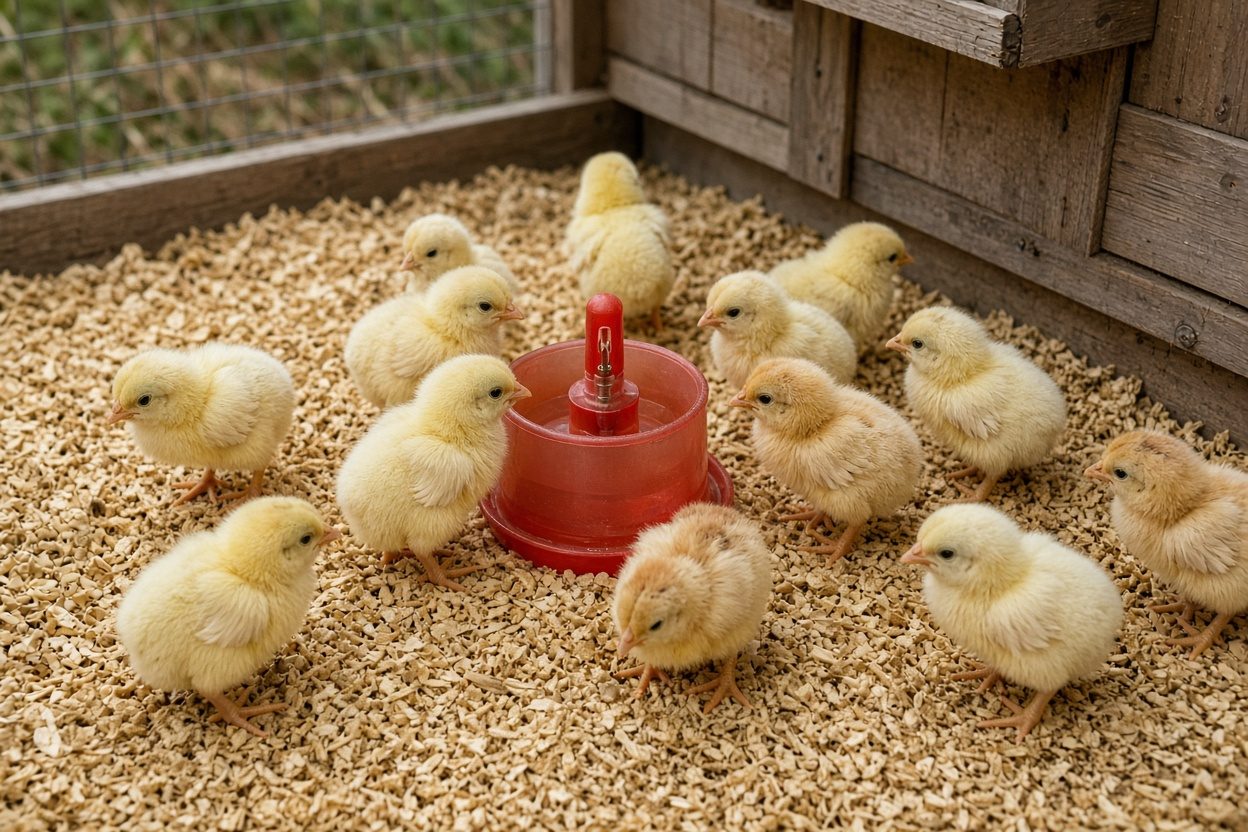
Look at the back end of every chick, every day, for the first two weeks. Pick each one up, turn her gently in your hand, and look under the tail. A healthy vent is clean and fluffy. A pasted one has a crust of dried droppings, usually yellowish-brown, stuck to the down.
Here’s the one everybody misses: check the chicks that look fine. The sick-looking one in the corner gets your attention, but I’ve found a starting paste on the busiest chick in the box more than once. Twice a day is better the first three days. It takes five minutes for six chicks.
Other signs a chick is struggling: standing alone with her eyes half closed, loud constant peeping, puffed-up fluff, not eating or drinking. Those can mean other things too, but check her vent first.
How to clean a pasted vent
Do not pull it off dry. I’ll say that once, plainly. That crust is glued to fluff that’s attached to very thin skin, and if you yank it you can tear the skin or the vent itself. I did a gentler version of exactly that my first year, and the chick was fine, but I’ve never forgotten the sound she made.
Here’s what I do now:
1. Warm, not hot, water. Fill a small bowl with water that feels comfortable on the inside of your wrist.
2. Soften it. Hold the chick in one hand with her back end over the bowl. Use a damp, warm paper towel or washcloth and hold it against the crust for a minute or two. You can also dip just her back end into the water, keeping the rest of her dry.
3. Work it loose slowly. Once it softens, gently wipe it away in small pieces. If it won’t come, soften it again. If a little fluff comes away with it, that’s fine. If skin is pulling, stop and soften more.
4. Look at the vent. It should be open and clean. If it looks red, raw, or swollen, keep a close eye on her over the next day.
5. Dry her and get her warm. Pat her dry with a paper towel and put her back under the heat right away. A wet chick chills fast. Some keepers use a hair dryer on low, held well away. I just use the heat plate and a towel.
Some keepers dab a little coconut oil or petroleum jelly on the fluff around the vent afterward so the next dropping doesn’t stick as easily. I’ve done it and I’ve skipped it. It doesn’t hurt.
Fix the brooder so it stops coming back

Cleaning a vent treats the chick. Fixing the brooder treats the reason. If I’m cleaning the same chicks two days in a row, that’s my sign something in the setup is off.
Temperature first. Watch where the chicks sit. Crowded right under the heat and peeping means they’re cold. Pressed against the far walls, panting with wings held out, means they’re too hot. Spread out and napping in little piles means you got it right. I walk through my whole setup in my day-one brooder checklist, and if you’re using a heat plate instead of a lamp, raising chicks without a heat lamp covers how to read them under it.
Water they’ll actually drink. Dehydrated chicks paste up more. For the first few days home I mix Sav-A-Chick electrolytes into the water per the packet directions, then switch to plain water. I dip each new chick’s beak in the water when she arrives so she knows where it is. My notes on keeping chicks hydrated in the first week go deeper on this.
Clean water and clean bedding. Open water dishes in a brooder fill up with shavings and droppings within an hour. I switched to a nipple-and-cup waterer years ago, and the honest con is that some chicks take a day to figure out the cups. Tap the cup with your finger until a drop shows and they catch on. The pro is that the water stays clean for a whole day. I spot-clean the hemp bedding around the waterer every morning and do a full change when it starts to smell. Hemp is pricier per bag than pine shavings, and that’s the con. It’s less dusty and soaks up more, and I’ve stopped arguing with myself about it.
Starter feed, and no treats yet. Chick starter only for the first couple of weeks. No scrambled egg, no mealworms, no kitchen scraps, however much the kids want to. Those can come later.
When it’s more than pasty butt
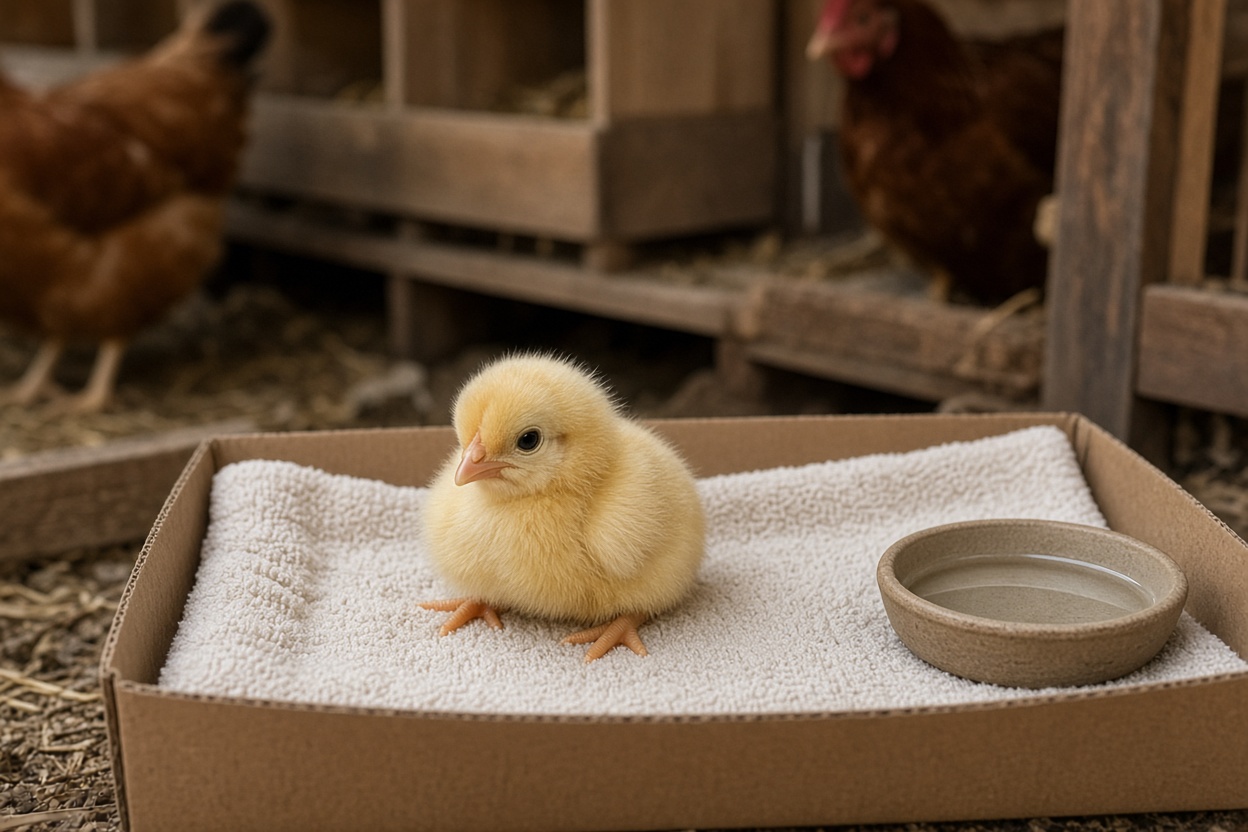
Most pasted chicks bounce back within a few hours of a cleanup and a warm nap. If a chick keeps pasting after you’ve fixed the temperature and water, stops eating or drinking, or just keeps getting weaker, something else may be going on. I’m not a vet. Call a vet who sees poultry, or your county extension office, which can point you to one. In Knox County I’ve sent more than one panicked first-year keeper to the extension office with a chick in a shoebox.
And I’ll be honest, because this is the hard part: sometimes a chick that came in weak doesn’t make it, no matter what you do. That isn’t always on you.
Your first week, and the rest of the first year
Pasty butt is one of a handful of things that make week one feel scarier than it is. My book, Raising Backyard Chickens for Beginners, walks through the whole first year, from the brooder to the coop to that first wonky egg, so you’re not finding out in the moment the way I did.
