How to Keep Baby Chicks Hydrated in the First Week
How to keep baby chicks hydrated in the first week: teach them to drink, pick the right waterer, use electrolytes the OTC way, and spot a chick running dry.

The first chick I lost was a Speckled Sussex pullet named Pepper, on day three, and I’m nearly sure it was the water. She stood at the edge of the dish, too wobbly to reach it, and I didn’t see it until the next morning. I had water down. I had it clean. What I didn’t have was a chick who knew where to find it.
That’s the thing about the first week. Day-old chicks come out of an incubator, ride in a box through the mail or home from the feed store, and arrive tired, thirsty, and a little dumb about the world. Water is the most important thing you will do for them, and it is easy to do wrong in small ways. Here is how I run it now, with six or twelve peeps at a time in a Tennessee spring. If you’re ordering online, My Pet Chicken sells baby chicks.
Teach them to drink on the first day
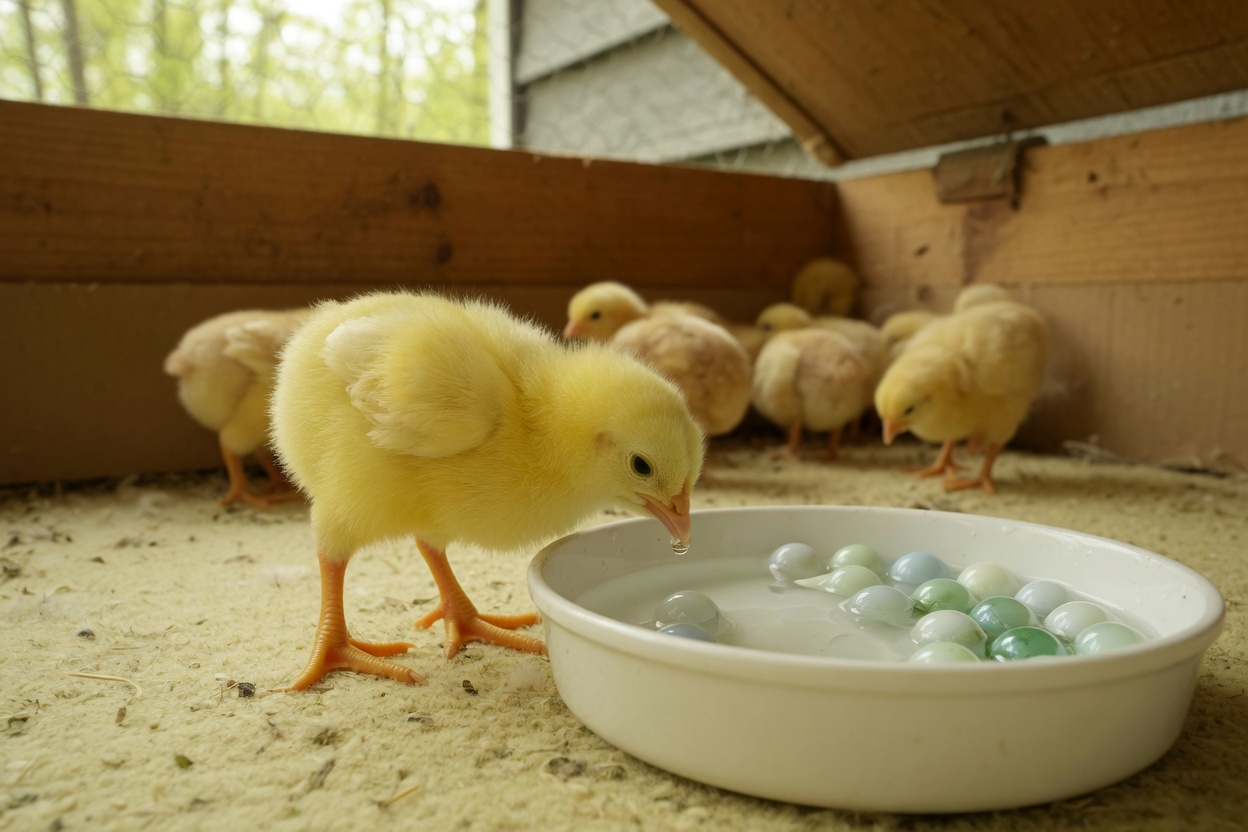
Newly hatched chicks don’t always know a waterer is a waterer. Most figure it out in a minute. A few need help, and those are the ones you lose if you don’t notice.
When a box of chicks goes into the brooder, pick up each one in turn, gently dip its beak into the water just far enough that the water touches the tip, then set it down. You’ll see it tip its head back, the way a chicken does, to swallow. The others watch and copy. I do it for every chick, every time, even though most don’t need it. It takes two minutes for a dozen birds, and I’ve never regretted it.
Keep the water at room temperature. Cold water straight from the tap is a shock to a chick who just came off a long ride, and I let a jug sit out overnight so it’s the same temperature as the brooder.
Pick a waterer the chicks can’t drown in
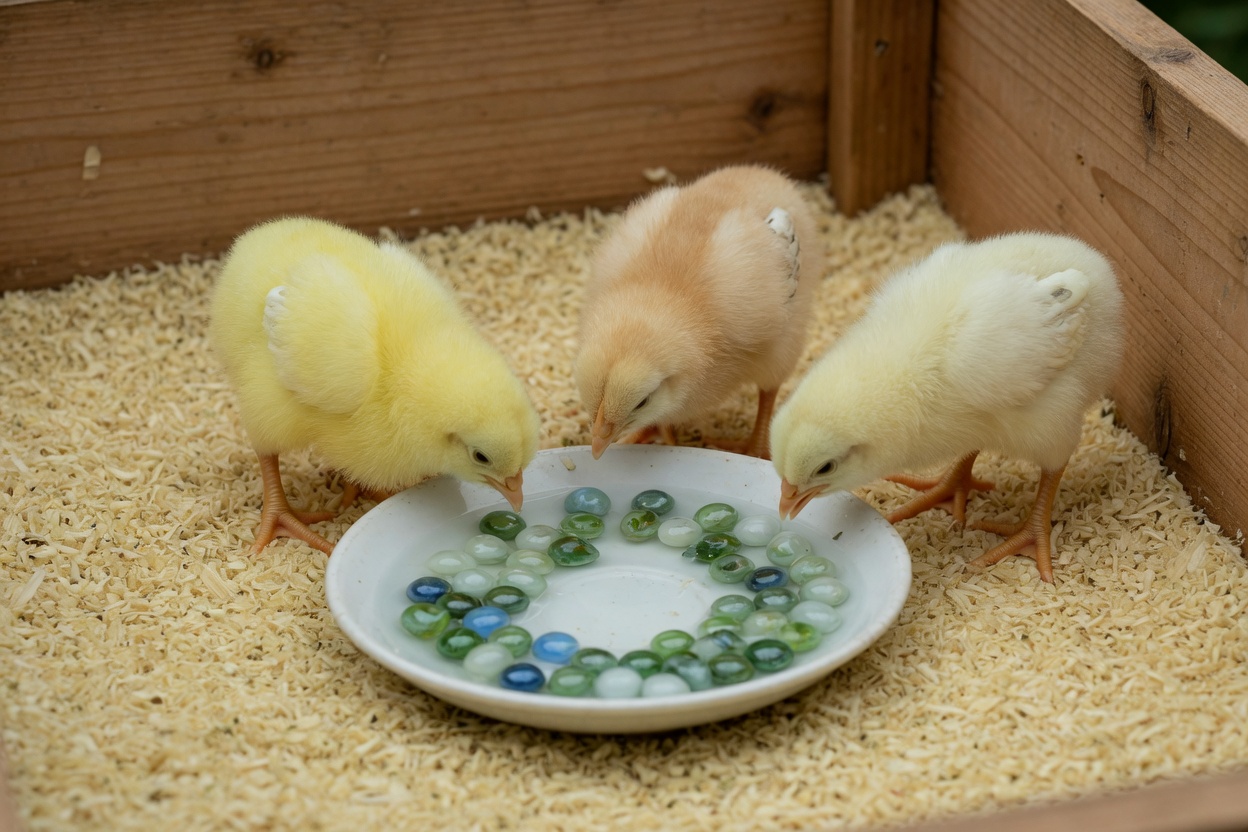
This is where I went wrong in the beginning. A wide, deep dish is a hazard for a chick under a week old. Chicks climb into water, get wet, chill, and a wet, chilled chick doesn’t last long. A deep dish can also be hard to get out of.
For the first couple of days I keep the water shallow, no deeper than the chick’s ankle-to-knee, with a handful of clean pebbles or marbles in the dish so the chicks can drink between them without falling in. Wash and replace the marbles daily. They get gunky fast.
After that, I move to a nipple-and-cup waterer. The cup version is the one I trust for week one, since the cup holds only a spoonful at a time and the chicks learn to peck the nipple in the middle to refill it. It keeps the water clean for far longer than an open dish, because the chicks can’t scratch bedding or kick droppings into it. I covered how I think about clean water at every age in how to keep chicken waterers clean.
The honest downside: nipple-type waterers take a day for some chicks to understand, which is why I keep an open dish with marbles going right alongside it for the first two or three days. Once I see every chick drinking from the cup, the dish comes out.
Give them electrolytes, but read the label
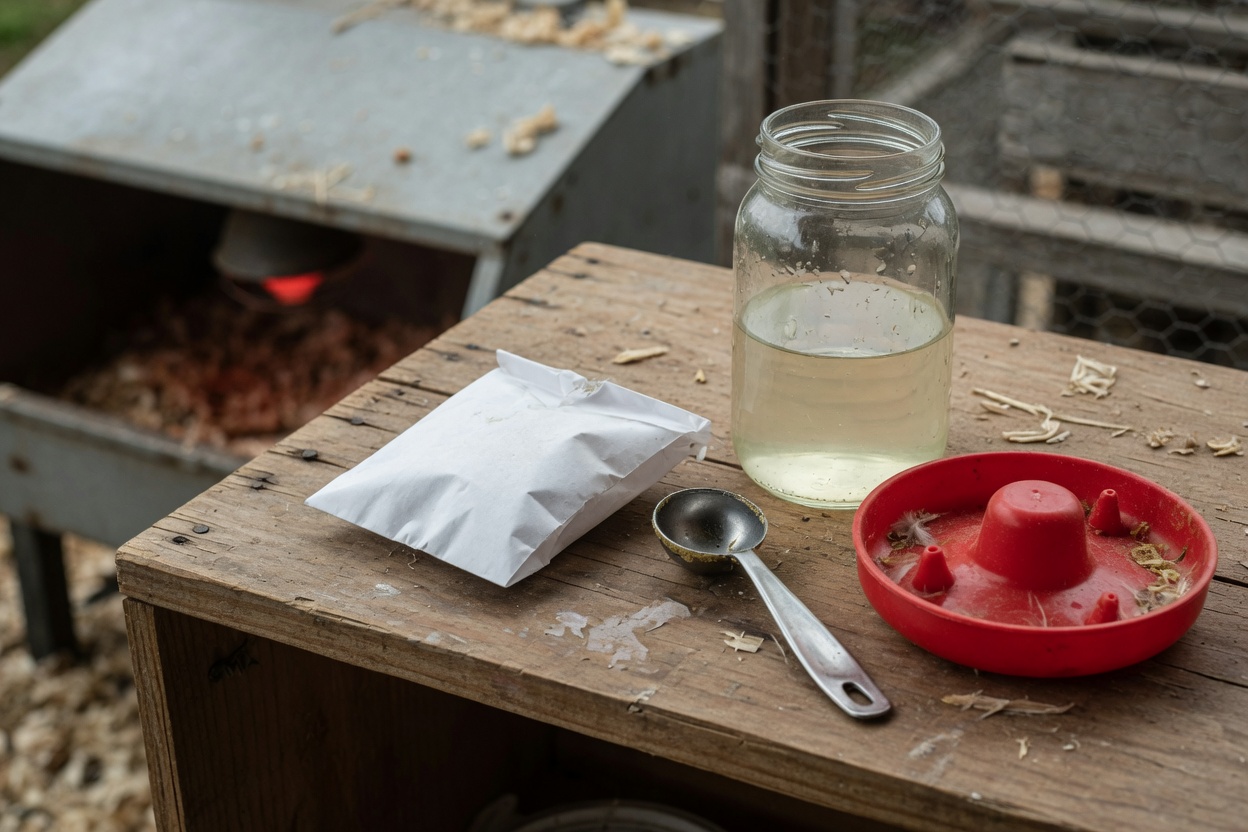
Shipped chicks are stressed, and a stressed chick often drinks less than she should. A pack of over-the-counter electrolytes in the water for the first few days gives them a gentle lift. I use Sav-A-Chick electrolytes and mix it exactly as the packet says. I won’t give you a number here, because the packet knows its own formula better than I do, and the mix matters.
Two rules I follow. First, electrolyte water goes in as the only water for the first days, not alongside plain water I forgot about. Second, I switch back to plain water after the packet’s recommended window. Electrolytes aren’t meant to be a permanent state, and a chick on a long run of the stuff can end up with problems of its own. If you want more on getting chicks past the shock of the trip, I wrote about it in how to help chicks recover from shipping stress.
Skip any antibiotic or medicated water you read about on a forum. Those are for a vet’s guidance, and I only ever link over-the-counter products in anything I write.
Water placement and bedding
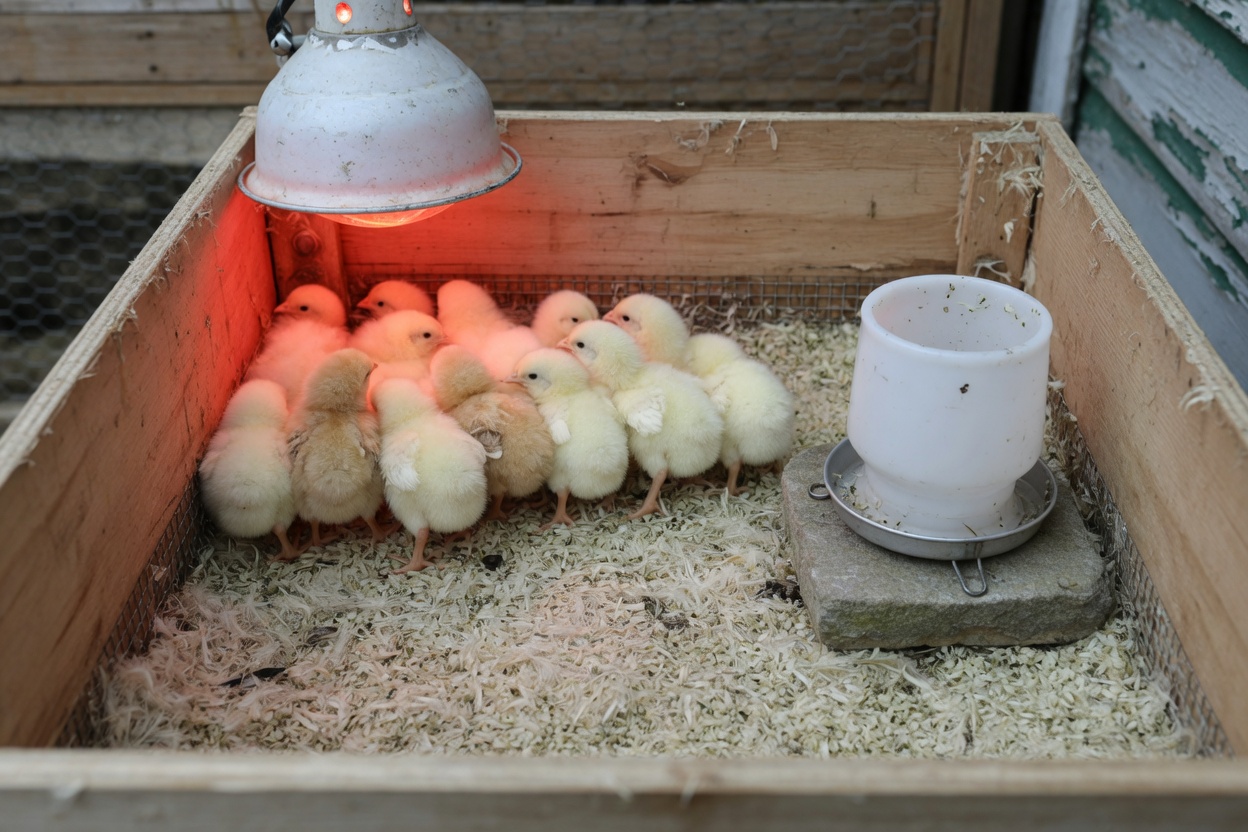
Put the water at the edge of the brooder, away from the heat source but not so far that a chick has to cross the whole brooder, thirsty, to reach it. A chick that’s cold won’t leave the warm spot to drink. A chick that’s too hot will go find the water and then stop to sit in it.
Raise the waterer onto a small block or a flat stone as the chicks grow, so the lip sits at about back height. That keeps shavings and droppings out. Bedding matters here too. I switched to hemp bedding a couple of years ago because it doesn’t turn to slick mud around the waterer the way fine shavings do, and a dry floor means a dry chick. Never use newspaper or smooth paper in a brooder. Chicks slip on it, and splayed legs are no joke.
How to tell a chick is running dry
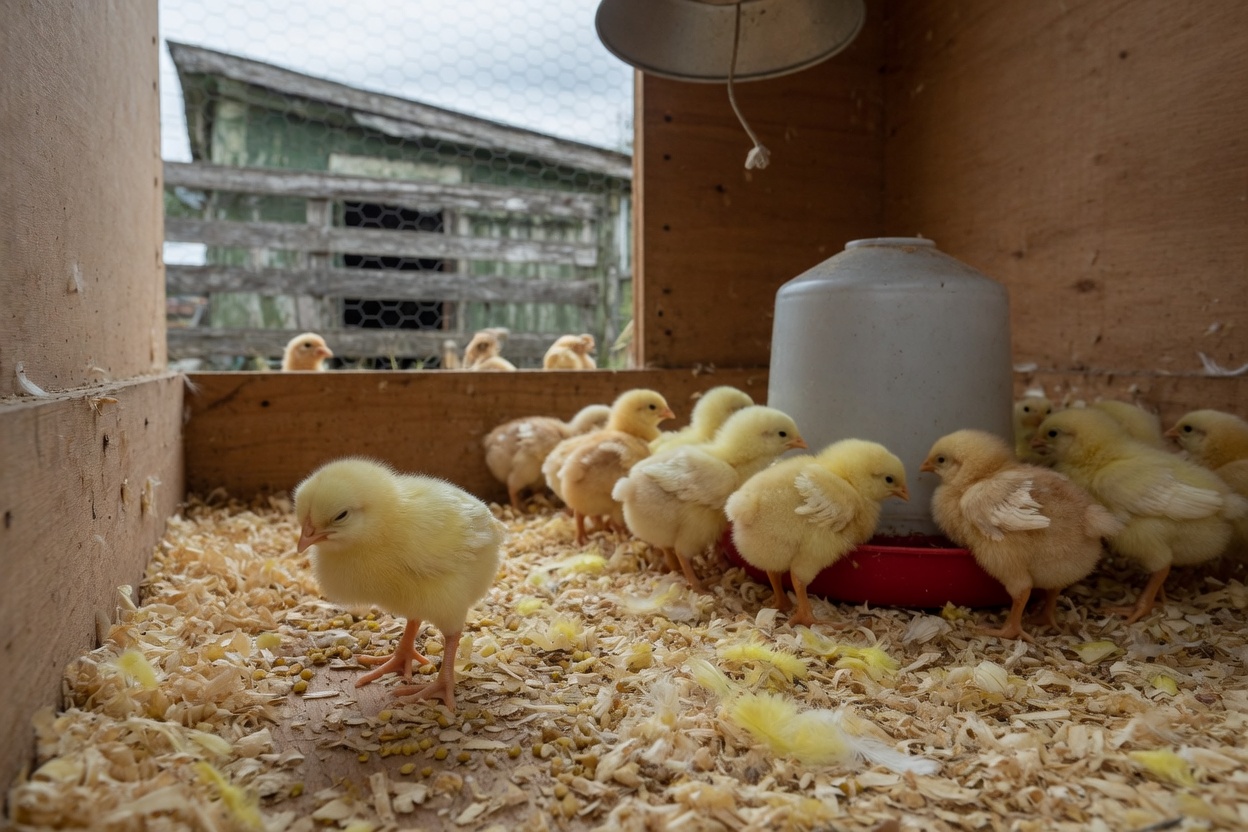
Learn these signs, because a thirsty chick tells you quickly if you look.
– Sleepy and still, away from the others, when the rest are busy. Chicks nap, but a lone, droopy one deserves a closer look.
– Droopy wings and a hunched stance with eyes half closed.
– Pasty butt, where droppings cake over the vent. It’s more common in shipped chicks and in chicks who’ve been chilled or stressed. Soak a warm washcloth, wipe it clean gently, and dab the area dry. Left alone, it can seal the vent shut.
– Wrinkled, dull-looking skin on the legs, a sign of real dehydration.
When I spot one, I dip its beak again, offer a bit of electrolyte water from a spoon, and set it under the heat to watch. Most perk up within the hour. If one doesn’t, I call a poultry vet or the extension office, and I don’t wait overnight to do it. Pepper taught me that.
A simple first-week routine
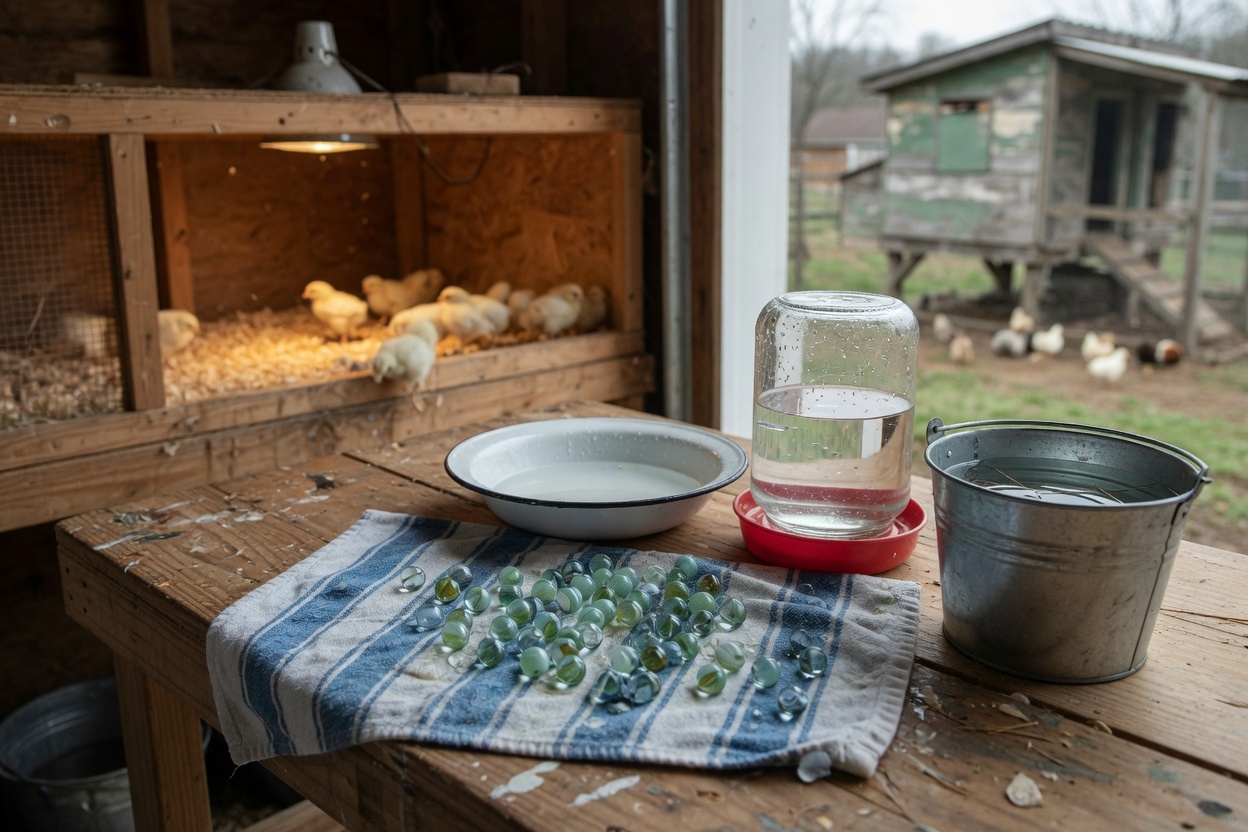
– Day 1: Dip every beak. Shallow dish with marbles plus the cup waterer. Electrolyte water only.
– Days 2-3: Check that every chick is drinking at the cup. Wash marbles and dish. Keep the electrolyte going per the label.
– Days 4-7: Switch to plain water. Pull the dish once the cup is working. Raise the waterer as the chicks grow, and clean it every day.
The full setup of the brooder, heat, and feed lives in my first chick brooder setup checklist, and if you’re thinking about skipping the heat lamp, raising chicks without a heat lamp covers how I do that safely.
The one habit that matters
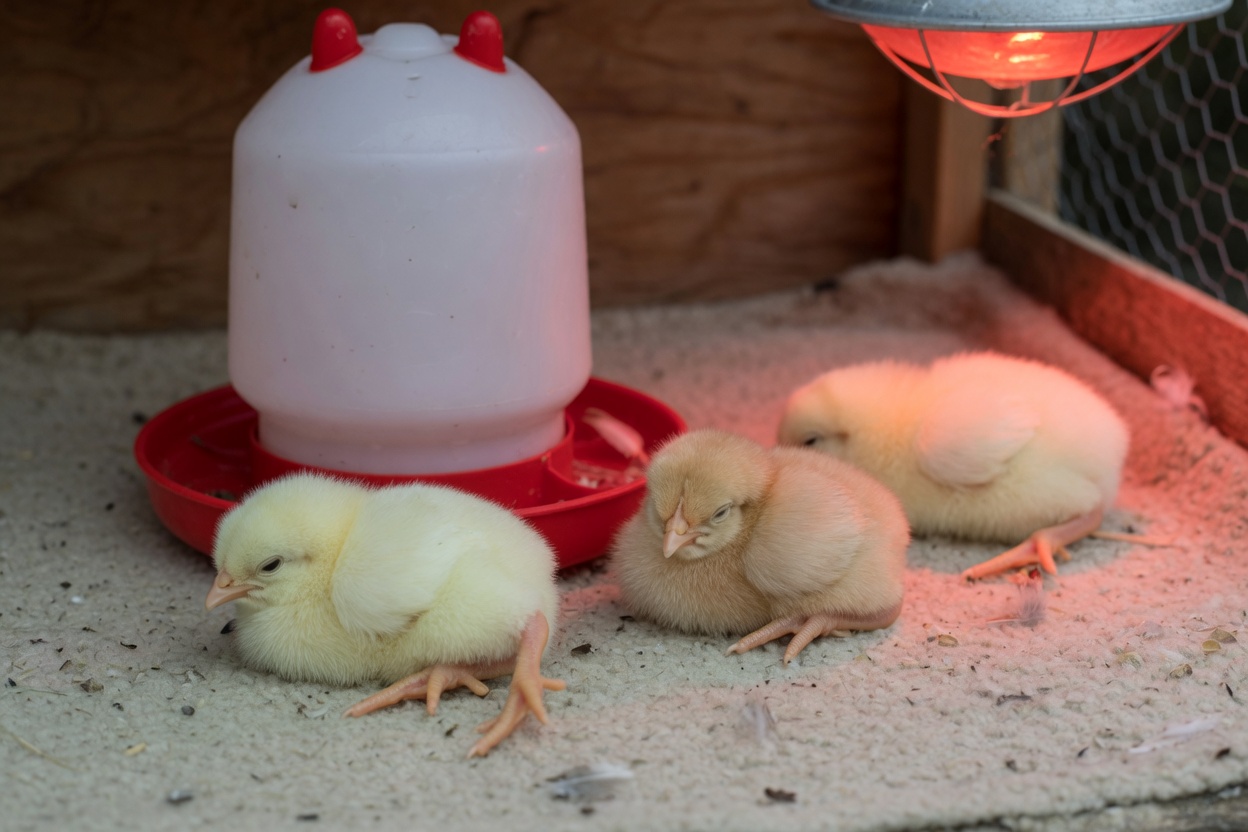
Look at the water every time you walk past the brooder. It sounds simple, and it’s the habit that has kept my chicks alive since Pepper. A full, clean, easy-to-reach waterer solves most of what goes wrong in week one.
If you’re planning a spring order and want the whole first year laid out, from the brooder to the first egg, that’s what I wrote Raising Backyard Chickens for Beginners for, and it goes deeper on chick care than a single post can. You can find it here: Raising Backyard Chickens for Beginners.
