How to Make an Herbal Foot Balm for Winter, Step by Step
An herbal foot balm for winter takes one pot, three ingredients and an afternoon. Here's my folk method, the ratio I use, and the honest pros and cons.
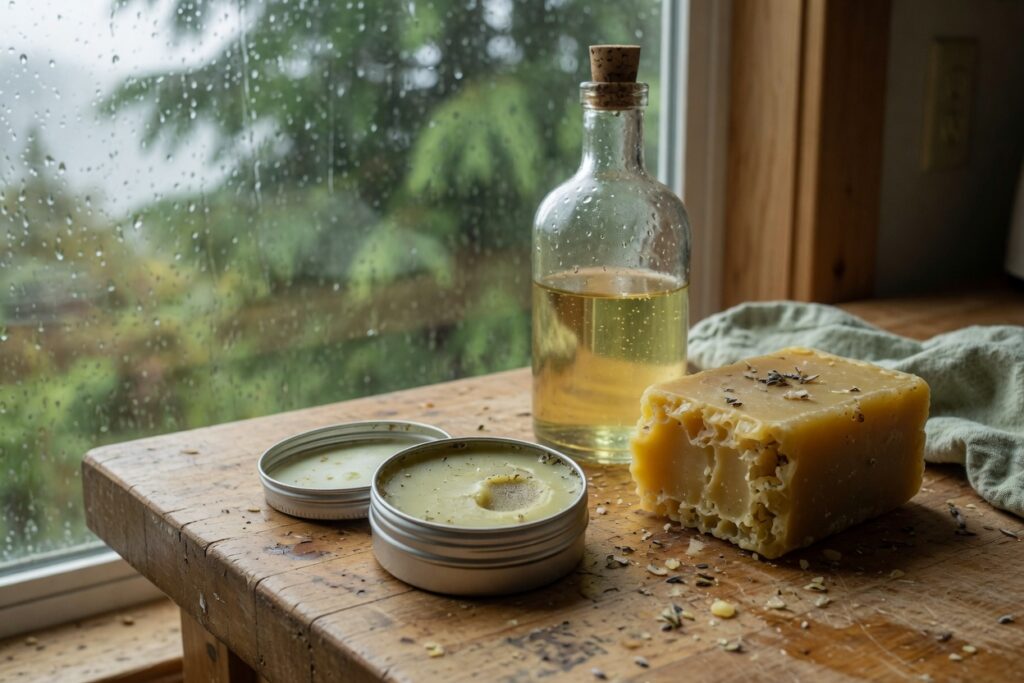
By the second week of November my feet are the first part of me to give up on winter. Wool socks, a wood stove, a kitchen floor that never quite warms: none of it matters once the damp gets into the heels and the skin goes dry as old paper. I used to ignore it until February. Now I make a foot balm in October, before I need it, and keep a tin by the bed.
It’s the same idea as a salve, only firmer, so it stays put under a sock instead of soaking into it. Oil, beeswax, a tin. If you can melt butter without scorching it, you can make this. What follows is how I’d walk a neighbor through it standing at my stove, with the rain coming sideways off the strait.
You’ll also want a clean pint jar, a saucepan, a wooden spoon, and an old spoon you don’t mind chilling in the freezer. That’s the whole kit.
Why a balm and not a lotion
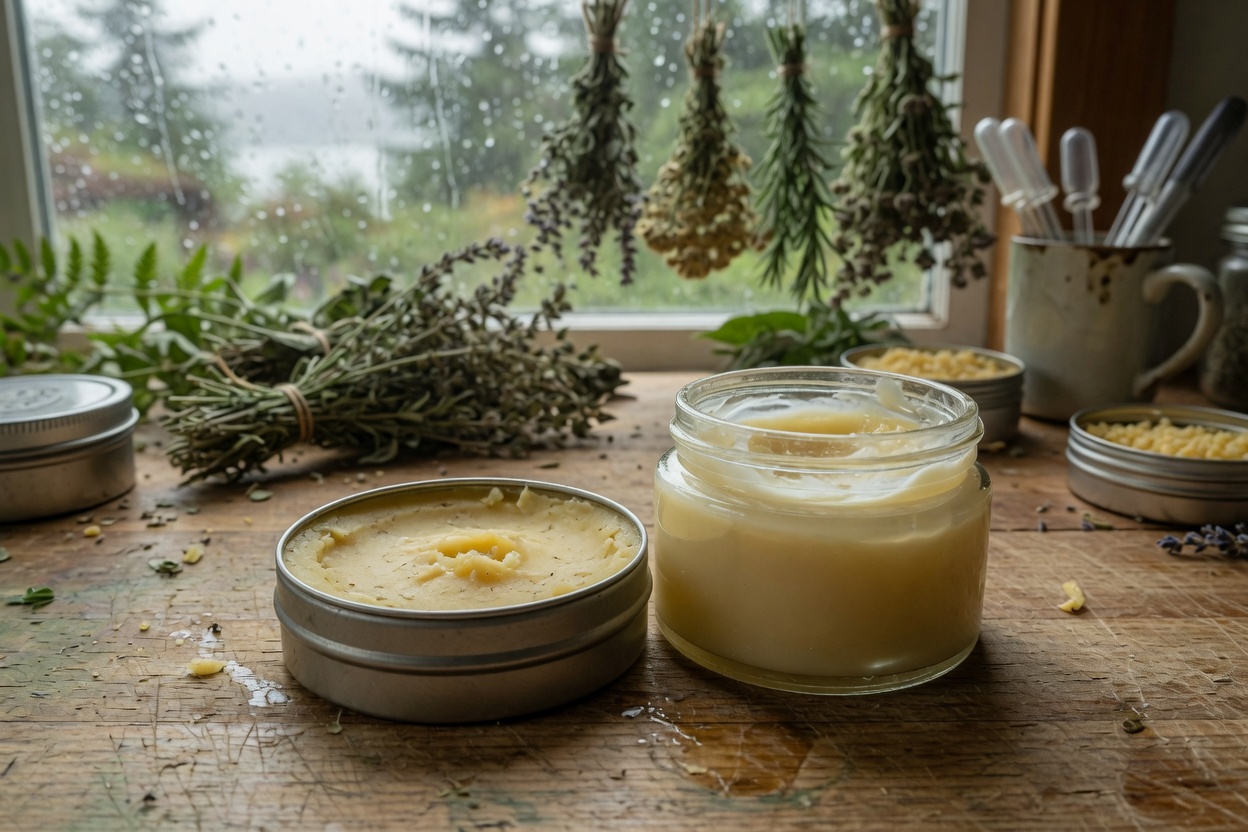
A lotion is oil and water whipped together, and anything with water in it spoils unless it’s preserved. A balm has no water at all. It’s only oil and wax, which is why it keeps for months in a cool cupboard and why people have made it at the back of the stove for as long as there have been stoves and bees.
For feet, firmness matters. A soft salve smears onto the sheets and vanishes into a sock in an hour. A balm closer to a lip-balm firmness stays where you rub it in. I land about halfway between the two, and the ratio below gets you there.
The oil
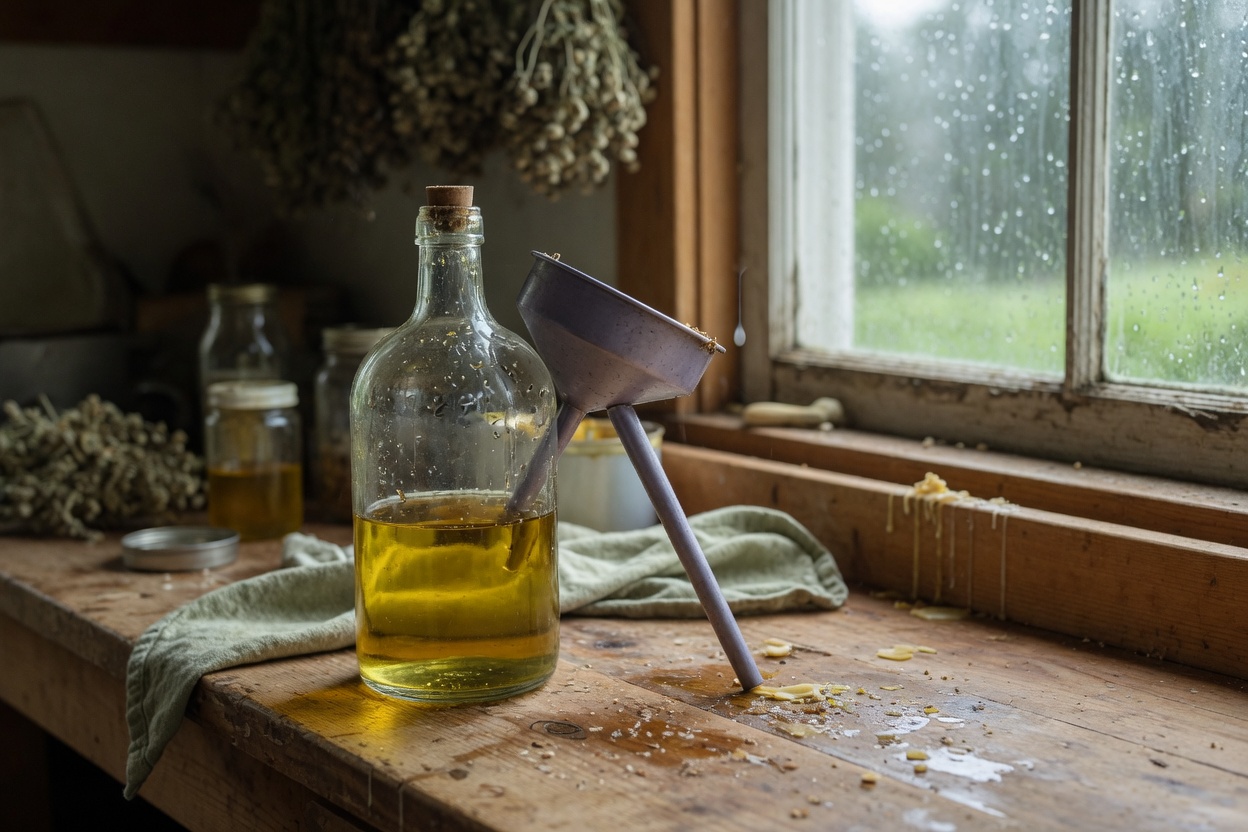
Plenty of kitchen oils work. My grandmother used olive oil and nothing fancier, and her heels were fine into her eighties. I reach for jojoba these days because it isn’t a true oil at all. It’s a liquid wax, long-keeping and nearly odorless, and a balm made with it still smells like the day I made it come February.
The honest downside is that jojoba costs more than the olive oil in your cupboard, and for a big batch that adds up. If you’re making a dozen tins for family, use olive or sweet almond and save the jojoba for the one you keep for yourself. Coconut oil works, but it firms up cold, so cut the beeswax back a little.
Optional: put a plant in the oil
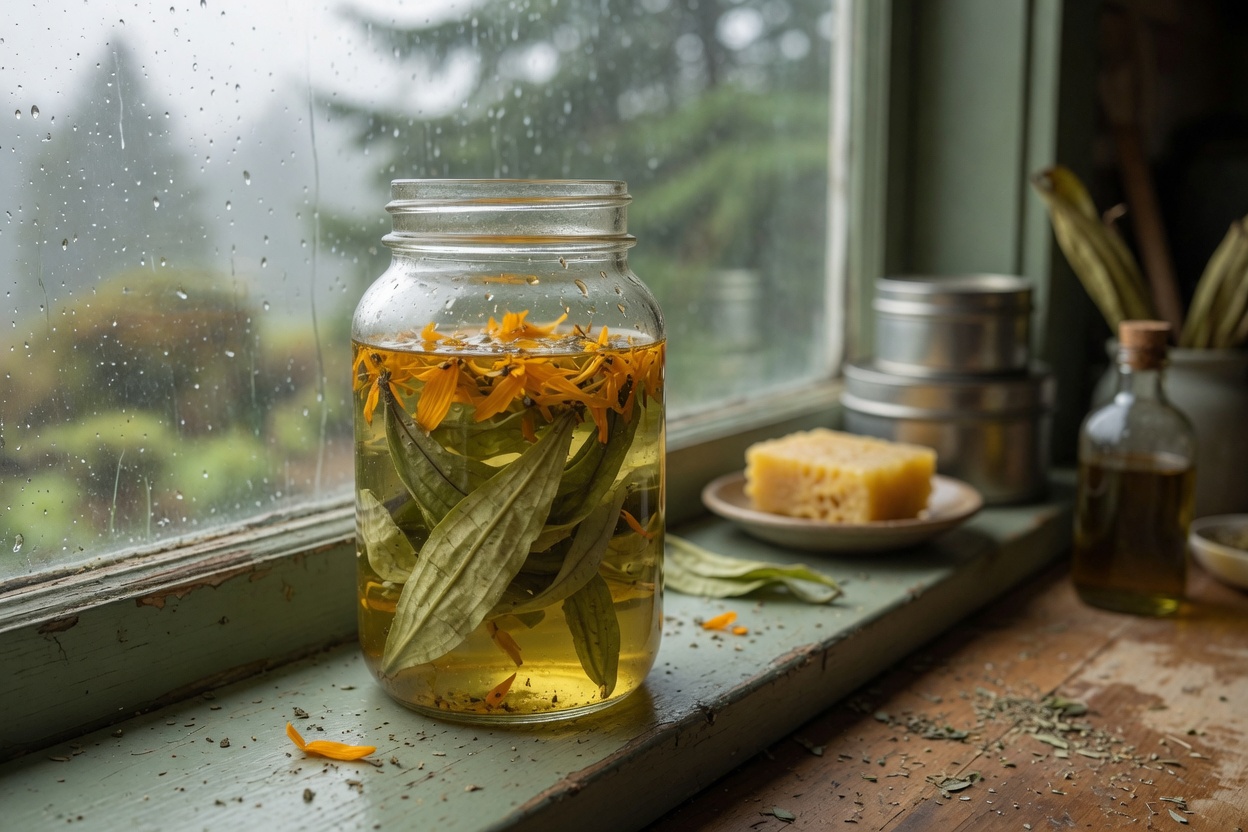
You can stop at plain oil and wax and have a perfectly good balm. If you want a plant in it, the traditional choices for skin are calendula, which you can grow in a pot by the door, and broad-leaf plantain, the low weed (Plantago major) that grows in every trailhead and gravel edge from here to the coast. Both have been steeped in oil for skin longer than anyone has been writing it down. I’m describing how they were traditionally used, not promising anything the balm will do.
One word on identification, said once: only infuse a plant you can name with certainty, checked against more than one reliable source and ideally an experienced local. Steeping a plant in oil pulls out all of its character, not only the pleasant part. And use it dry. Fresh plant carries water, and water is what turns oil rancid.
Pack a clean jar two-thirds full of dried plant, pour oil over it until it’s covered by an inch, cap it, and set it somewhere warm for three to four weeks, giving it a shake when you pass. Strain it clean before you use it. I’ve lost batches by being lazy with the straining, and the grit shortens a balm’s life. If you don’t have weeks, skip this step and make the plain version tonight. It’s still a good balm.
The ratio
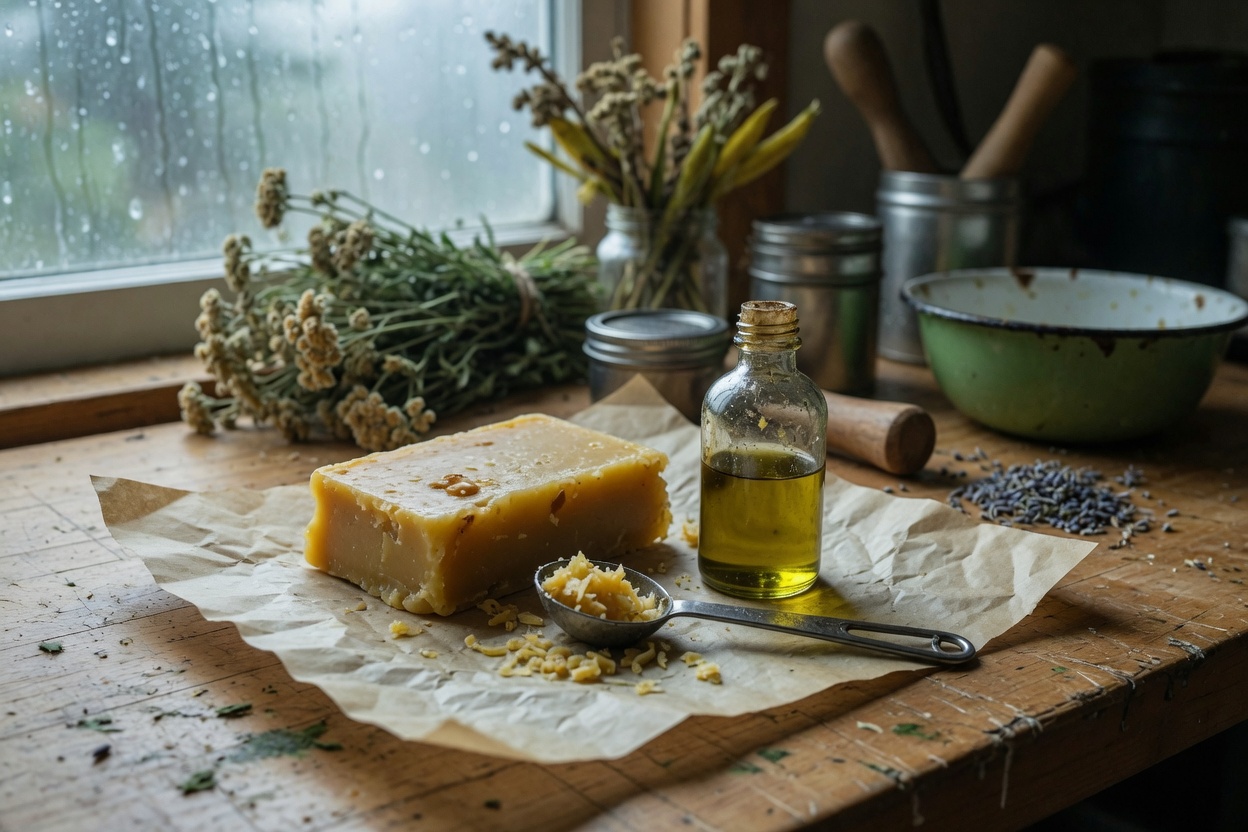
By weight, I use about one part beeswax to four parts oil. In a kitchen without a scale, that’s roughly a scant third of a cup of beeswax pellets to one cup of oil, which fills four of the little tins with a bit left over for your hands.
Pour the oil into the jar, set the jar in a saucepan with a couple of inches of barely-simmering water, and let it warm. Add the pellets and stir now and then until they melt clear. Keep the water at a bare tremble, never a hard boil. Oil that gets too hot scorches, and the wax goes bitter.
The cold-spoon test
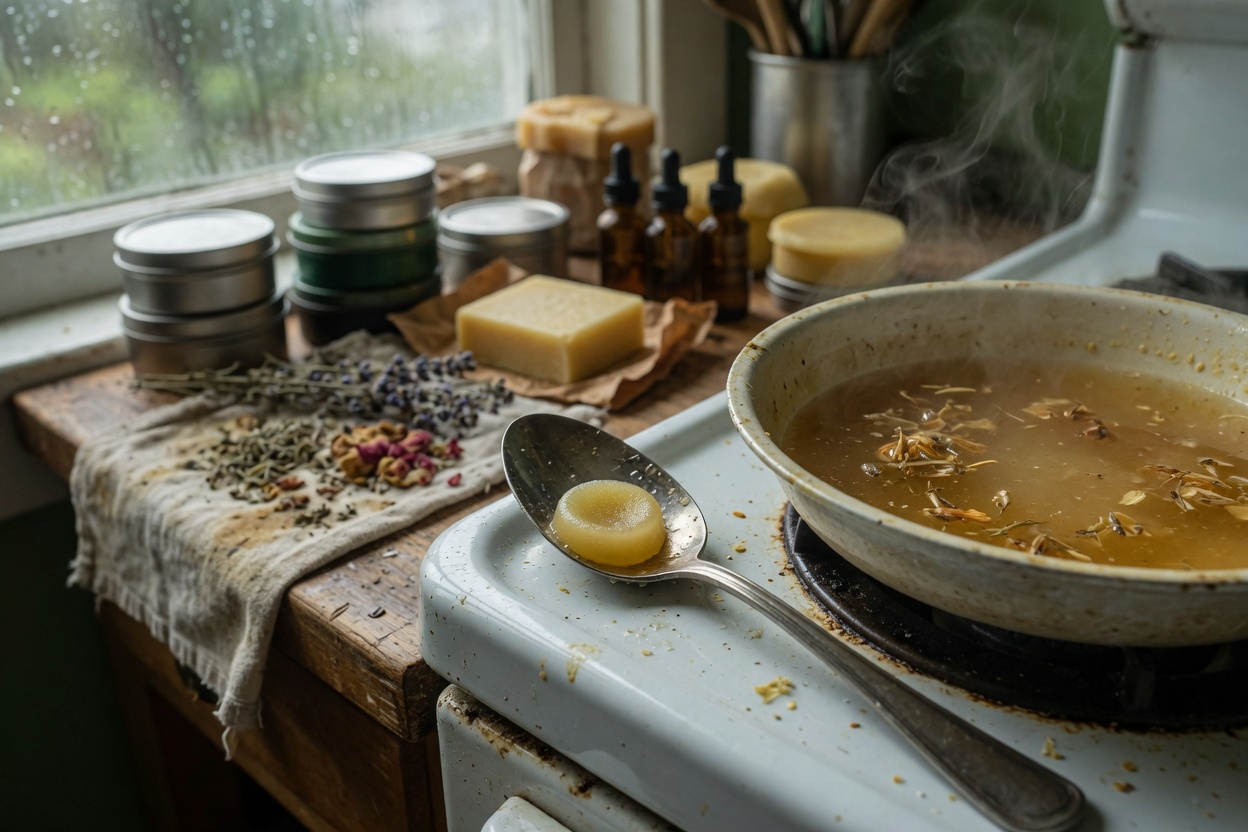
Before you pour anything, drop a half-teaspoon of the melted mix onto a spoon you’ve chilled in the freezer, and give it a minute. That little dab is the finished balm. Press a thumb into it. If it’s soft enough to smear, add a few more pellets to the jar. If it drags on your skin, stir in a spoonful of oil. Fix it now, while it’s liquid. Once it sets you’re stuck with it, and I’ve remelted more than one batch I was too impatient to test.
Pour, wait, label
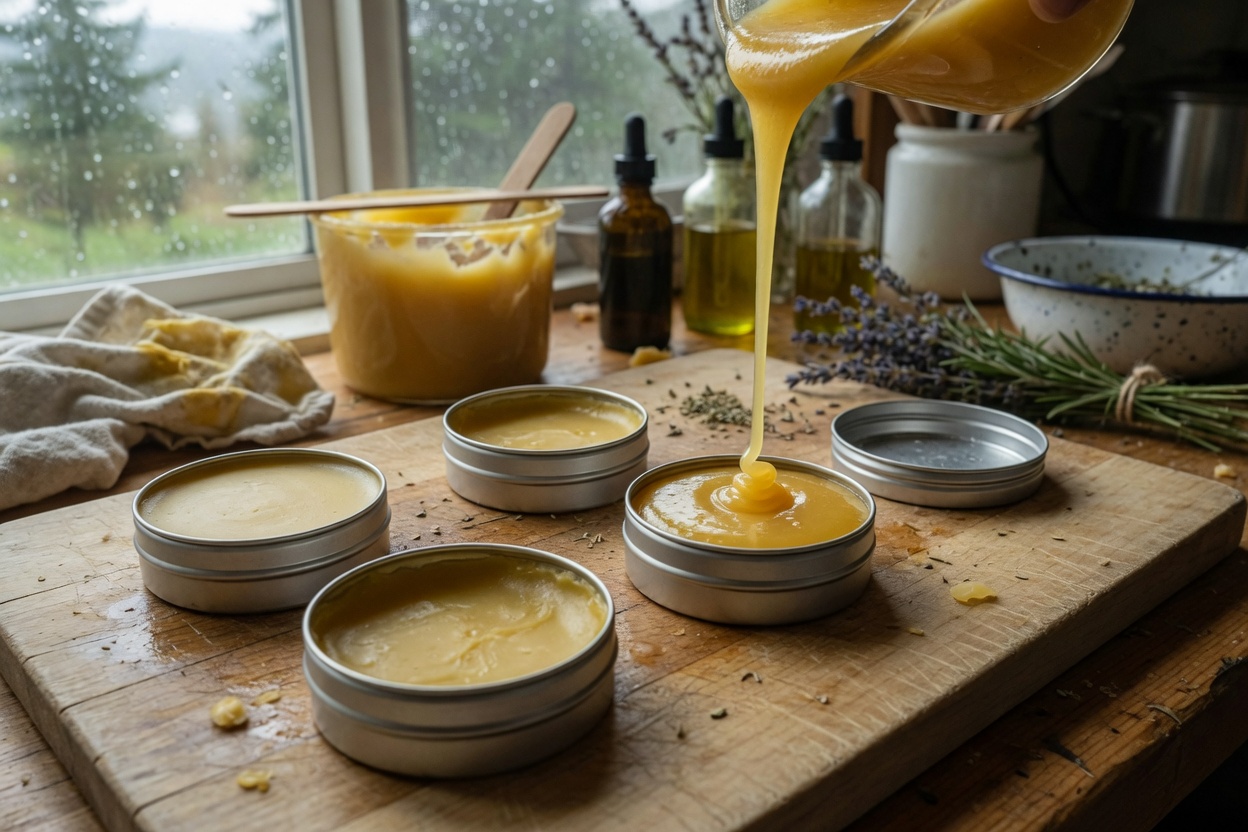
Pour the warm balm into your 2-ounce tins and leave them alone on the counter for twenty minutes or so. Don’t put the lids on while they’re warm; the steam condenses inside and you’ve added water to a waterless product. Once they’ve gone opaque and firm, cap them and write the date on a piece of tape.
Kept somewhere cool and out of the light, a tin like this holds a year or more. Heat and sun age it fastest, which is the reason for a metal tin over a clear jar. When it starts smelling flat, or like old crayons, it has done its work. Make another.
How I use it
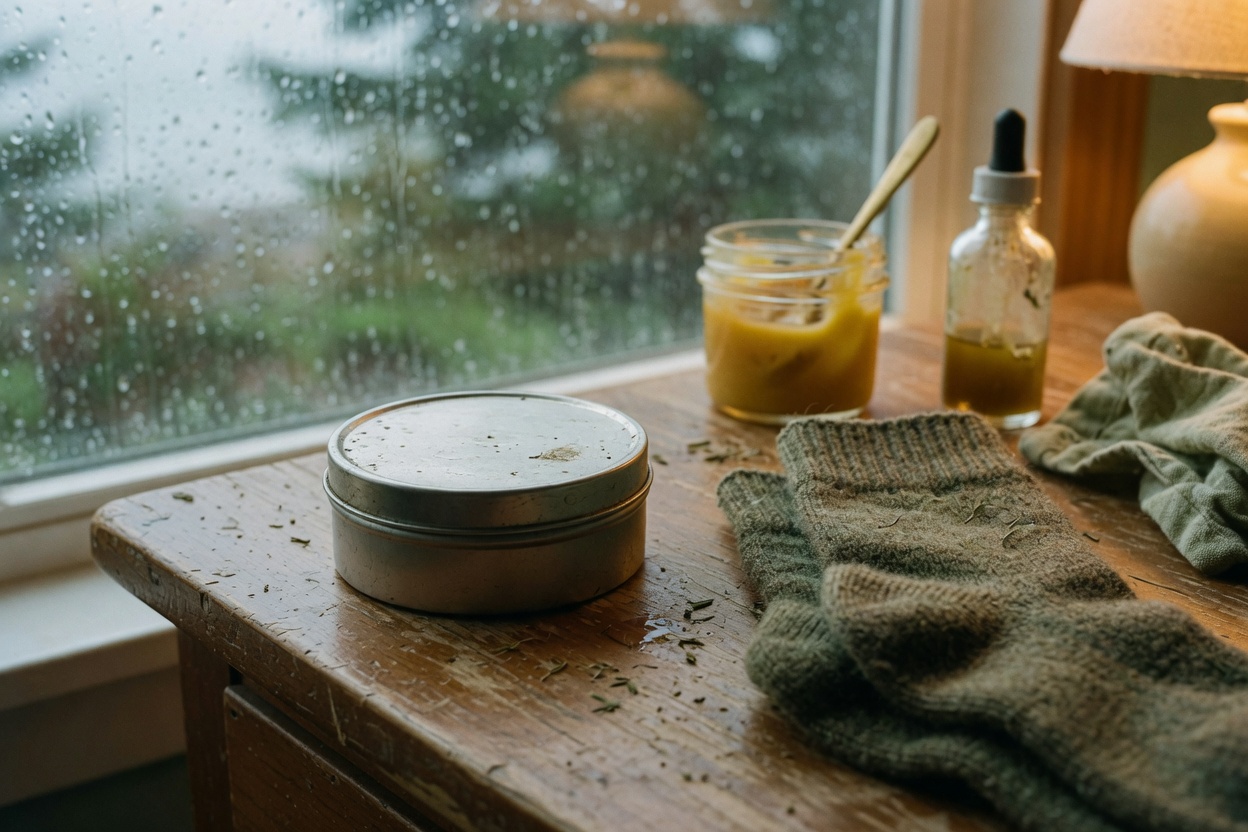
At night, after the day’s boots come off. Warm a pea-sized bit between your palms, work it into the heels and the sides of the feet, and pull on a clean cotton sock. A wool sock soaks it up, so use cotton, and put a towel down if you’re on good sheets.
The honest pros and cons
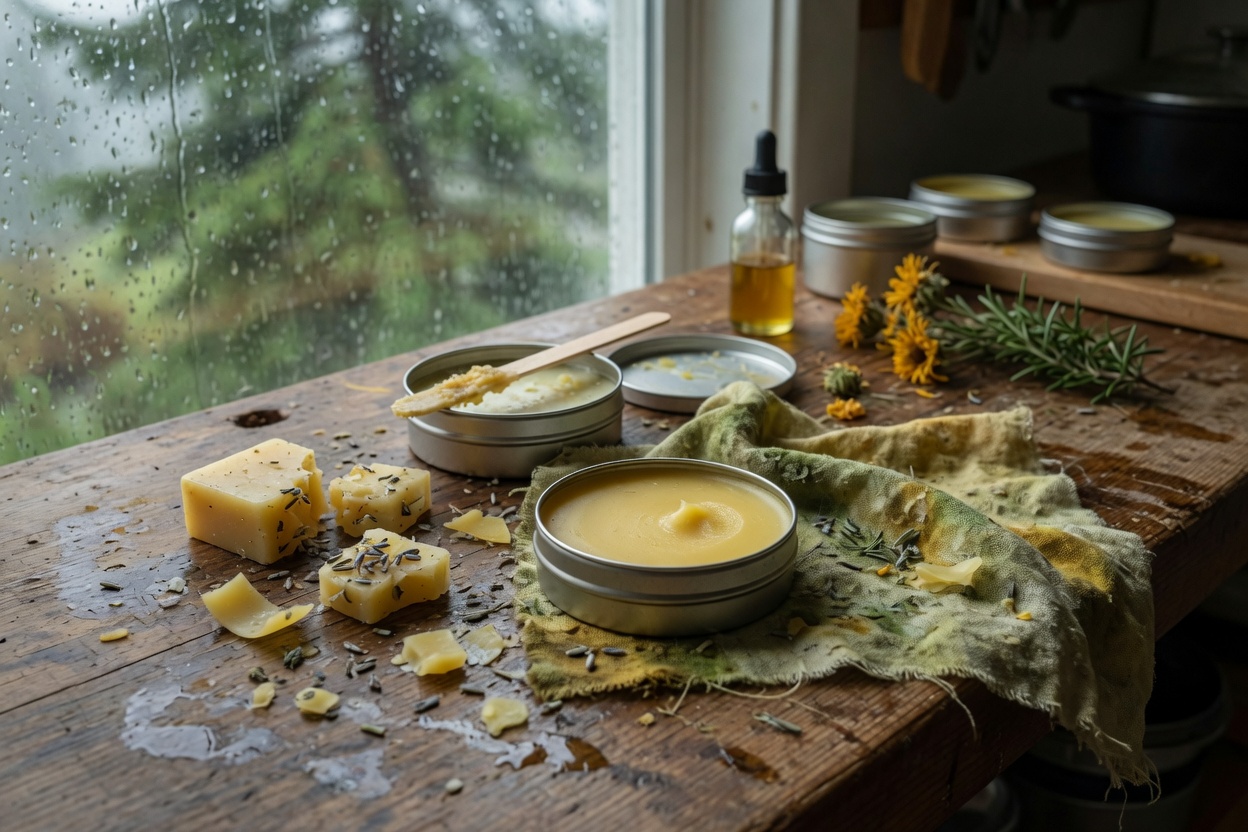
What I like: it’s three ingredients, it costs less than the little jars at the shop once you’ve made a few batches, and I know exactly what’s in it. It makes a good gift in October for the person who always complains about their heels, and it’s an easy first project if you’ve never worked with beeswax.
What I don’t: the pot you melt it in will be coated in wax, so keep an old one for the purpose and wipe it out with a paper towel while it’s still warm. It’s greasy by nature and won’t suit someone who hates the feeling of oil on their feet. And it’s a comfort for dry skin, not a fix for anything more serious. If a heel is split open or sore, that’s a job for someone who does this for a living. I’d rather say it plainly once than hang it on every paragraph.
If you’ve made my first herbal salve, you’ve already done most of this, and the lip balm uses the same method with a firmer ratio. If you’re not sure what else belongs on the shelf, I laid out my short list in the supplies I’d buy for a beginner home apothecary. To go deeper on oils, the infused-oil post covers the slow method in more detail.
Where the recipe ends
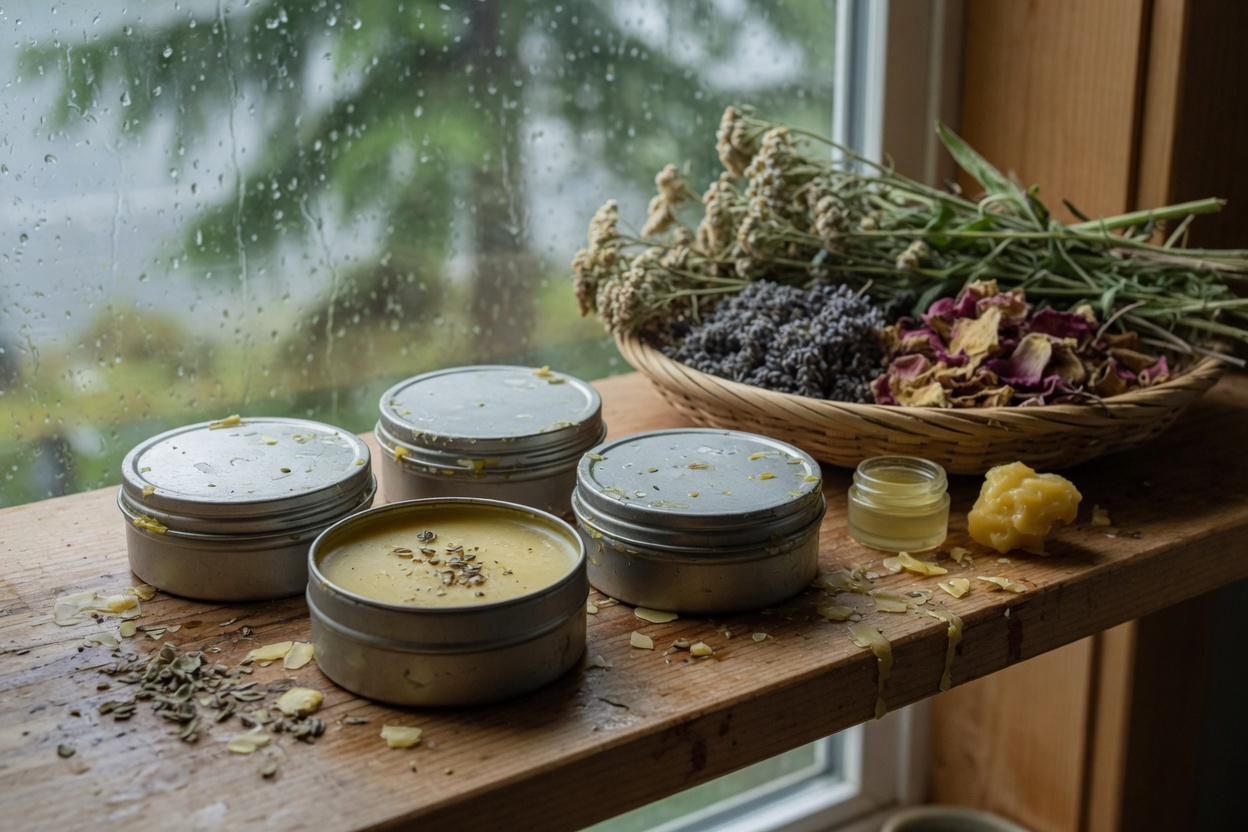
The making takes an afternoon, and you’ve now got it. Which plants are worth steeping, when to gather them, how to tell them from their lookalikes, and how the people who knew them first prepared them: that takes longer, and it’s the part I care about most.
Most of that is in my book, Pacific Northwest Medicinal Plants. It covers 115 wild herbs of this coast, how to identify each one without guessing, and how generations before us worked with them. The oil and the wax are the easy afternoon. The book is for learning what’s worth steeping in them.
