How to Start Seeds Indoors on a Windowsill (Small-Space Setup)
Start seeds indoors on a windowsill with no yard and barely any space. The exact small-space setup I use — tray, heat mat, light, and the right mix.
You don’t need a greenhouse to start seeds indoors. You need a windowsill, a few inches of counter, and a little patience.
I started my first seeds in a city apartment with one south-facing window and a radiator that ran too hot. Half of them damped off, the other half stretched toward the glass like they were trying to escape. Six seasons later I start almost everything indoors before it goes out to the balcony, and the setup fits on a single shelf. This is that setup — small, renter-friendly, and forgiving of the mistakes I made early on.
Here’s everything you’ll need, then how it actually works.
Start with the mix, not the seed
The first thing I got wrong was the soil. I scooped potting mix out of a balcony pot, packed it into yogurt cups, and wondered why nothing came up cleanly.
Seeds want a fine seed-starting mix, not regular potting soil and never garden soil. Starting mix is lighter and milled smaller, so a delicate root can push through it without hitting a clump. It also drains fast, which keeps damping-off — the fungal collapse that flattens seedlings overnight — at bay.
You don’t need much. A small bag fills a tray several times over and stores fine in a closet between rounds.
Moisten the mix in a bowl before you fill anything. It should feel like a wrung-out sponge, damp but not dripping. Dry mix repels water and floats your seeds; soggy mix rots them.
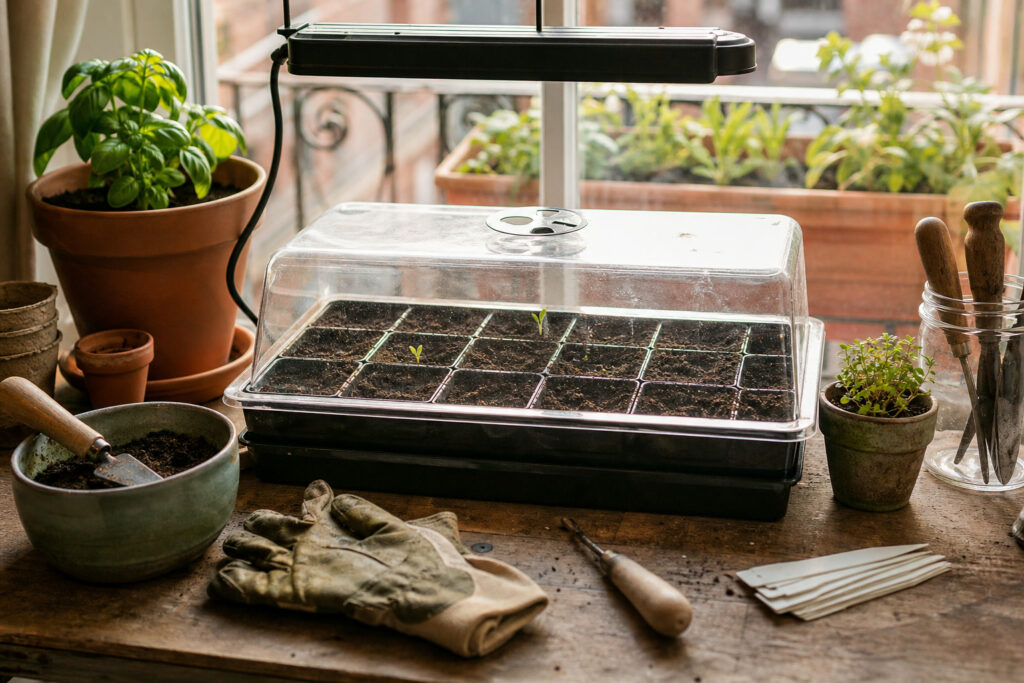
The tray and dome do the quiet work
A basic seed-starting tray with a humidity dome is the one piece I’d never skip. The cells keep roots separated so you can lift each seedling out without tearing it. The base tray catches water. The clear dome traps humidity, which is what gets stubborn seeds to wake up.
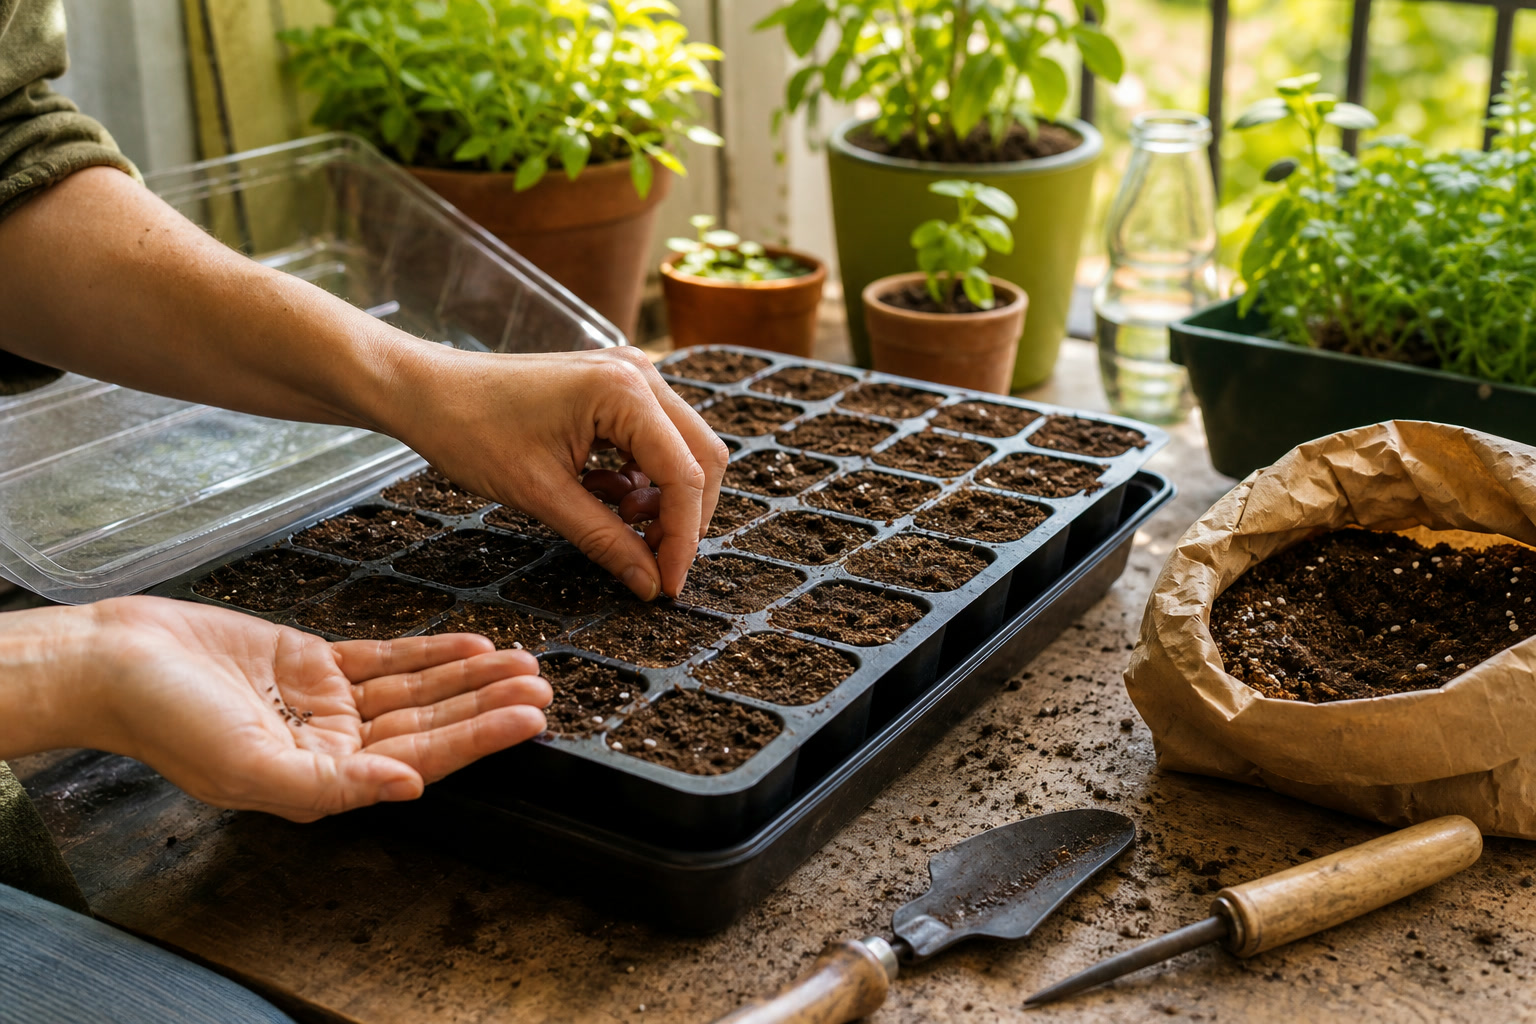
Fill the cells, firm the mix gently, and sow at the depth on the packet — usually about twice the seed’s width. Tiny seeds like basil barely get covered; they want light to germinate. Bigger seeds go a little deeper.
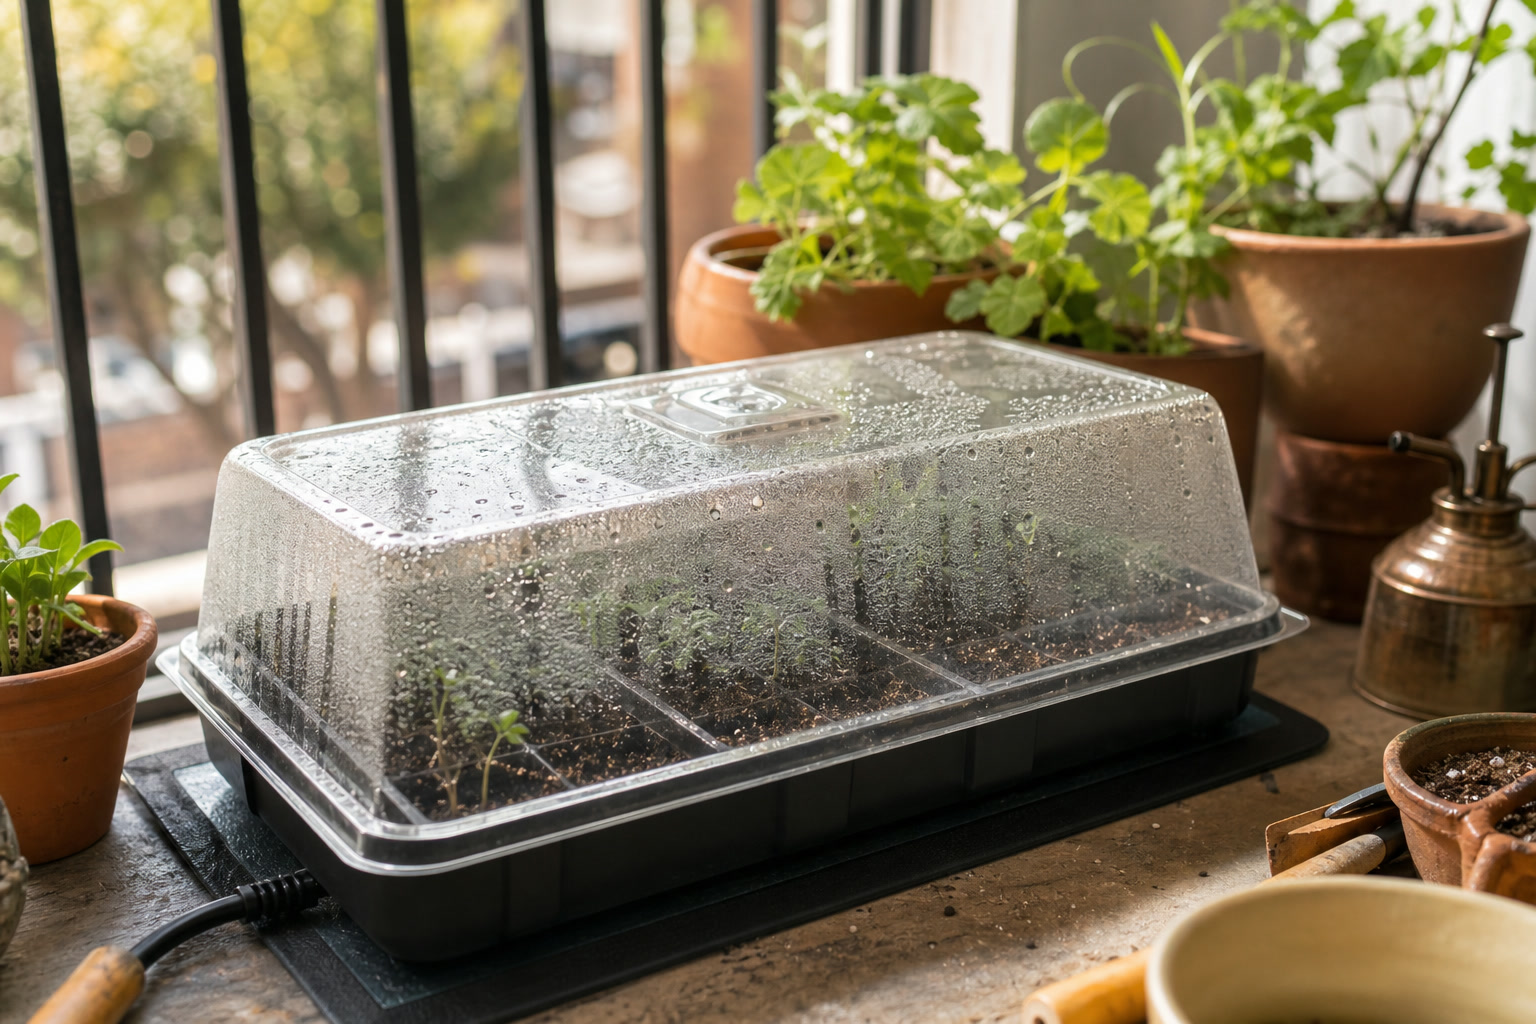
Then snap the dome on and leave it alone.
The dome comes off the moment you see green. Leave it on past sprouting and you trap too much moisture, which invites mold and weak, leggy stems. I check every morning with my coffee and pull the lid the day the first cotyledons show.
One more habit worth building early: water from the bottom, not the top. Once the tray has seedlings in it, set it in a shallow pool of water in the base and let the mix wick moisture up through the cells for ten or fifteen minutes, then pour off what’s left. Top-watering knocks tiny seedlings flat and splashes mix onto their leaves, which is how fungal trouble starts. Bottom-watering keeps the surface drier and the roots reaching downward, which is exactly what you want. It feels fussy for about two days and then becomes automatic.
A heat mat is the upgrade that actually matters
Most seeds germinate on soil temperature, not air temperature, and most windowsills run cooler than seeds like — especially the morning sill before the sun hits it.
A seedling heat mat sits under the tray and holds the mix in that warm 70-to-85-degree band where peppers, tomatoes, and basil sprout in days instead of weeks. It’s the difference between checking an empty tray for two weeks and seeing sprouts on day four.
One honest caveat. The mat is for germination, not for life. Once seedlings are up and growing, slide the tray off the mat — they want cooler, brighter conditions now, and a hot mat under leafy seedlings just dries them out. I’ve cooked a tray of tomato starts by forgetting this. Learn from me.
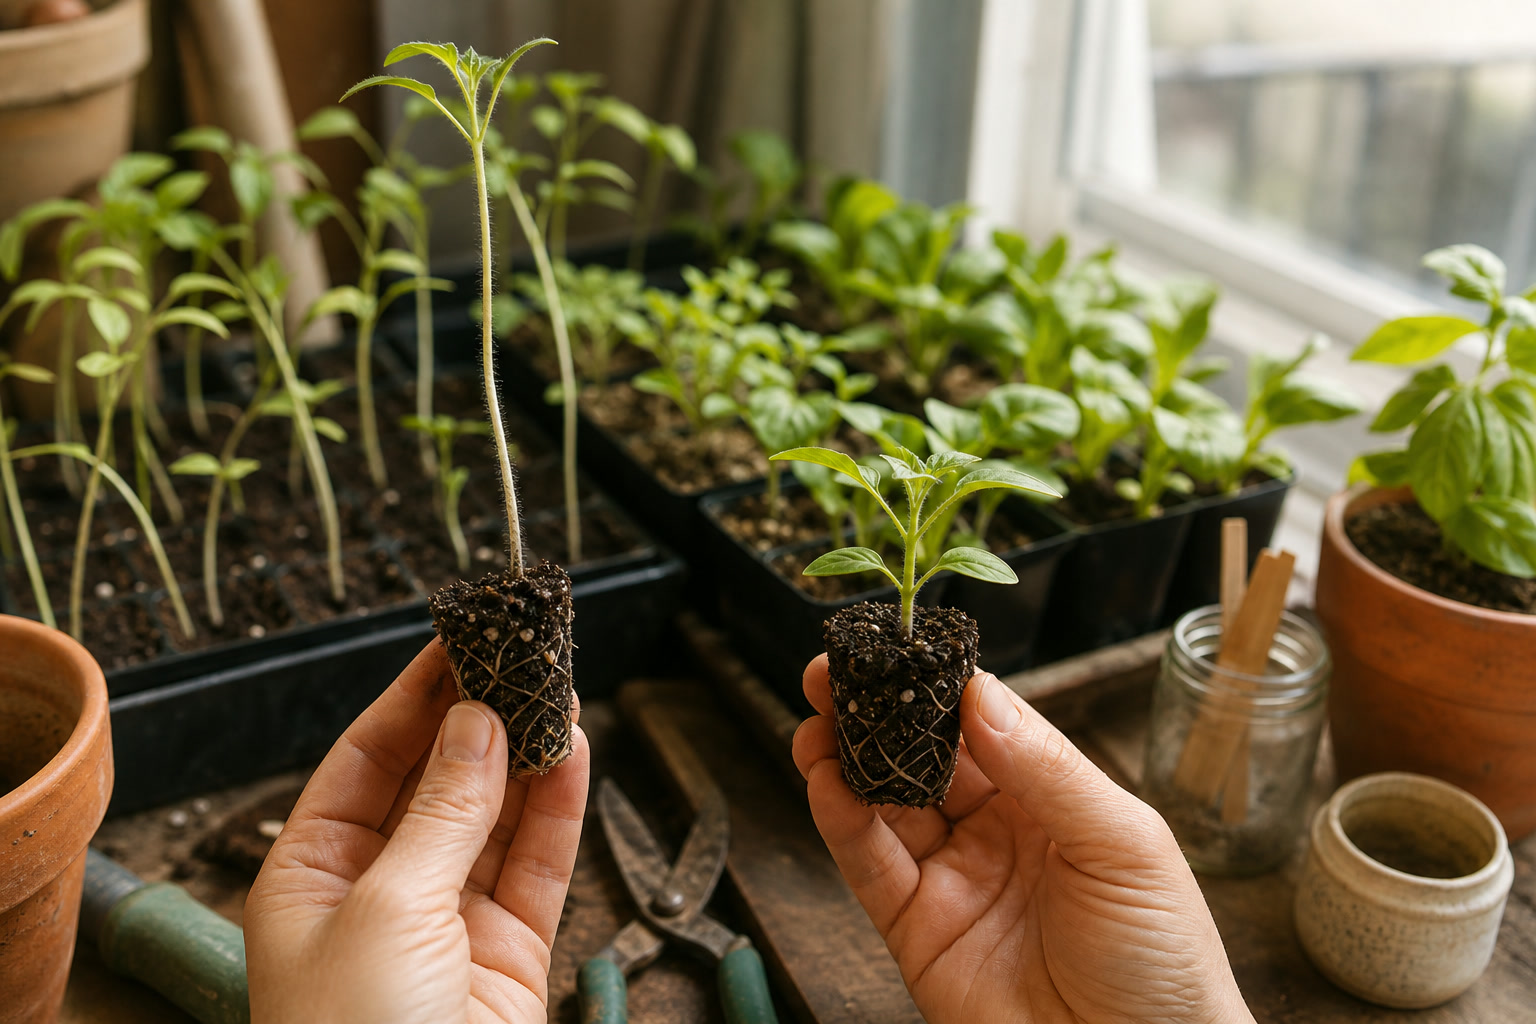
Why a windowsill almost never gives enough light
This is the part that surprises new gardeners. Even a bright window gives a fraction of the light seedlings need, and what light there is comes from one direction. The result is the lean — pale, stretched stems reaching sideways for the glass. Once a seedling stretches like that, it rarely recovers into a sturdy plant.
A clip-on full-spectrum grow light fixes it for the price of a few coffees. Clip it to a shelf or the windowsill itself, position it a few inches above the seedlings, and run it twelve to sixteen hours a day. Most clip lights have a built-in timer, so you set it once and forget it.
Keep the light close and raise it as the seedlings grow. Too far away and they still stretch; the right distance keeps them stocky and strong. A small clip light covers a single tray easily, which is all a balcony gardener needs.
Hardening off — still required, even from a windowsill
A seedling raised indoors has never felt wind, direct sun, or a cool night. Move it straight outside and it sunburns or wilts in an afternoon. This catches people every spring.
Hardening off is just a slow introduction. Set the tray outside in shade for an hour the first day, then a little longer and a little sunnier each day for about a week. By the end they’ve toughened up and can handle a full day on the rail. It’s a small ritual, and it’s the last thing standing between your windowsill seedlings and a productive balcony.
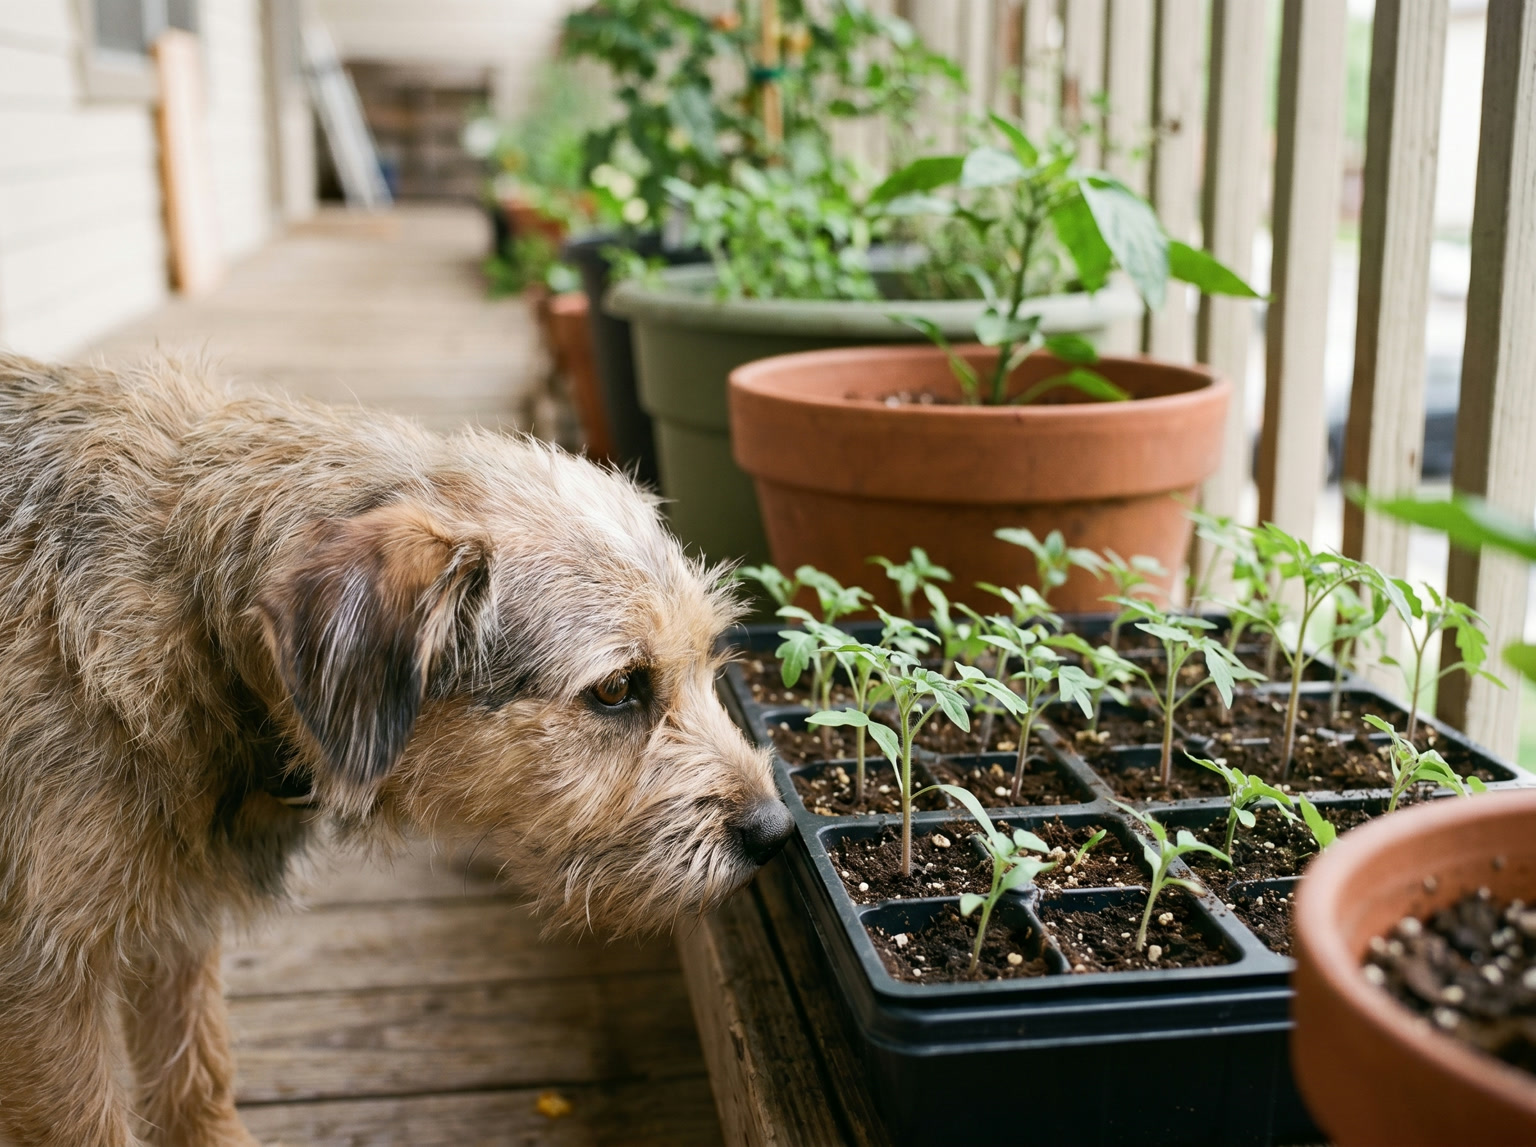
That’s the whole system. Start in a fine mix under a dome, give bottom heat to wake the seeds, pull the dome and the heat once they’re up, run a clip light so they don’t stretch, then harden off before they move outside. None of it needs a yard. Otto supervises the whole operation from the warm spot by the window, mostly hoping something edible is involved.
I walk through the full small-space season — what to start indoors, when, and in what to grow it on — in Small-Space Big Harvest. This is the windowsill starting kit. The book is everything that comes after the sprout.