How to Make a Yarrow Salve at Home, the Mountain Way
How to make a yarrow salve the old mountain way — how I identify and dry the plant, infuse the oil, and set it with beeswax so a tin keeps for a year.
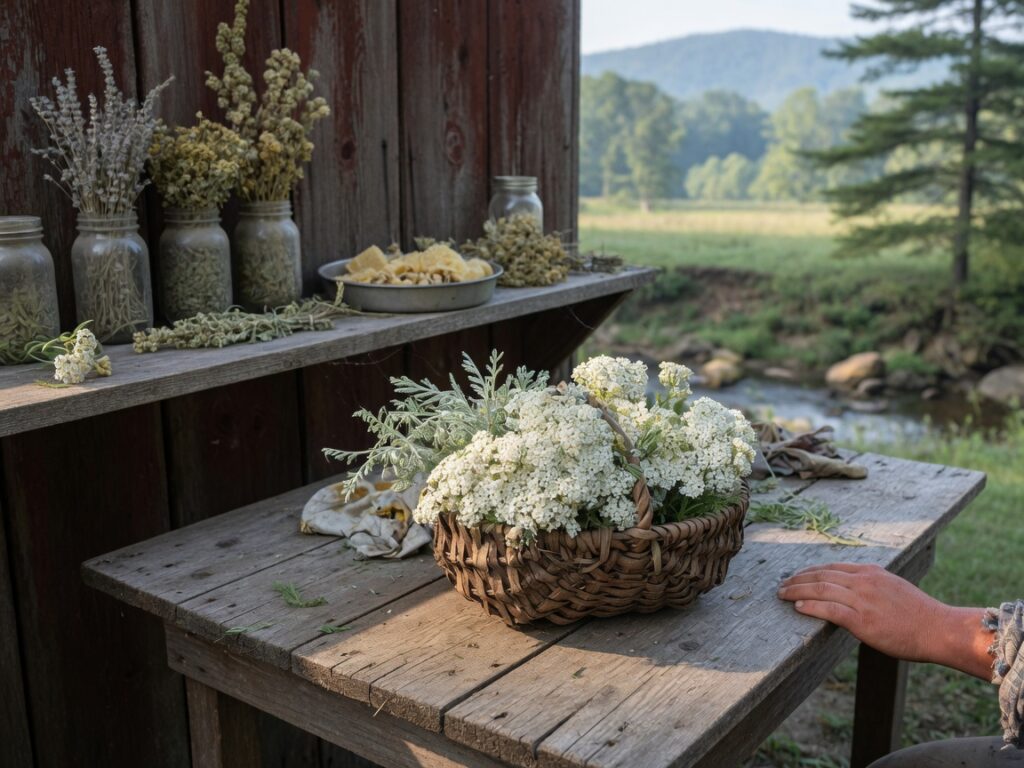
Yarrow grows in the dry, sunny edges around my place in Madison County — along the gravel of the drive, on the bank above the creek, out in the old hayfield where nothing much else bothers to root. By the middle of June it stands knee-high with its flat white flower-heads, and I cut it then, in the morning after the dew has burned off. A salve made from it is one of the first things my grandmother taught me to make, and it’s still the tin I keep nearest the kitchen door.
A salve is nothing complicated: oil that’s had a plant steeped in it, thickened with a little beeswax so it stays on your skin instead of running off. If you can melt butter without scorching it, you can make this. What follows is exactly how I’d walk you through your first batch if you were standing at my bench. I’m not going to tell you what it will do for you — that’s not my lane, and it isn’t the law’s either. I’ll tell you the plant, and the old method, the way the women in my family have done it a long time.
Know the plant before you cut it
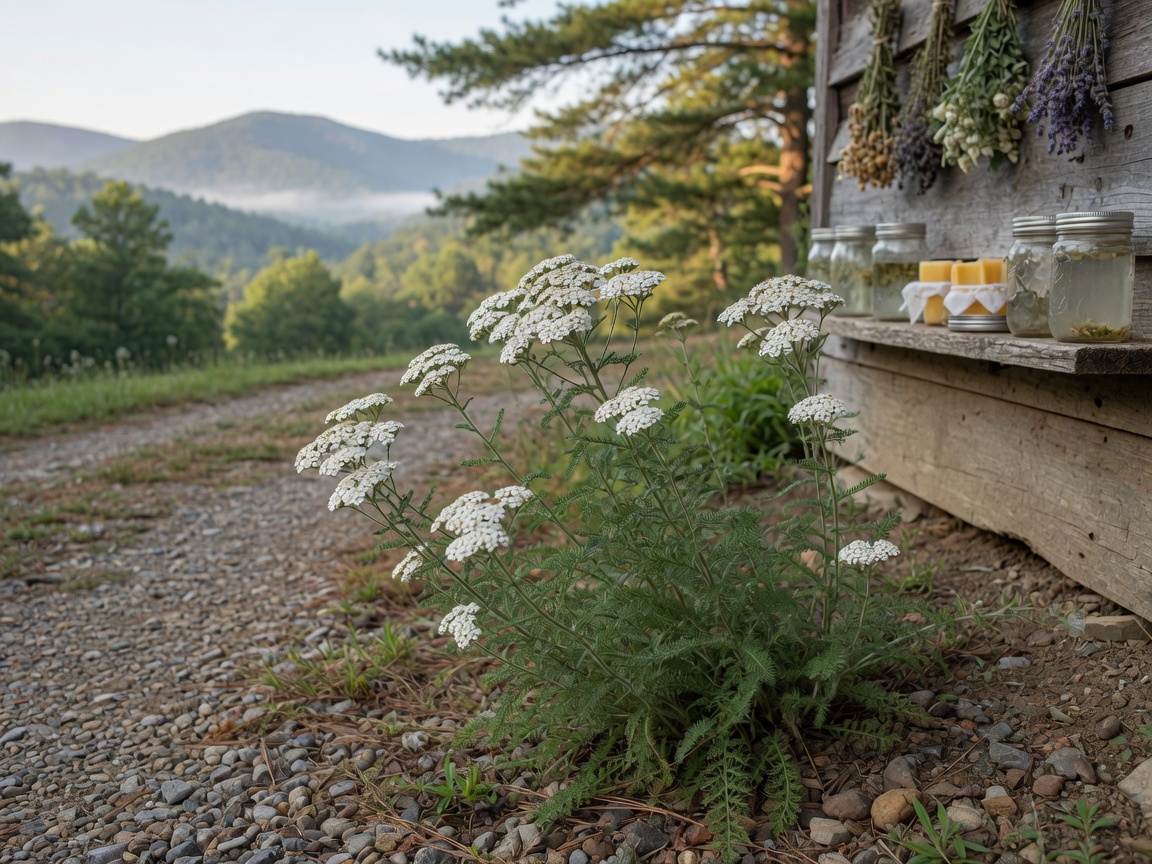
Yarrow is Achillea millefolium — the species name means “thousand-leaf,” and that’s the surest thing about it. Run a leaf between your fingers and it’s soft and feathery, cut so fine it looks almost like a fern; my grandmother called it milfoil, and the old people around here knew it as soldier’s woundwort for the use it was put to on a cut. The flowers sit in a flat-topped cluster of small white (sometimes faintly pink) blooms, and the whole plant, bruised, has a sharp, clean, slightly bitter smell that once you know it you won’t mistake.
Here is the part I won’t let you skip, and I’ll only say it the once, plainly. Yarrow grows in the same dry, open ground as a family of plants that will kill you — poison hemlock and water hemlock among them, and their milder cousin Queen Anne’s lace. From across the field a flat white flower-head can look like a flat white flower-head. The tell is the leaf and the stem: yarrow’s leaf is soft and feathery all the way up a single unbranched stem, while the hemlocks carry lacy, carrot-like leaves on hollow, often purple-blotched stalks. When in doubt, leave it. A salve is not worth a mistake, and there is always more yarrow next week.
Confirm your identification against more than one good source, and better yet against someone local who has picked it before. That’s not me treating you like a child — it’s the same rule I follow myself, forty years in.
Gather it, and dry it well
I cut yarrow in the morning on a dry day, taking the top third of the plant — the flowers and the tender upper leaves — with a clean knife, and never more than a handful from any one patch. Yarrow is common as dirt across these mountains, which is a mercy; you can gather what you need and leave plenty standing to seed and to feed the bees, which work it hard.
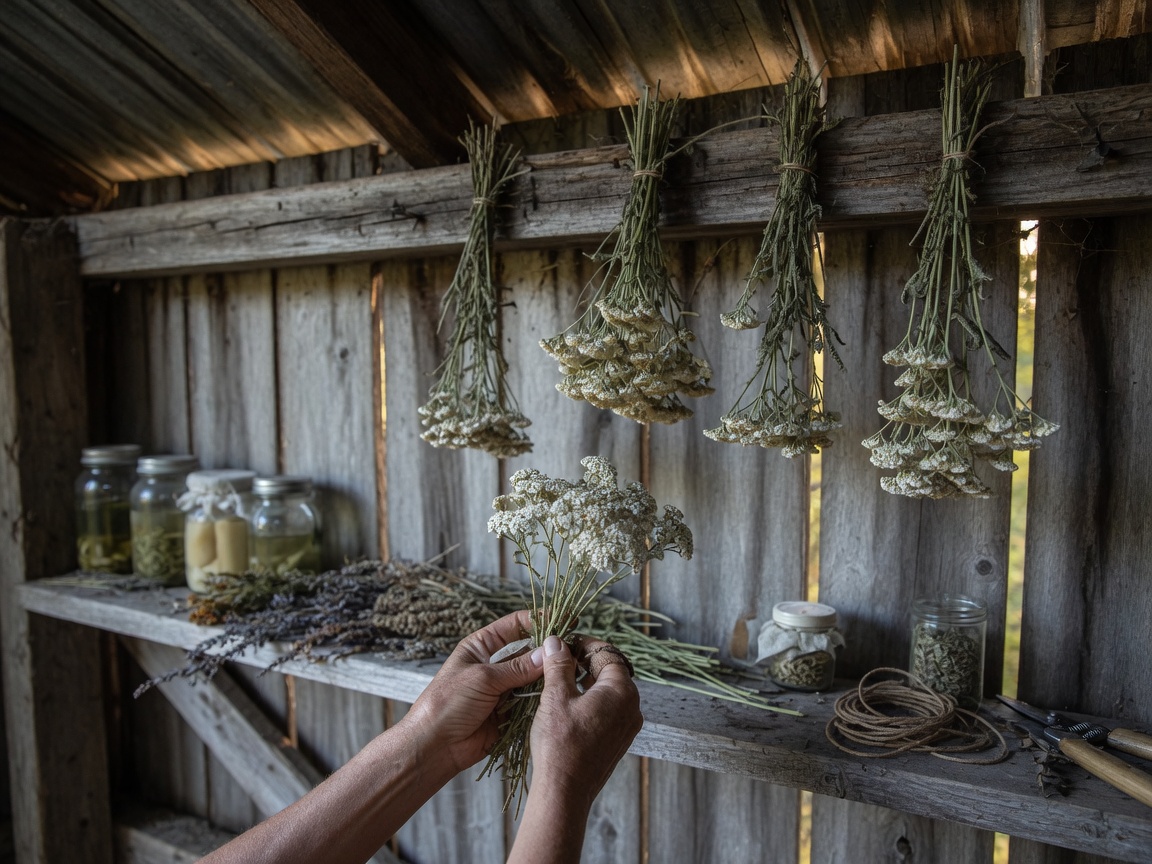
Dry it before you ever put it in oil. This is the step people rush and regret. Fresh plant carries water, and water is what turns a salve rancid before its time. I tie small loose bundles and hang them in the drying shed out of the sun for a week or two, or lay the heads in a single layer on a screen. When the stems snap instead of bending and the flowers crumble dry between your fingers, it’s ready.
The Cherokee, whose homeland this is and who are still here at Qualla, used yarrow as well; it’s documented in Hamel and Chiltoskey’s Cherokee Plants and Their Uses. I share what I learned from my own family and from books like that one. The people who knew these plants first are owed the credit, and I give it.
Infuse the oil
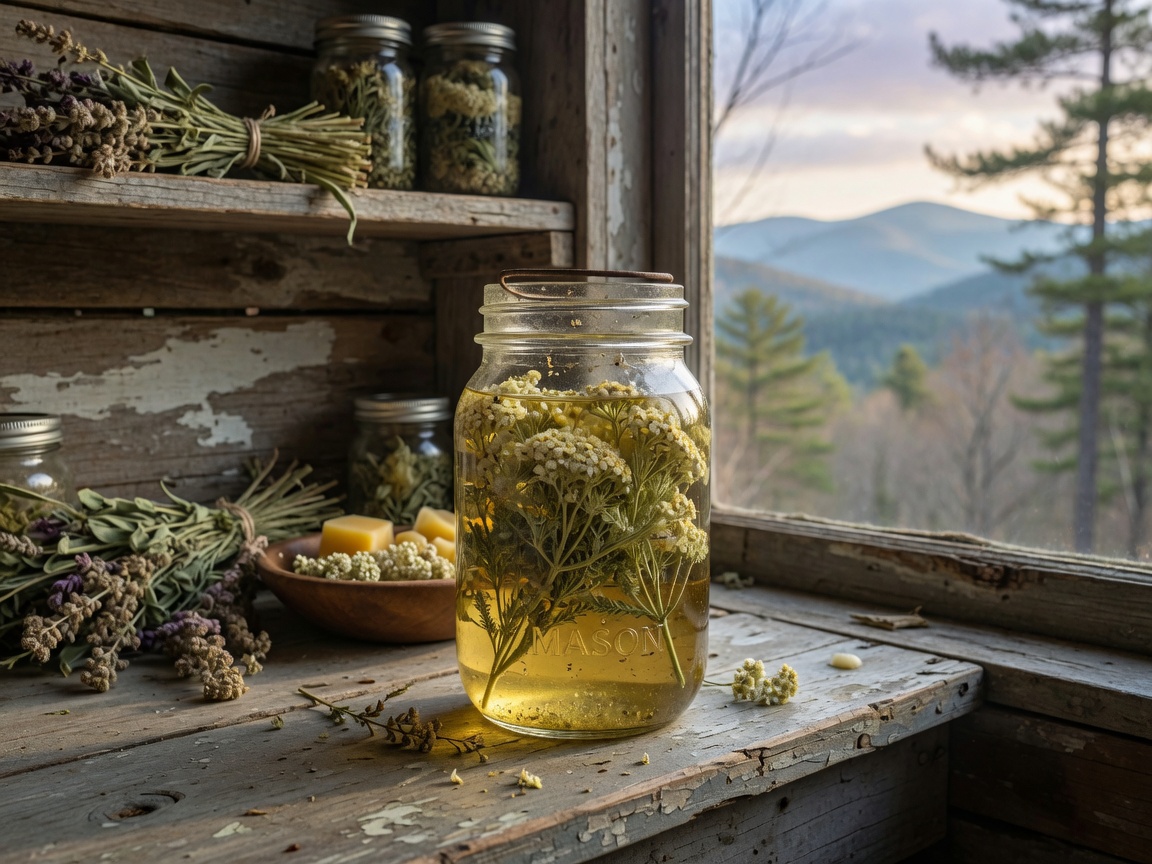
This is the heart of it — you’re letting the oil sit with the dried yarrow until it takes on the plant’s color and character. There are two ways, and I use both depending on how much patience I’ve got that week.
The slow way is my grandmother’s. Pack a clean, dry jar about two-thirds full with the crumbled dried yarrow, pour jojoba or olive oil over it until the plant is covered by a good inch, cap it, and set it on a warm windowsill for three to four weeks. Give it a shake whenever you pass. Slow, gentle, and the surest.
The warm way is for when you want salve this afternoon. Set that same uncapped jar down in a small pan of barely-simmering water — a makeshift double boiler — and let it warm two to three hours. Keep the water at a bare tremble, never a hard boil; oil that gets too hot scorches and loses its virtue. Either way, you’ll know it’s done when the oil has gone faintly green-gold and smells of the plant.
Use jojoba if you want the tin to keep a long while — it isn’t truly an oil but a liquid wax, and it holds far longer than olive without turning. Olive from the kitchen makes a fine salve too. Don’t let the choice hold you up.
Strain it clean, then set it with wax
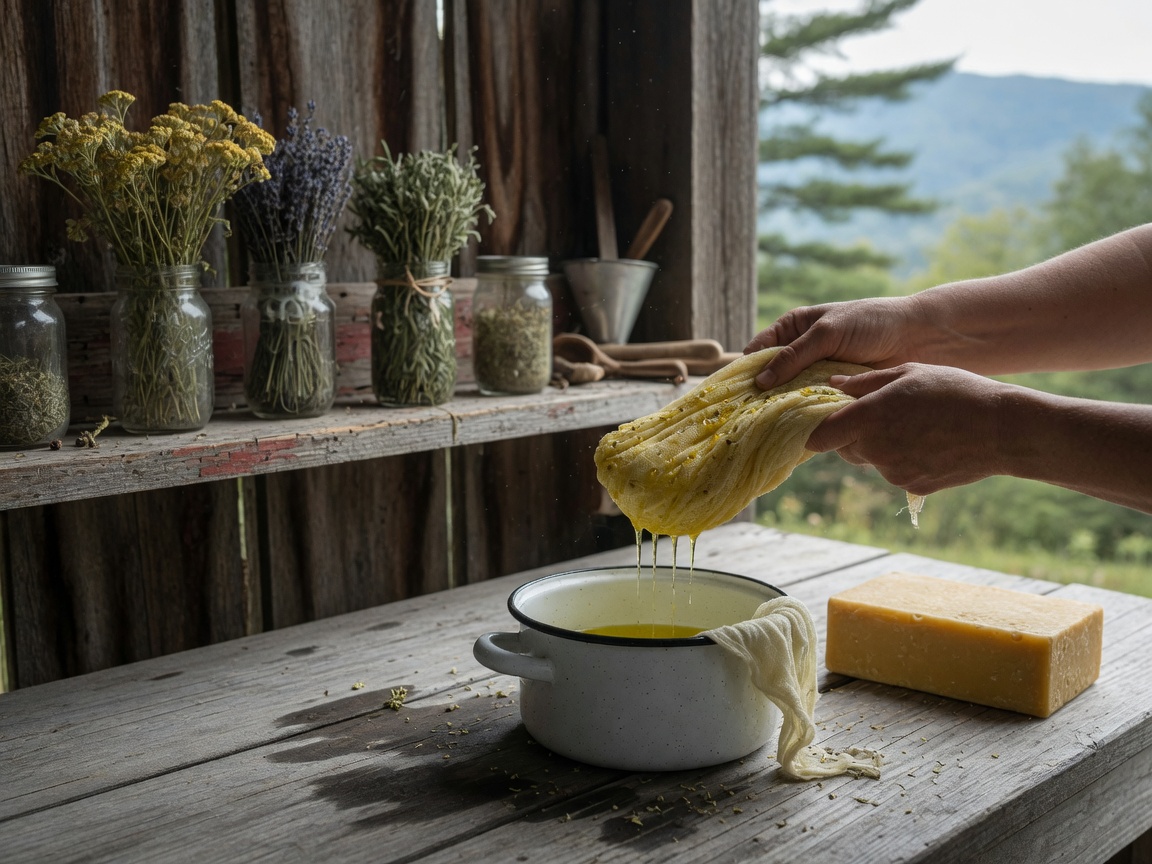
When the oil’s infused, line a funnel or a bowl with a doubled layer of grade-90 cheesecloth and pour the whole jar through. The grade-90 weave is tight enough to catch the fine plant grit a looser cloth lets slip — and that grit is exactly what settles in the bottom of a tin and shortens the salve’s life. Gather the corners and wring the spent plant hard; there’s more good oil hiding in there than you’d think, and the last squeeze is worth the mess.
Now you turn oil into salve. Warm the strained oil gently — back in the pan of hot water is easiest — and stir in beeswax pellets until they melt clear. The folk ratio I go by is about one ounce of beeswax — a rounded couple of tablespoons of pellets — to one cup of oil, which gives a soft salve that melts at a fingertip’s warmth. Want it firmer, for a tin that rides in a coat pocket through the winter? Add a little more wax.
Here’s the trick that saves a whole batch: before you pour, drop a half-teaspoon of the melted mix on a cold spoon and set it in the freezer a minute. That cooled dab shows you exactly how firm the finished salve will be. Too soft, stir in a few more pellets; too hard, splash in a little more oil. Fix it now, while it’s liquid — you can’t once it’s set. I have poured a batch too hard more than once and had to melt the whole thing down again, so learn from an old woman and use the spoon.
Pour, cool, and label
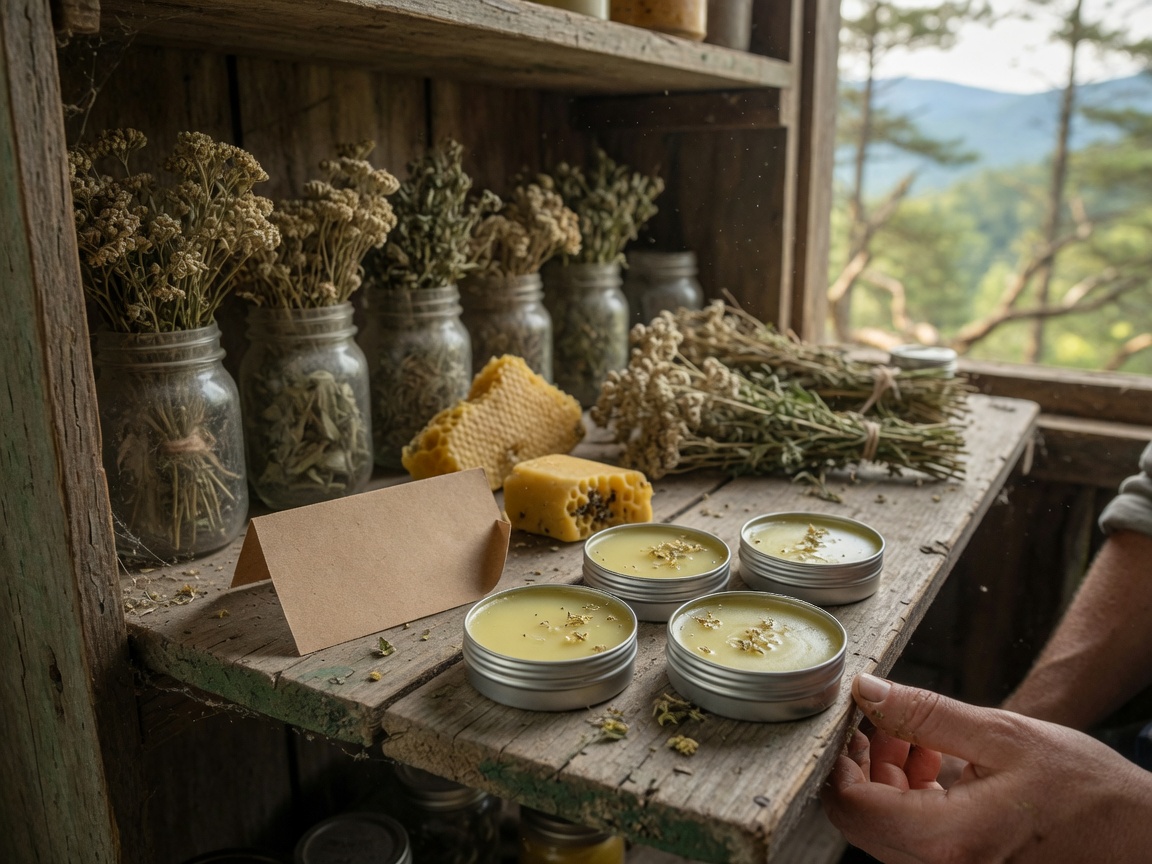
Pour the warm salve into your two-ounce tins and leave them undisturbed to set — twenty minutes or so on the bench. Don’t cap them while they’re warm, or you’ll trap steam and invite back the very moisture you worked to keep out. Once they’ve gone opaque and firm, put the lids on and label each with the plant and the date. You will not remember come February, I promise you that.
A salve made from well-dried plant and clean oil, kept somewhere cool and dark, will hold its character for a year and often longer. Sun and heat age it fastest, which is the whole reason for a metal tin over clear glass. When it finally smells flat or a little like old crayons, it’s spent — make another. And do a patch test on the inside of your wrist before you use any new salve on yourself; that’s plain sense, the same as my grandmother taught me.
Where the method ends and the knowing begins
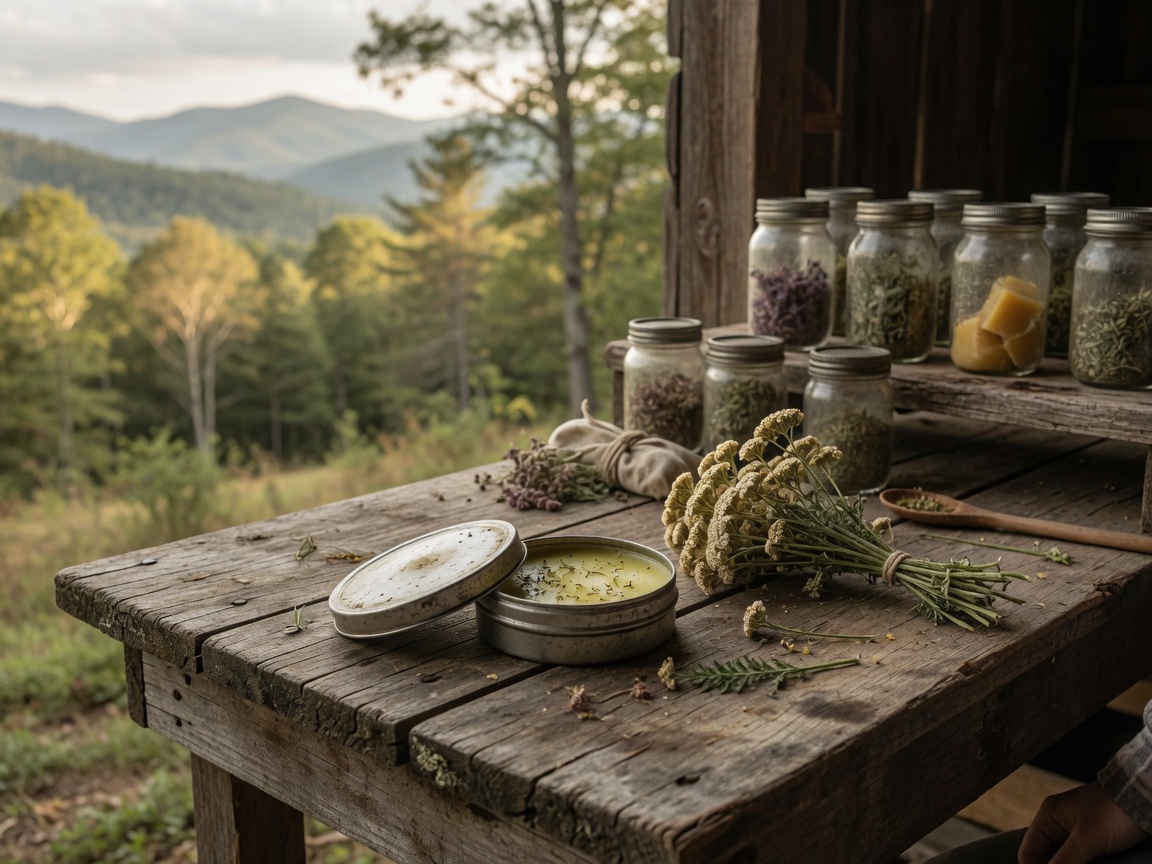
The making of a salve takes an afternoon to learn, and you’ve just learned it. Which plants to choose, when to cut them, which ones have no business anywhere near your skin, and how the old mountain people used each one — that takes longer, and it’s the part I care most about passing on.
Most of that knowing is what I put into my book, Appalachian Medicinal Plants — how to identify the plants of these mountains without guessing, when to gather each, and how the generations before us prepared them. The beeswax and the oil are the easy part. The book is how you learn what’s worth putting in them.
